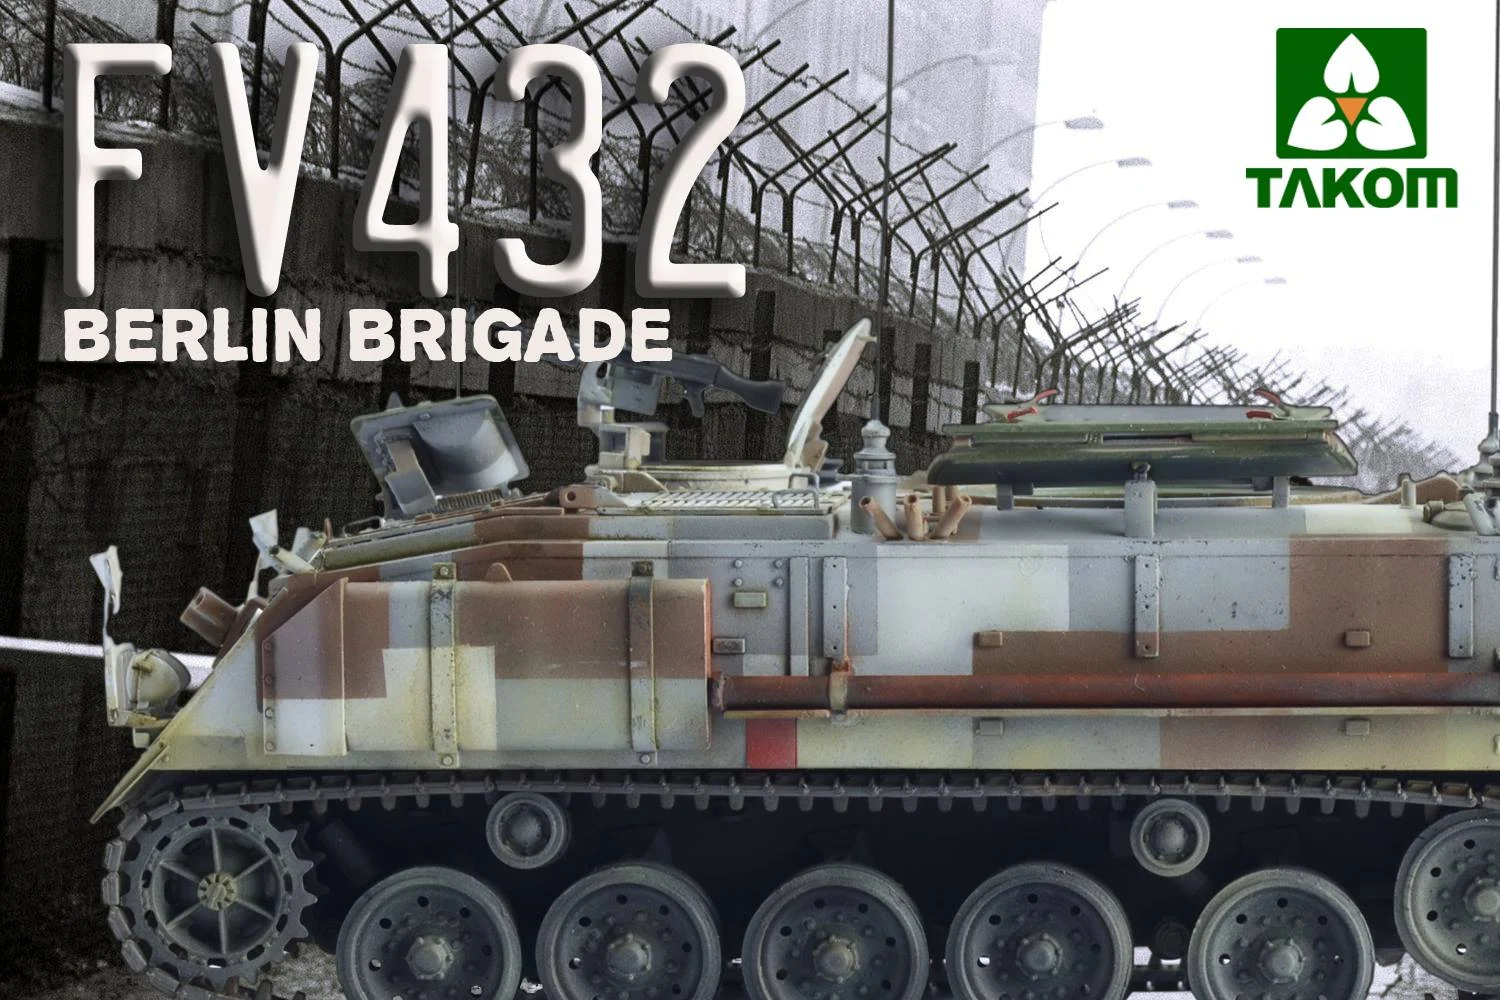
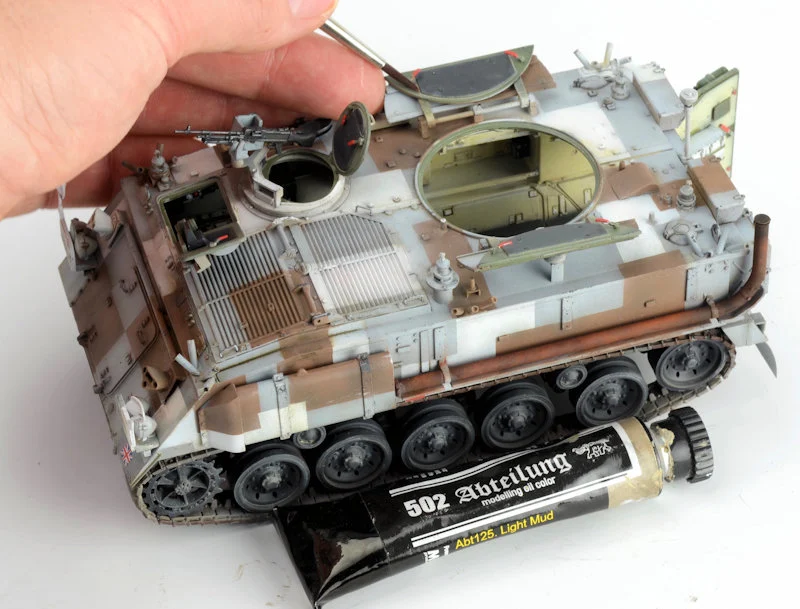
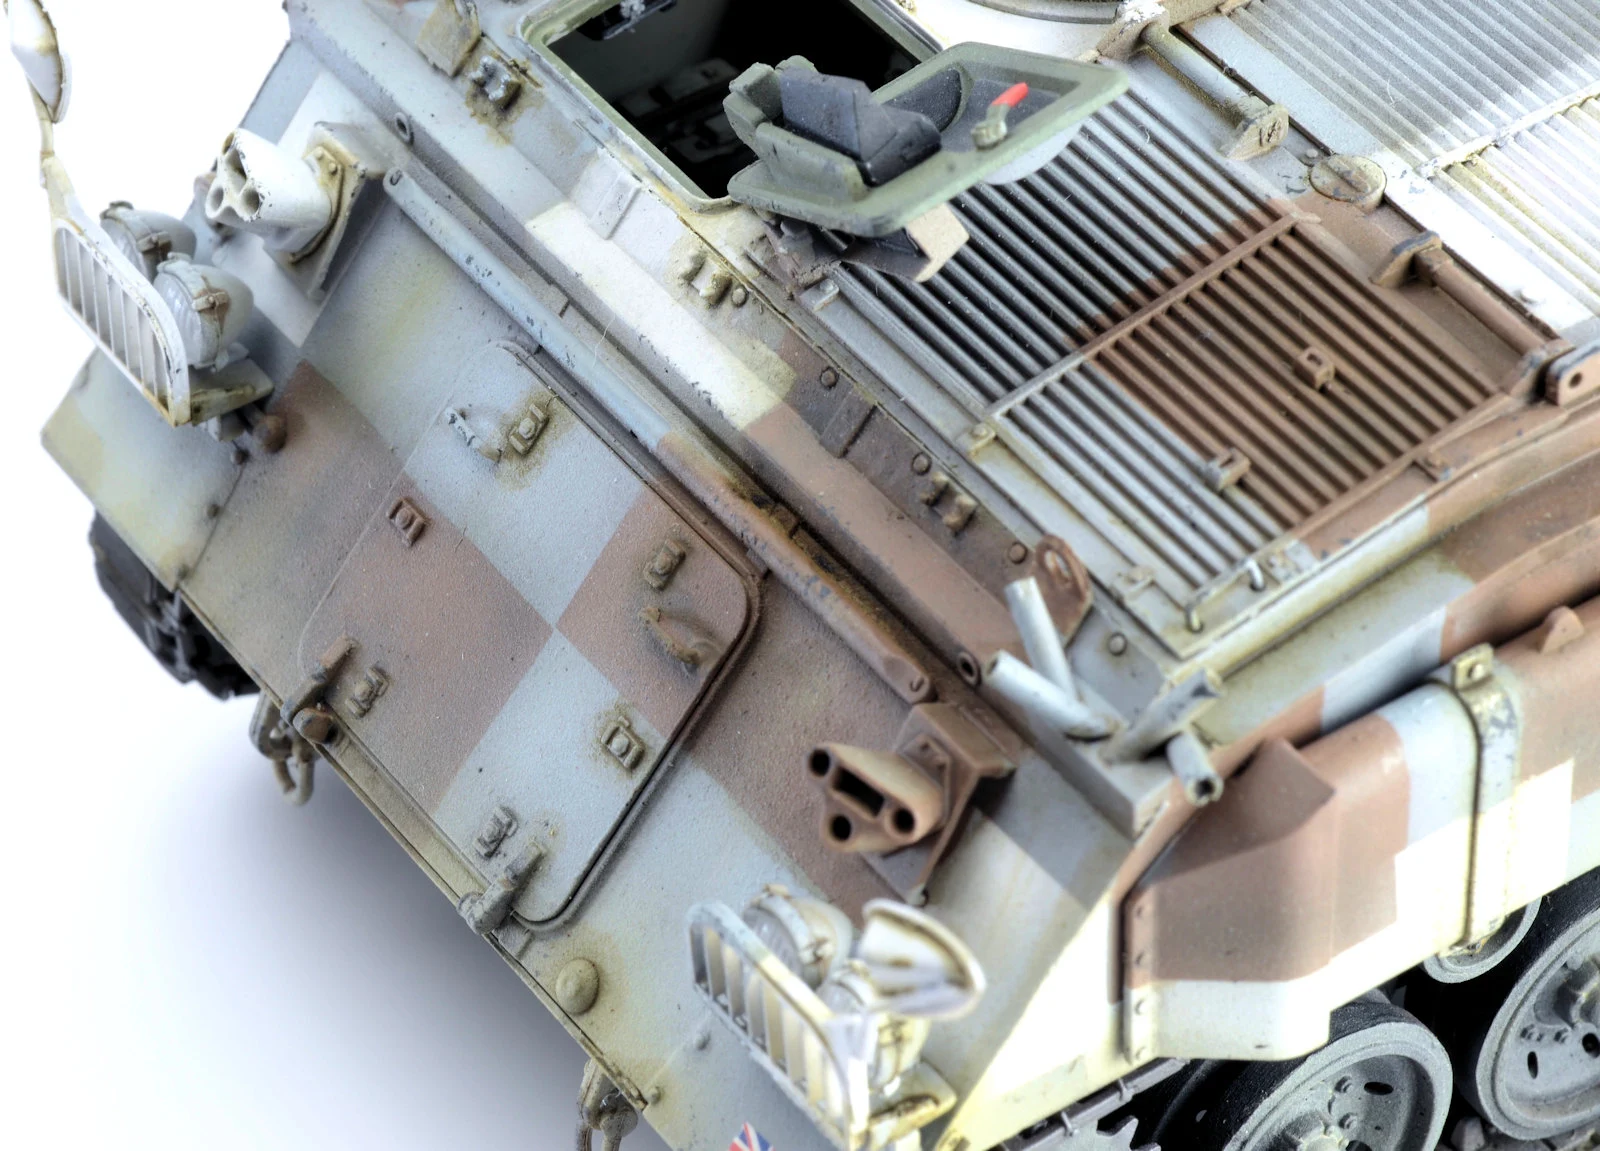
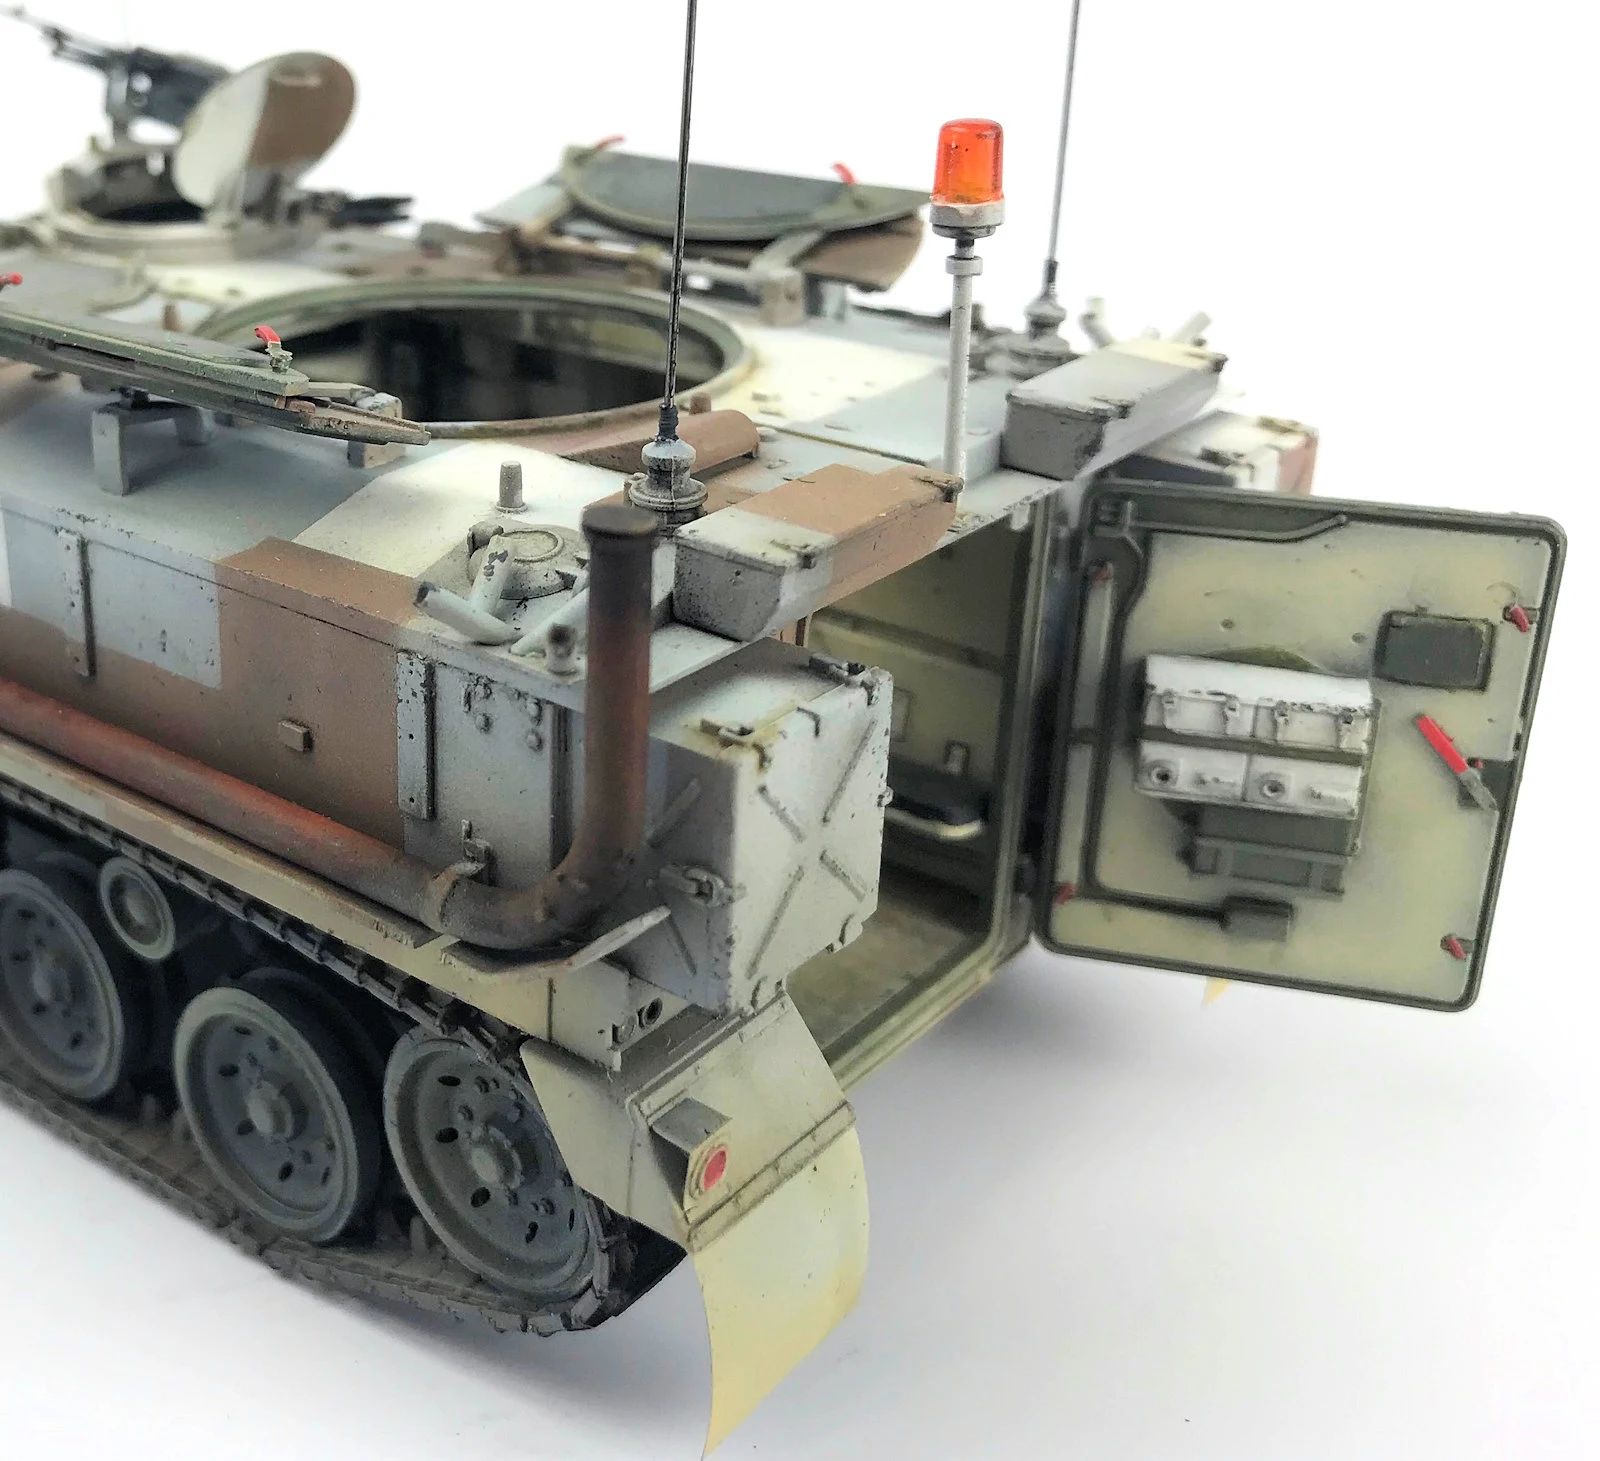
The tiny FV432 Mk.2/1, British APC is a popular vehicle with the British and international forces, the modellers of the world seem to like it also, which kind of say why Takom would want to make a newly tooled kit of this tiny APC. Clayton has finished his in the "Berlin Brigade" urban camouflage which looks amazing - he thought he would show you how he achieved it in the third part of his story...
Painting Guide: FV432 Mk.2/1, w/Interior
From Takom
1/35th scale
Injection moulded plastic plus photo-etched details
four decal choices included
Price:¥4,320/ $39.45 USD/ €36.10
Product Link at Hobbylink Japan
Pt I Kit review: FV432 Mk.2/1, British APC, Takom
Pt II Build Guide: FV432 Mk.2/1, w/Interior
Today: Painting Guide: FV432 Mk.2/1, w/Interior
I have to confess, this poor old FV432 has been sitting on my workbench for some time now. I haven’t been stalling on purpose, I have just been distracted, and possibly a little hesitant to start painting the exterior of this model. Pt II Build Guide: FV432 Mk.2/1, w/Interior
Today: Painting Guide: FV432 Mk.2/1, w/Interior
Based on the success of the Berlin Brigade Paint Mask set I released for the Chieftain, I thought I would follow it up with a set for the FV432.
You may recall that when I built the interior on this model, I didn’t have any intention of displaying it. The plan was to seal her up and be happy with the closed up, battle ready model.
You may recall, as I moved through the painting, I kept getting sucked into it, and have now ended up intending to open every hatch and hole I can to display the lovely interior that comes with this kit. This, however, would make the painting a challenge, as if I needed any more aggravation. Whilst the Berlin Brigade scheme just looks like a bunch of boxes, in reality, this was going to be a tricky little scheme to pull off due to the numerous lumps and bumps on the surface of the model.

So, with my mask set drawn up, printed and ready to go, I set about painting my FV432 in the urban camouflage scheme of the Berlin Brigade.

Using the kit supplied colour plate, and a number of other references, I set about producing the mask set. I believe, in theory, the scheme should be identical on all vehicles, however after looking through reference pictures I’m not sure that is the case. That said, I am generally happy with the result here.

Setting a good foundation for your paint is paramount. When masking a model, the last thing you want is for it to take paint when you remove it.
I have made a simple mask for the running gear (that was painted in the last part of this build), and sprayed the model in Alclad White Primer. Keep as many ‘bits’ off the model as you can, it will make painting this scheme possible. You will see details like the headlights, toolboxes, tools and cables are all missing at this point. They will be added later.
Hatches were closed in place using BlueTak to hold them down.
I must apologize at this point as I have misplaced a photo, but you will see there has been a little bit of shading added to the white. That was done to try and tone down the stark white colour.
The first layer of the mask set is applied. Whilst the set is reasonably straight forward in terms of placement, it is a good idea to be aware of how the top and side sections interact to ensure they flow.

As suggested on the supplied colour plate, Ammo Medium Brown is now sprayed over the model. To my eye, this looked to be a little on the light side, but I can address that later.

The second stage of the mask is now applied, and Ammo GREY BLUE is sprayed.
The mask is now carefully removed to reveal the shapes. I have to confess, it all worked better than I was expecting. There were so many lumps and bumps on the model, masking it was very difficult. I find the distance and angle you spray your paint has a large bearing on the results you get from your masks. 
All the basic shapes are now in place, so all of the bits and pieces can be added. Exhaust, lights, smoke launchers and masts.
I could have sprayed the new pieces prior to fitting them to the model, but chose to carefully spray them in-situ
A satin Varnish is now applied in the hope of sealing the paintwork in preparation for the weathering.
There weren’t many decals, but what there was were fitting at this stage and resealed.
Using a colour called ‘Starship Filth’, I now added a line wash to the details on the model. I had initially started to do this in a brown tone, but hated the messy look it was leaving behind. I found the dirty grey colour was far better suited to the scheme. Some tonal variation in the upper surfaces of the model was achieved using white oil paint. A small amount is applied and worked in with a brush loaded with white spirit.

Some variation is now added in the brown sections using a similar technique.
Still going with the tone! This time I used a lightened mix of the grey-blue to soften some of the upper surfaces. Using a heavily thinned mix of Tamiya red Brown and Nato Black, I added some depth to the browns by using a post shading technique.
All of the hatches were now opened up to reveal the heart of the model.
Metallic parts such as the machine gun and the tow cables were painted in rubber black and buffed with Ammo’s Gun Metal pigment. These vehicles were maintained very well, so I had to resist the urge to chip it up. I selected a few places where wear seemed reasonable and added some chipping by dabbing dark brown acrylic paint on with a sponge.
A Light Mud Oil paint wash was now applied to some of the details on the inside of the hatches.
A mix of matt varnish and New Wood is applied as a light dusting along the lower edge of the model to simulate dust.
Rust tone pigment is now dusted onto the exhaust pipe. Messy work.
Conclusion
There is no doubt I made my life a little harder than I could have by choosing the Berlin Brigade scheme for this one. All of the bumps and lumps are constantly fighting against you painting your straight lines. That said, I am quite happy with the finished result. And for any masochists out there, I have produced a paint mask set to make your life a little easier.
The kit in detail in a walk around
Make no mistake with this model, it is really interesting and involved kit. I couldn’t tell you how many times I knocked the mud flaps and light guards off when trying to handle it. It is fine, and it is delicate, but it builds up into a really nice model. For those of you looking to cut a few corners, you really don’t need to build the interior, but for me, it is one of the highlights of the kit. It wouldn’t take a lot for someone to deck it out a little better than I have with bedrolls and equipment and really present a top-shelf model.
The whole kit at more of a distance
Given the prevalence of the FV series of vehicles, I am looking forward to Takom expanding on this range and releasing a few more variants from the family.
The kit on a simple base display
This really is a lovely, detailed model, but be prepared for the journey, because to do it properly (in a scheme like this) will take some planning and a lot of time.
Clayton Ockerby
Thanks to Takom for sending us this kit to make up for you all, Check out their kits on the Takom Facebook Page
For anyone interested in purchasing a paint mask for the FV432 in the Berlin Brigade Scheme, it can be purchased through Clayton’s site, Workbench Hobbies, at this link


