

Part four of the award winning (if there were prizes handed out for procrastination I would win one) Revell
Kit No: 07651 London Bus Build continues on it's route with this article. Read on below for the next steps i took towards double decker nirvana - or even Xanadu - whichever music genre you prefer really...
Revell
Kit No: 07651 1/24 RML Routemaster London Bus Build Pt.IV
Scale: 1/24
Material: Styrene
Sprues: 13
No. of
parts: 390
Decals
for two RML Routemasters
Length 305
mm
Wingspan 417
mm
Skill
Level: 5
Available
from: www.revell.eu
I must stress the importance of a tidy workbench!! :-)
Well it
has been a few weeks indeed since my last post on this and I must apologise for
taking so long for this – the next part. Part of the reason for the delay was
the consternation that faces many modellers – accuracy.
The
problem was the colour. I see London buses every day – and to be honest they
all look the same but they are all different. If only very slightly the colours
vary, from day to day to different times in the day of when you are looking at
them. They all seem to have a slight purplish or bluish tonal in the red colour
making it very rich but a hard not to crack to get it right.
The pre/post shade airbrushing with my H&S Infinity will keep the finished product (after more red in the finishing coats) looking much more interesting and life-like in appearance.

After a standing around a lot and looking perceptively odd at traffic lights looking at buses I opted to keep it the Humbrol 19 I had it at but to darken the undersides of the large protrusions and areas that would pick up shade on a normal day. This was a just a in essence Humbrol 73 (the interior chair colour I was going to use) which is a darker reddish purple to shade those areas – after a polish later on these areas will look suitably used and just a little worn, like most London buses in operation look. Weathered just a touch. More on the outer colour later – the next part of this build is about repetition….
Not bad repetition-
but just lots of the same processes over and over again. The interiors are the
same shades upstairs and downstairs while the seats and the stairs all look the
same. Revell’s colour call out asked for a lot of grey on the floors and the
interiors of the bus. Seeing mine was going to be a late 60’s early 70’s
variant I went for a used and partially restored version of dark red interior (Humbrol
gloss 20 - a maroon colour) with some lighter colour on the ceilings above the
window ledges. Chrome fittings all round and no modern signs. I wanted this RML
to look like an old bus restored and not a new bus worn out.

I realize
that instead of making the holes for the advertising boards that adorn the
sides of the bus at he near end of the build like the instructions say to make
the holes early while the bus want all sealed up – if you are going to use
these I would urge you to make these holes while the bus can be either laid flat
on a desk otherwise later on it will cause all types of headaches.

I used a
2mm drill to make the holes in the sides of the bus with a drill bit in a pin
vice and moved on to my next problem – the frames themselves.
You can see here how the ribs of the bus have specific places to go into and how hard it would be at the near completion of the build to apply these large holes!

To make
the 60’s/70’s era bus I want to make I had to modify the right hand side “L”
shaped advertising bracket – I wanted straight rectangular (with rounded edges
of course) on both sides of my bus, but the right hand panels are the wrong
shape towards the back. Only on the more modern buses was the frame this “L”
shape – a bigger advertisement basically!

Luckily
for me I was able to measure and modify the “L” shape brackets in to a
rectangular or sideways “O” shape. These should be then glued in and joined
when the bus panels are all sealed up – you will save yourself a lot of bother
by securing these before you have to flex the model later – bending it all to
make things work is never a good option.
The problem has an easy solution - application of my Xuron snips and the addition of some plastic adhesive


...Led to two brackets from each side now being identical and now I had two rectangle advertisement frames instead of an "O" and an "L"


Parts of
the interior walls of the bus were undercoated then sprayed a lovely shade of
maroon Humbrol 20 gloss. Again the best reference for this I have found is either
on Flickr on the web of the bus from the UK Transport for London RML or the
excellent book I have had close to me the whole time - the book from Andrew
Morgan “Routemaster
Bus Enthusiasts Manual”
This book
showed me just where to apply the maroon and where not too – the many many Routemaster
pictures on the internet were as well a big help – and if you don’t use both of
these to improve your build you really are missing out
This picture (and many more on the weight of continual evidence from other shots on the web) showed me where to differentiate the colours from the exterior red to the interior red. Here you can see the exterior (unshaded) red the half shaded doorway and the full maroon colour on the paint tin. Three variations in shade I was trying to achieve I hope will come out in the final product


I shaded
some of the areas so they would be on purpose more worn or darker than others –
I wanted a little variation I the colours of the bus internals otherwise it
would look a little dull – again I wanted as well a “used” looking bus and not
a pristine example.
A few splodges of Humbrol 20 made the interior a bit less new looking

The
chrome strips I cheated on – I simply used silver paint pens which are a
complete lifesaver when you want a nice thin line and when you can’t or don’t want
to spend all of your day masking gloss paint (which sometimes comes off with
the kabuki) was more than happy to “cheat” in this instance – I bet you will
too!


These varied
thickness paint pens are excellent for touching up chrome as well as quick
scuff jobs in the picture below you can see where I just ran the tip of a small
pen over the grill on these stairs and gave a lightly scratched effect. These
should be in your arsenal if you are a modeller – if not get to the newsagent.

These
internal parts done it came time to get onto the floor. I made the floors the
same as the internal red colour. All of the older buses were either this vinyl
red or a wooden brown which I think many will go for. I opted for the red as I had
a good picture with that flooring and a wooden walkway which I thought looked neat.
For the wooden decking I applied brown Tamiya “TS-1” red brown decanted from a
rattle can for the recessed and darker
parts where the mud and dirt ventures into and a buff , lighter worn colour
Tamiya “TS-46” Light sand.


This colour
– dry brushed over the top and mottled in an uneven way gave a little chewed
wood effect that I have seen on these floorboards in the past. Flat varnish went
over these areas - covering them and making them look even dryer. The red floor
areas that receive less travel and are harder wearing got uneven splodges of
flat varnish – giving the floor an uneven and scuffed look – just the effect I was
after. As it is I made the parts nearer the centre more flat and lighter whereas
towards the corners was shinier and darker – I hope it is an effect that pays
off later – time will tell!
My poor old airbrush after this looked like a murder weapon with this sticky rich red colour getting everywhere!! Thankfully H&S airbrushes are a cinch to clean with no tools needed - it cleaned up like a champ!

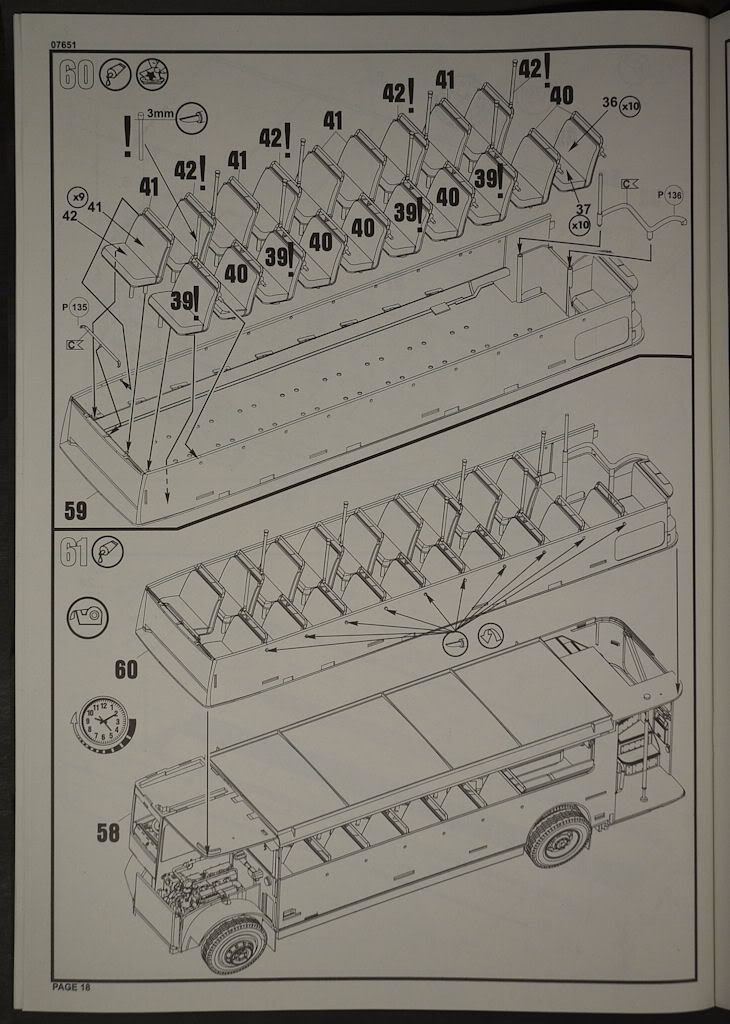
The seats
are next – strap yourself in for a day of painting, decaling and getting
confused!
As it is
the chairs needed a grey backing and a red/brown coloured fabric on their sides
(unlike the instructions which again call out for grey (c’mon guys!!) Anyway I painted
these seats a grey undercoat (Halfords grey colour plastic primer) and the
fronts I airbrushed with my trusty Harder & Steenbeck airbrush the Humbrol
73 I used on the wheels – a very nice red/brown colour.


Due to
the nature of the comic book style instructions used by Revell and I guess my
lack of attention it’s pretty easy to get things about-faced here but I have gotten
it wrong so you will not have to! The left and right hand sides of the bus have
slightly different decals and need to be applied as such. I split mine up into
left and right hand side chairs - it doesn’t matter if you get the top and
bottom decks messed up as long as you get left and right sorted.
 I found a
good way of teeing up the next decal so the next one was ready once you had
applied the half seat you were on. KEEP THE NUMBERS NEAR THE SEAT BIT YOU ARE ABOUT TO APPLY is my main point here – as otherwise you put the wrong one on the
wrong seat. The numbers don’t go crazy and apply themselves to everything they shouldn’t
in the water so it’s OK to keep them on your current decal when it goes in the ol’
vasser.
I found a
good way of teeing up the next decal so the next one was ready once you had
applied the half seat you were on. KEEP THE NUMBERS NEAR THE SEAT BIT YOU ARE ABOUT TO APPLY is my main point here – as otherwise you put the wrong one on the
wrong seat. The numbers don’t go crazy and apply themselves to everything they shouldn’t
in the water so it’s OK to keep them on your current decal when it goes in the ol’
vasser.
You can
see here the main ingredients I used to paint and help apply the decals and
prepare the chairs. Humbrol 73 red brown for the leather on the chair base,
Micro-Sol to settle down and get the decal hugging the chair itself and then
Vallejo flat simply painted over the decal to flatten the appearance. (Ohh and
my "cheat" pen in silver to shine up the seat rails too)
The mixture of ingredients make even the most stretched decal sit down nicely and matt out!

That is
enough of this part – next week( yes you heard me next week) ill be assembling
all of these painted parts and indeed shading the roofs of the interiors ready
to seal it all up. Then the advertising and maybe later some card stock bus
scenery – much more to come!
Till then
enjoy your modelling.
Adam
Norenberg
For
further information on this kit visit www.revell.eu
