


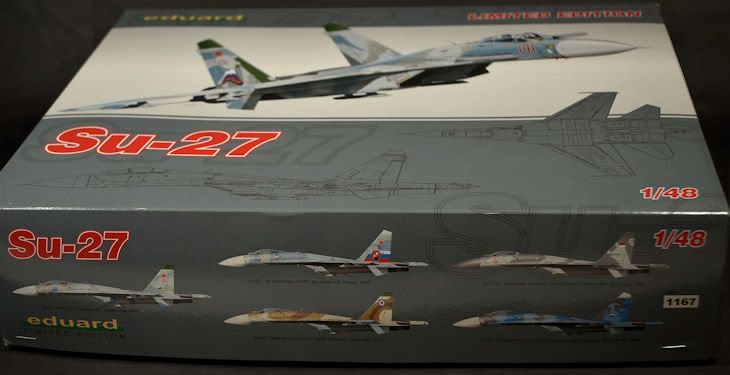
Eduard Kit no: 1167. The Su-27 Flanker B in 1/48th
Scale: 1/48th
Material: Styrene + Resin + Photo Etched + Canopy Masks
Styrene Sprues: 6 + 1 clear
Decals for five Aircraft
In the mid-1970’s the USSR suddenly found themselves faced
by a new twin threat in the form of the F-15 Eagle and the F-16 Falcon. In
reply to this threat, the USSR introduced the SU-27 Flanker and the MiG-29
Fulcrum, but they were not deployed until the mid-1980’s. The SU-27 Flanker had
been designed as a high performance fighter that had fly by wire controls and
could carry up to 10 AAM’s. The SU-27 was a highly manoeuvrable and was one of
the most imposing fighters ever built.
The development of the SU-27 Flanker was completed in the
early 1980’s and the plane subsequently set more than 40 world records in
altitude and take off speed. The SU-27 Flanker was the first of a whole family
of planes including the following:
Su-27B Trainer
SU-33 Ship based fighter
SU-37 multi mission
SU32FN two seat specialised plane.
The Su-27 is in service not only in Russia and other CIS countries but also
in China and Vietnam. China also bought a license for the production of its own
Su-27 fighters. Sukhoi in 1997 signed an estimated $180-million contract with
Vietnam to supply six Su-27 (of which two Su-27SK and four Su-27UB)... It is
thought that Vietnam plans to buy a total of 24 Sukhoi warplanes for $800
million by the end of the century. By the end of 1997 Sukhoi had passed all of
the blueprints over to license production of the Su-27SK in China, and
negotiations on the sale of a further 55 Su-27 fighters to China also began. 

.JPG)

 The “hump” is replicated by folding the curved part first then attaching the
top part. The easiest way to do this is the tack the part in place and bend it
around the “hump” as you go. It would have been better to replicate this part
in resin rather than PE.
The “hump” is replicated by folding the curved part first then attaching the
top part. The easiest way to do this is the tack the part in place and bend it
around the “hump” as you go. It would have been better to replicate this part
in resin rather than PE.
As well as the PE for the exterior of the cockpit there is a small resin part to be added to the left hand side of the cockpit.


Another area that the Eduard PE radically improves is the vents on the bottom of the intakes. The plastic parts are solid and work in a pinch. However, the Eduard PE parts are a vast improvement.

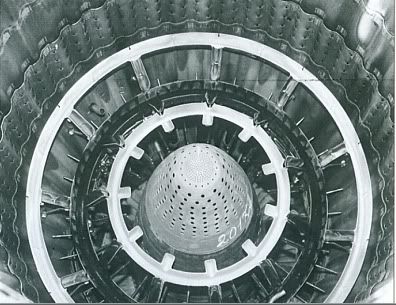
As you can see there is a seam line running down the middle of the intake and this will have to be filled and sanded back. The interior of the exhausts also gets a PE addition in the form of a flame ring.
The next stage will include the building of the cockpit area and this is where the Eduard PE really shows its class.

Ethelian.
Thanks to Eduard for
this Kit. More to come over the next few weeks
