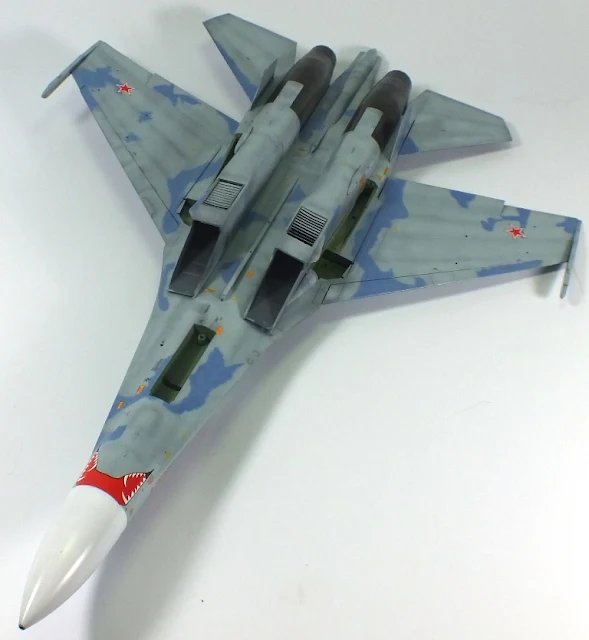
Ethelian has completed his build of the Eduard Su-27 special edition in 48th scale - we have links to all three parts of this challenging large 48th scale kit with a bunch of aftermarket extras included - how did it all fit together? well click on to see in the finishing article of the build..


Eduard Su-27 Flanker - Limited Edition.
Scale: 1/48th
Material: Styrene + Resin + Photo Etched + Canopy Masks
Styrene Sprues: 6 + 1 clear
Decals for five Aircraft
Available from: Eduard’s Webstore
Review of the kit
Fitting the Flanker - Eth's build of the 1/48th Eduard Su-27 Pt.IOI
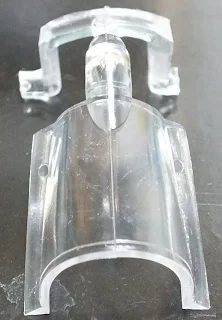
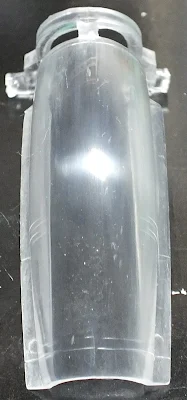
One of the annoying things about clear canopy parts is the
seam down the middle. Unfortunately the SU-27 canopy suffers from this. All is
not lost though as the process for removing the seam is not that difficult.
Now on the large canopy parts a seam is expected, however on
the smaller canopy parts it is unusual to see a seam on the smaller canopies,
but that is the case here.
The first step in the process is to remove the seam with a scalpel blade. Make sure the blade only goes in one direction and do not try to take off too much material in one go. It is better to take several passes removing a small amount at a time. The second step is to remove the marks from the scalpel with some 2000 grit emery cloth.
The first step in the process is to remove the seam with a scalpel blade. Make sure the blade only goes in one direction and do not try to take off too much material in one go. It is better to take several passes removing a small amount at a time. The second step is to remove the marks from the scalpel with some 2000 grit emery cloth.
There are several steps to follow using 4000, 6000, 8000 and
12,000 grit emery cloth. Nice smooth motions are what are desired here to
achieve the finish we require. The next step is to polish the canopy with some
clear plastic polish to remove any dust or finger prints.The final step is to
dip the canopy in Future which will restore the clarity of the canopy.
With that out of the way it was time to start on the dreaded
decals and despite my earlier optimism it turned out that there is a serious
number of decals for this kit, most of which are on the small side, there goes
my eyesight!
The supplied decals are easy to use, will slide without
tearing and all in register. This made the application much easier but did
nothing for the tediousness of the task.
Micro Sol and Micro set were used to help the decals into
place and to help them settle down over the panel lines and rivets. One thing
that I would do differently is to cut the snake decal into two pieces because
of the position of it on the tail.
With all the decals on it was time to assemble the weapons,
all ten of them.
As you can see there are quite a few of them, certainly more
than the SU-27’s Western counter parts carry. However, Western jets carry at
least two auxiliary wing mounted fuel drop tanks, where as the SU-27 does not
thus freeing up two pylons for weapons.
The decals were sealed with a further two coats of Alclad
Klear Kote Gloss and when dry Flory Models Dark Dirt wash was applied. I find
it best to leave this wash for 24 hours before removing it as this allows it to
dry completely. I wasn’t happy with the effect of the first wash so I applied a
second one and when that was removed the effect I was looking for was more in
evidence. Alclad Klear Matt was then sprayed on and then it was time to add all
the under carriage doors, under carriage, weapons and canopies.
The main under carriage is solid and has some good locating
points, however the front undercarriage is a bit on the weak side and care
should be taken when moving the model around to avoid twisting the front under
carriage, which I think would break easily if care is not taken.
And that is the end of this build. The base kit is not
without its issues. The intakes need a lot of work to get them to fit correctly
and the shape of the nose is definitely wrong. However the rest of the kit
forms a good basis for improving with aftermarket parts and the ones supplied
by Eduard, whether resin or photo etch, are superb. The pre painted photo etch
worked excellently and provide a level of detail that could not be attained
except by the most talented of painters.
Ethelian.
Thanks to Eduard for this Kit.


