

Revell 05119 US Navy SKIPJACK-CLASS Submarine
Scale 1:72
Release date 03/2013
No. of parts 60
7 different marking choices
Length 1067 mm
Revell model kits are available from all good toy and model
retailers. For further information visit www.revell.eu

.jpg)
.JPG)
The Instructions:
The usual Revell Comic book style instructions in black and
white – there are only two and a half pages of instructions coming to a grand
total of twenty four steps the construction time of this kit shouldn’t keep you
from your day job. The instructions are easy to follow and not too cluttered – There
really aren’t any traps or different options for these boats until you paint
them, so it’s a painless looking build.

The instructions are good – competent – but I have seen the
Moebius instructions in a comparison and they look like an old fashioned
instruction booklet. Some modellers will like this a lot more – and some who
just want to know how to make the kit. There are many different types of
modeller – millions I am sure – and I am not going to tell them what to like.
Clear Plastic?
The four dead-lights and stern light on slip neatly into the
conning tower without too much drama – the actual parts - the sprues are clear and settle into the
kit without protruding which some small windows do on some model kits.
The Main body of the
model:
A note quickly before we get going with the main body of the
kit. Ours came in a really long box – about a metre long, and to Revell’s
credit the kit itself was well packed in bags with padding between each hull
part. But being long and the parts being so narrow but only at the longest half
a metre long the hull slipped around inside the box. Even though the nose is
packed up the centre section must have been bashing and scratching all the way
to my place as there are plenty of scratches on that part of the kit – here I have
held the two worst parts to the reflective part of the light to show you – the conning
tower was also scratched.


The good thing is that these scratches can be sanded out.
The recessed detail of the kit on the grey/green plastic is pretty deep, so
after a heavy and then lighter sanding grades these scratches and any seams –
which there are some long ones along the body – come out easy enough.
The kit itself is divided into only sixty large parts – four
bring the front and aft hull sections divided in half horizontally. The upper
and lower quarters go together with guide rails on the seam as well as pin and
hole locating tabs.
The sprues including the (very large) hull
.JPG)
.JPG)
Recessed panel detail
.JPG)
The inside is a strong cone and with troughs and pin/hole system to properly locate the parts
.JPG)
Thought the parts had some packing this was only one end - and led to the plastic scratches you saw earlier
.JPG)
The rest of the sprues - the rudders and splanes are all moveable
.JPG)
The SONAR and antenna array and top of the sail

The spinning 5 bladed screw and rear planes

The conning tower - or as it is actually called the "sail" I must remember
.JPG)
Before you put his altogether you will need to
install the shaft for the propeller inside the rear two halves of the fuselage.
This socket and spinner attaches to the five bladed screws (underwater
propeller) – and thankfully this thin delicate item can be attached later on
after all the sanding has been done – there is a lot of it coming! There are
some slots that the screws literally twist into – these fit well but there is a
gap between each blade that will need some filler.
Nice each front and rear quarter is together you will have
to use some rather irregular clamping to keep the long seam as small as
possible. I use many rubber bands all along the elliptical superstructure to keep
her together as evenly as possible. Then I applied glue once and then again so
the four quarters all went together even more – there was still some sanding to
do though – and I used a nail polishing block to get rid of not only the long
seams but the scored plastic from transit as well.
.JPG)
.JPG)
.JPG)
.JPG)
The sail planes after they are in position showing off range of movement


.JPG)

.JPG)
.JPG)
The picture on the left shows the left hand side of the hull sanded and the right hand side unsanded - a big difference - as well you see the gap I started with in the middle
.JPG)

After a relaxed day – just me and my right arm getting some
RSI (I know what you are thinking) the shape was perfect. The sail was ready to
be added - Before I could do that I added the array of antenna and
sonar equipment to the top of the sail. This is a nifty little easy step as all
of the parts can only go on the one way – so there can be no mistakes on the
modeller’s part – Ohh I wish the rest of life was so easy.
It sure is a busy
forest once all of them are up.
.JPG)
.JPG)
.JPG)
.JPG)
The Photo Etch:
Silver looking photo tech is provided is the seawater intake
and outlet vents – these were an easy job to install. The securing of the Photo
etch metal seawater intake and outlets. These I added some superglue to and
they went straight on to the position clearly marked out.
.JPG)
Lastly I glued on the movable 5-blade propeller. This was an
interesting interlocking solution that in theory fits easily but leaves some
gaps once on. And it is a bugger to fill and sand between delicate propeller
blades. Use an easy to remove filler and thin sanding sticks and you will see
it through no problems.


A stand? Yes this
sub has a stand – it attaches to the fore and aft sections through the hull in
which a hole is already been moulded. I like this though I would like the
choice to have a plug there instead if I wanted to mount the kit another way.
This stand will need some glue to be rock solid, or some blue-tac if you want
to take it out will do nicely.

The decals:
Printed in Italy – with Revell means Cartograf – the industry
leading team are behind these decals. I found them strong in their colours –
mostly white and fire engine red – and sharp in register in their print –
wither you would like to use masks on kit of this size is up to you but it is
nice to have all of the boats in the Skipjack class covered..

The decal held to the light to show you carrier film volume

The decals for all six submarines of the Skipjack Class in the box are:
- U.S.S. Skipjack (SSN-585),US-Navy, Groton 1968
.jpg)
.JPG)
.JPG)
.JPG)
.JPG)
.JPG)
.JPG)
- U.S.S. Scamp (SSN-588), US-Navy, Vallejo, 1966+
- U.S.S. Scamp (SSN-588), US-Navy, Vallejo, 1966
- U.S.S. Scamp (SSN-588), US-Navy, Vallejo, 1966


- U.S.S. Scorpion (SSN-589), US-Navy, Groton, 1960


- U.S.S. Sculpin (SSN-590), US-Navy, Pascagoula, 1961


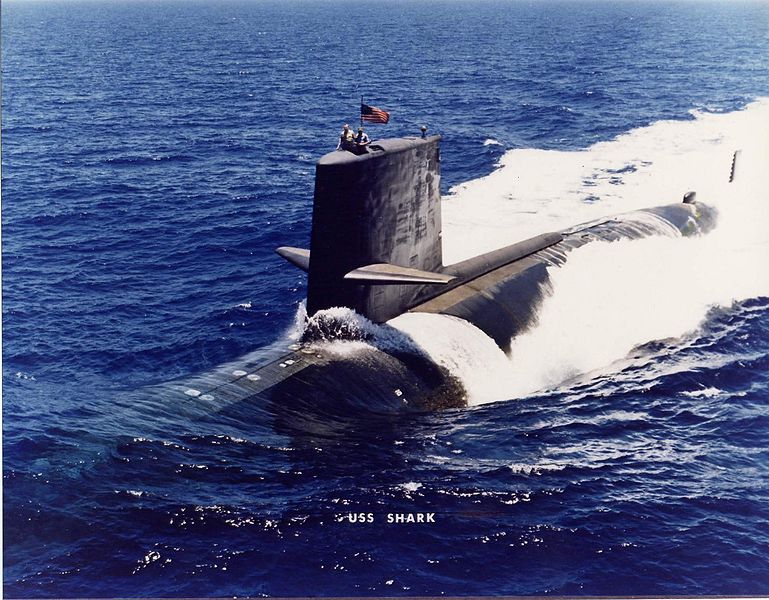
- U.S.S. Shark (SSN-591), US-Navy, Newport News, 1961

- U.S.S. Snook (SSN-592), US-Navy, Pascagoula, 1961


Revell have marked a mixture of their colours - 8 9 30 36 37
43 56 76 77 90 92 99 301 371 – it would be nice to have a straight equivalent
in other though as I said earlier.


The last thing that should be mentioned about this kit is
that It can be made into an RC sub – there are several on the market and I found
one to suit pretty easy to match this sub. The Skipjack class is quite suitable
because the clean finish with not too many fiddly parts make this a rugged
choice.
It is BIG - at over 1meter long I thought the 1/32 B17 was big - not anymore
.JPG)
.JPG)
.JPG)
.JPG)
So conclusions – a great kit that Is esay to build and once
built is impressive in size and nice and colourful marking choices compared to
drab grey subs. A bit of sanding work aside this was an easy an pleasant kit to
build and you sure get a lot for your money – a nice job!
Next to paint it - but until then it's new home on the bathroom windowsill...

Adam Norenberg

Revell model kits are
available from all good toy and model retailers. For further information visit www.revell.eu