

In another one of their sure to be popular choices, Takom has released the ZSU-57-2 Soviet SPAAG in 35th scale injection moulded plastic. We have already seen these on the market, and with Tamiya already having made this first years ago, and now Trumpeter jumping on the bandwagon and kitting everything everyone else has made we thought we would show you just what is in the box in this kit in our review. We also roped in Charlie Pritchett to show us how to paint this beast..

In Boxed: ZSU-57-72 Soviet SPAAG
By Takom
1/35th scale
Kit No# 2083
Kit includes:
Photo etch,
11 decal choices
11 decal choices
Individual Tracks
External fuel tank lines.
Steel Towing Cable
Road wheels can be built in a damaged condition.
Detailed interior with posable guns
Detailed interior with posable guns

Takom has made some unique choices in their selections and some that are pretty much just what a lot of modellers would want, in a simple to build but superior detailed kit that LOOKS to be a cool subject. This iconic twin gun Soviet ZSU-57-2 SPAAG is surely in that category – many are pretty eager to see what’s in the box so we got to investigating.
Looks a little like the boxart hey?

For those unfamiliar with the ZSU-57-2 SPAAG…
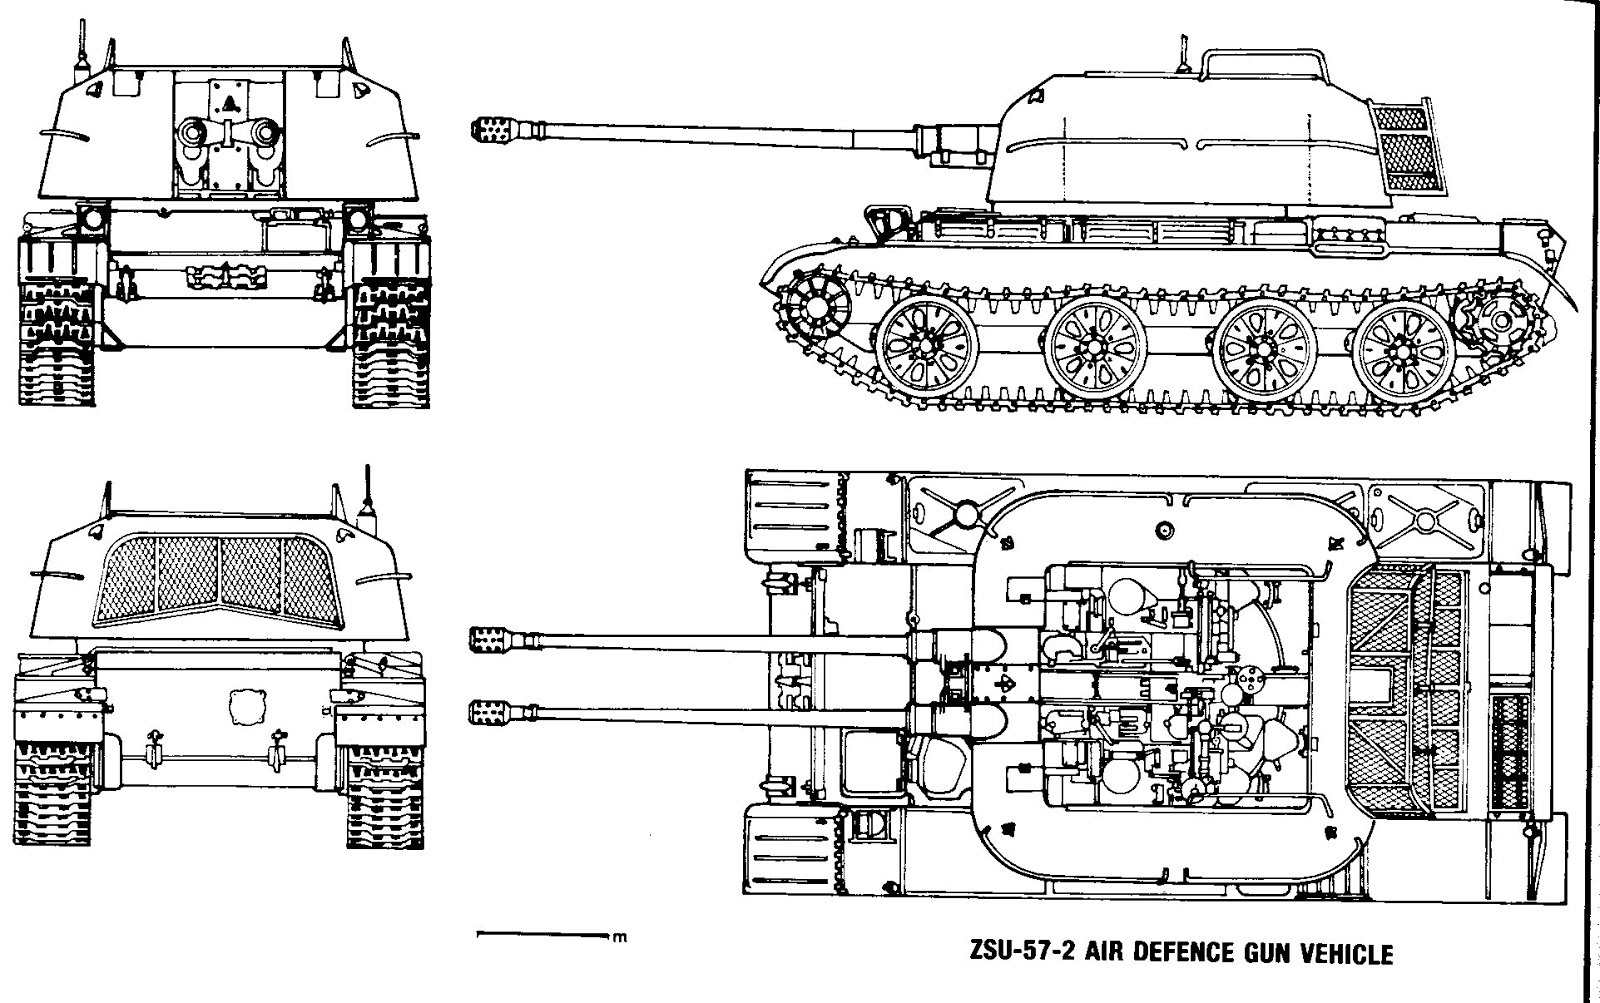
The ZSU-57-2 (Ob'yekt 500) self-propelled anti-aircraft gun was developed in the late 40s. It entered service with the Soviet Army and production commenced in 1956. It was later replaced by a much more effective quad-barrelled ZSU-23-4 Shilka. Despite its age, the ZSU-57-2 is still in service with a number of countries.

ZSU-57-2
Type: SP AA gun
Crew: 6
Vehicle Range: 400 km
Max. Speed: 48 km/h
Fording depth: 1.4 m
Vertical Clearance: .8 m
Gap Crossing: 2.7 m
Armament: 2 x 57mm S-68 AA guns
Armour: Glacis 15mm @ 60 Deg.; upper hull side 15mm at 0 Deg.; mantlet 15mm.
This SPAAG is fitted with two 57-mm S-68 guns. These guns are air-cooled, so after firing 50 - 60 rounds in intensive mode guns have to cool down. These guns are fed from magazines. Each magazine holds four rounds. The ZSU-57-2 fires fragmentation-tracers against air targets and armour-piercing tracers against ground targets. A direct hit of a single 57mm round caused complete destruction of a fighter where maybe two rounds could destroy a light bomber or heavy attack aircraft.


The ZSU-57-2 has no radar to acquire its target and it had to resort to fires over open sights, so its ability to attack high-speed aircraft is limited. It also cannot be used successfully at night. Optical sights are used to engage ground targets. This SPAAG has a very thin steel Armor (maximum thickness 15 mm). The vehicle has a crew of six, including commander, gunner, assisting gunner, two loaders and driver.

The ZSU-57-2 SPAAG chassis uses many automotive components of the T-54/55 medium tank, but the ZSU-57-2 has one less road wheel per side. As for the name - 'ZSU' stands for Zenitnaya Samokhodnaya Ustanovka (Russian: Зенитная Самоходная Установка), meaning "anti-aircraft self-propelled mount", the '57' stands for the bore of the armament in millimetres and '2' stands for the number of gun barrels...

OK now on to the kit…
This kit from Takom is in 35th scale, made from injection moulded plastic and the feature set is quite good for a kit so simple looking from the outside:
Photo etch, Steel Towing Cable, grey and clear plastic sprues.
11 decal choices
Individual Track links
External fuel tank lines.
Road wheels can be built in a damaged condition. (not sure about this one)
Detailed interior with posable guns

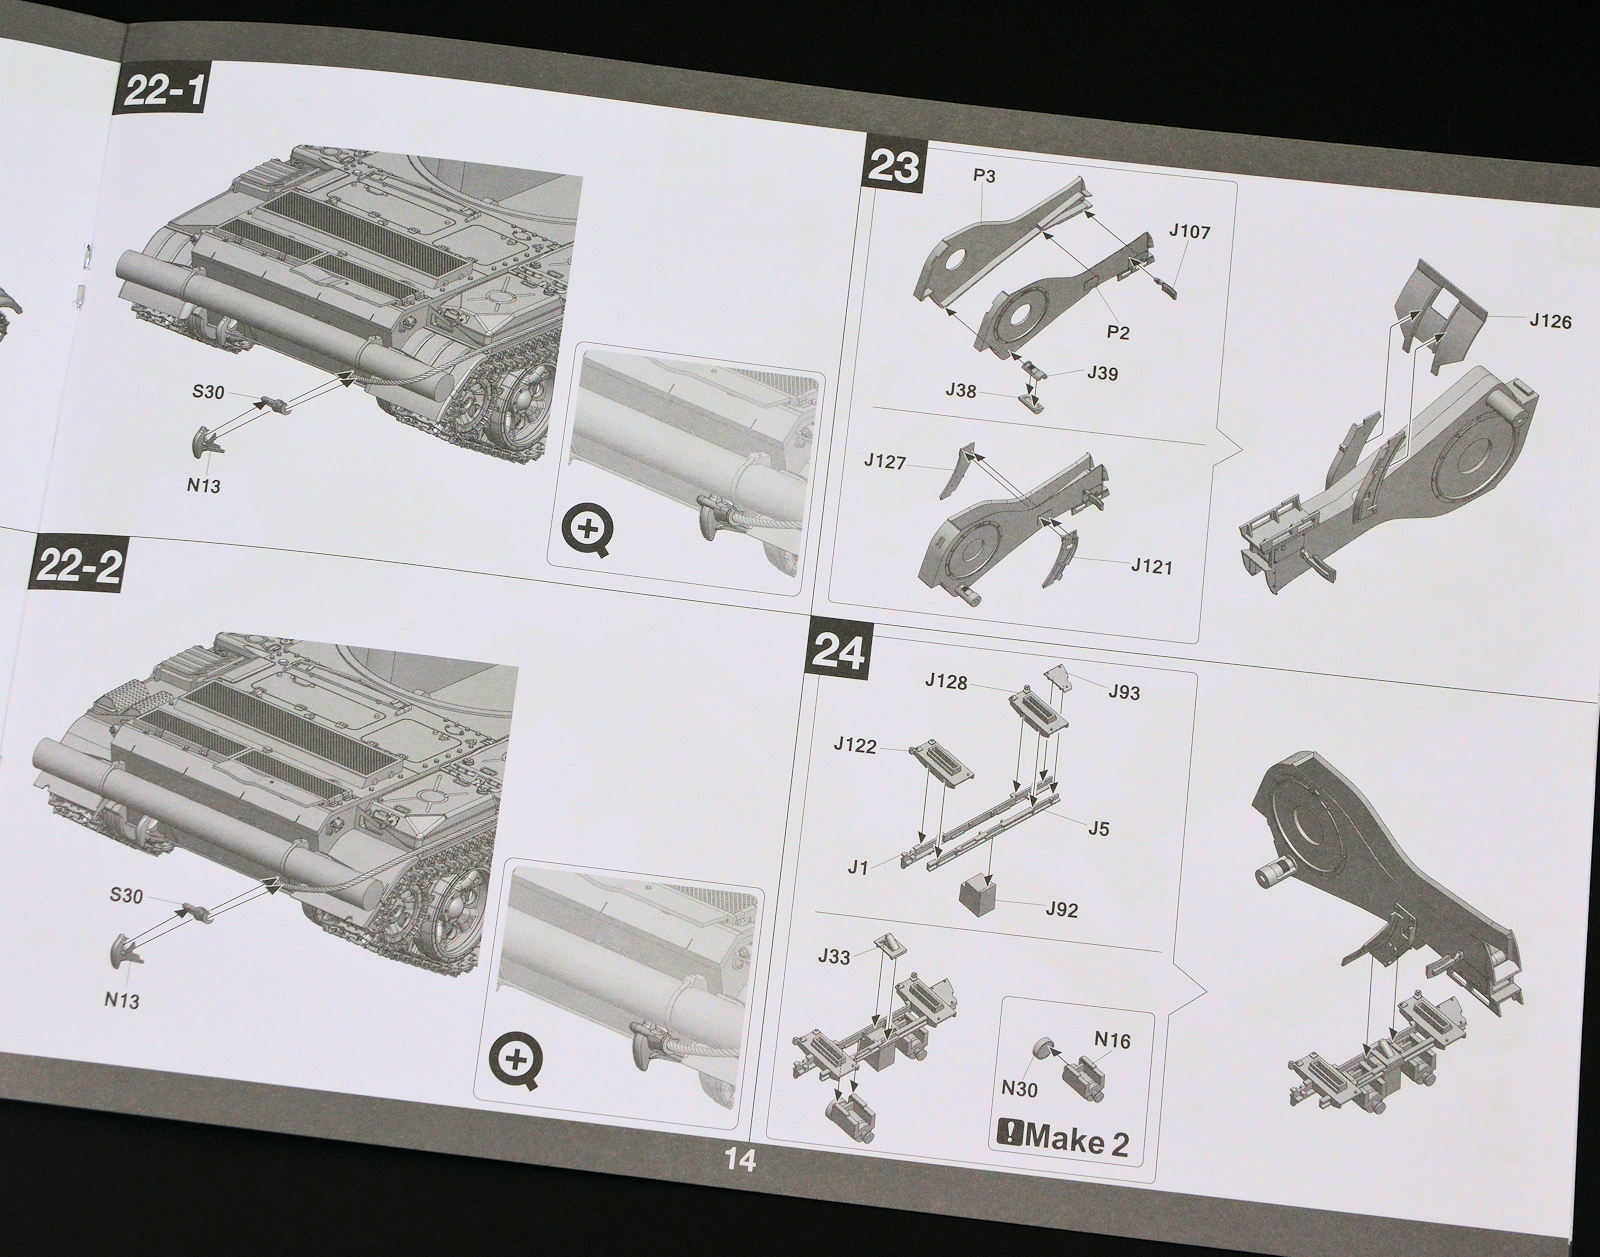
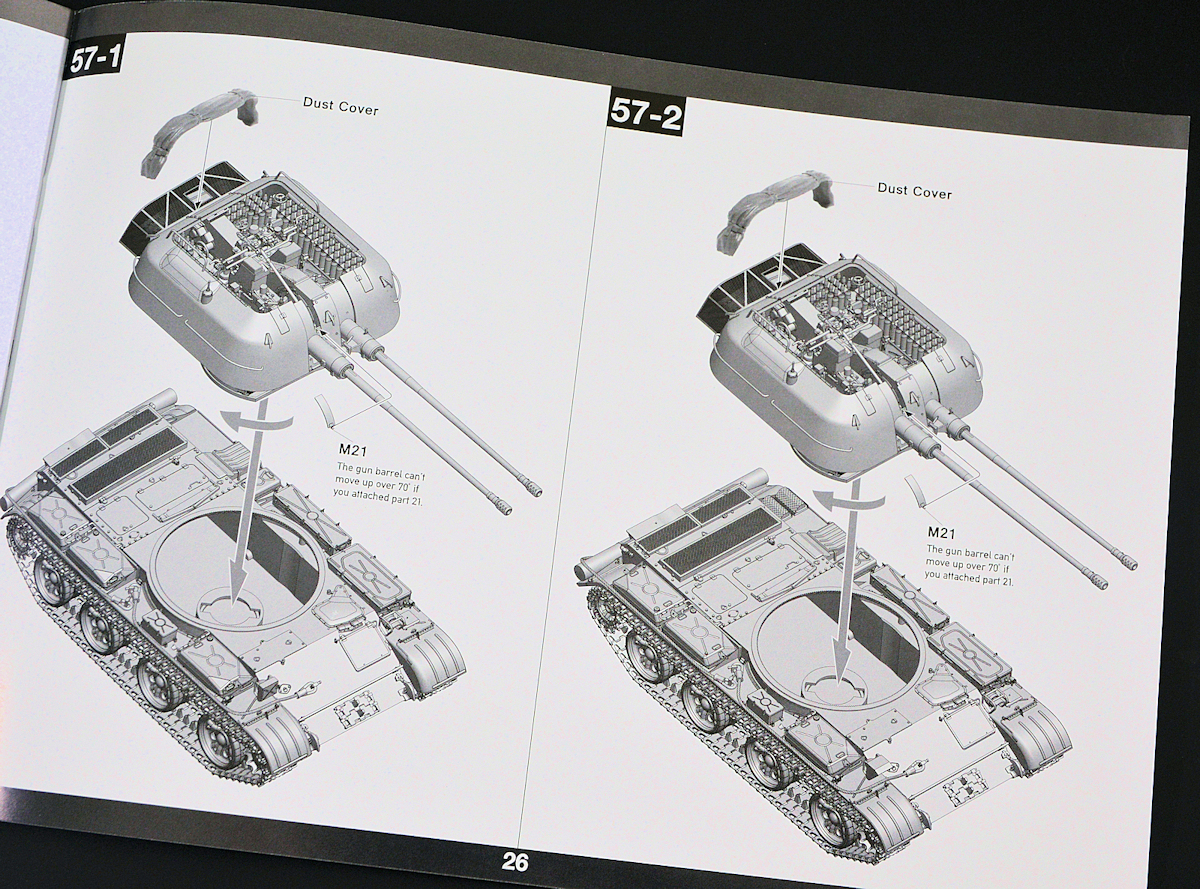
Instructions:
From their inception, we have liked Takom’s approach – simple kits, easy to make but with 21st-century detail. Like a Tamiya white box kit with the detail sharpened up to 11. Not everyone has time, and many people like the painting and weathering over construction or vice-versa. This simple approach allows you to make more models of the same quality.

Sprue map - everything on here will be used...

From the first read of the instructions, I see that this kit follows that mantra. Although there are fifty-seven steps in the construction of this kit, each one of them is simple. Nothing like Tamiya, Dragon or worse Revell instructions that require you to do two or three things on each step. These are simple steps and they do call out certain aspects of the kit you need to know. Sometimes, however, the placement of certain parts is not as clear as I would like. Maybe isolate the parts to be worked on instead of showing most of them from the same angle?


The plastic: is well moulded, with little or no flash, although there are some ejection marks in places, these are unseen (as long as you include all the parts like the ammo racks of which there are several in this area.)
The Turret: The thinly armoured turret top is moulded in quite a complex curve, especially at the top. Raised and recessed panel lines are here with the weld seams running up and down the sides of the turret as well as the rear bolts prominent.


Smartly Takom has injected this with the points flush on the inside of the turret so the removal of the extra material is easy and most of all safe. Looking inside the turret you can see some slight sink marks that will not be seen from the outside.

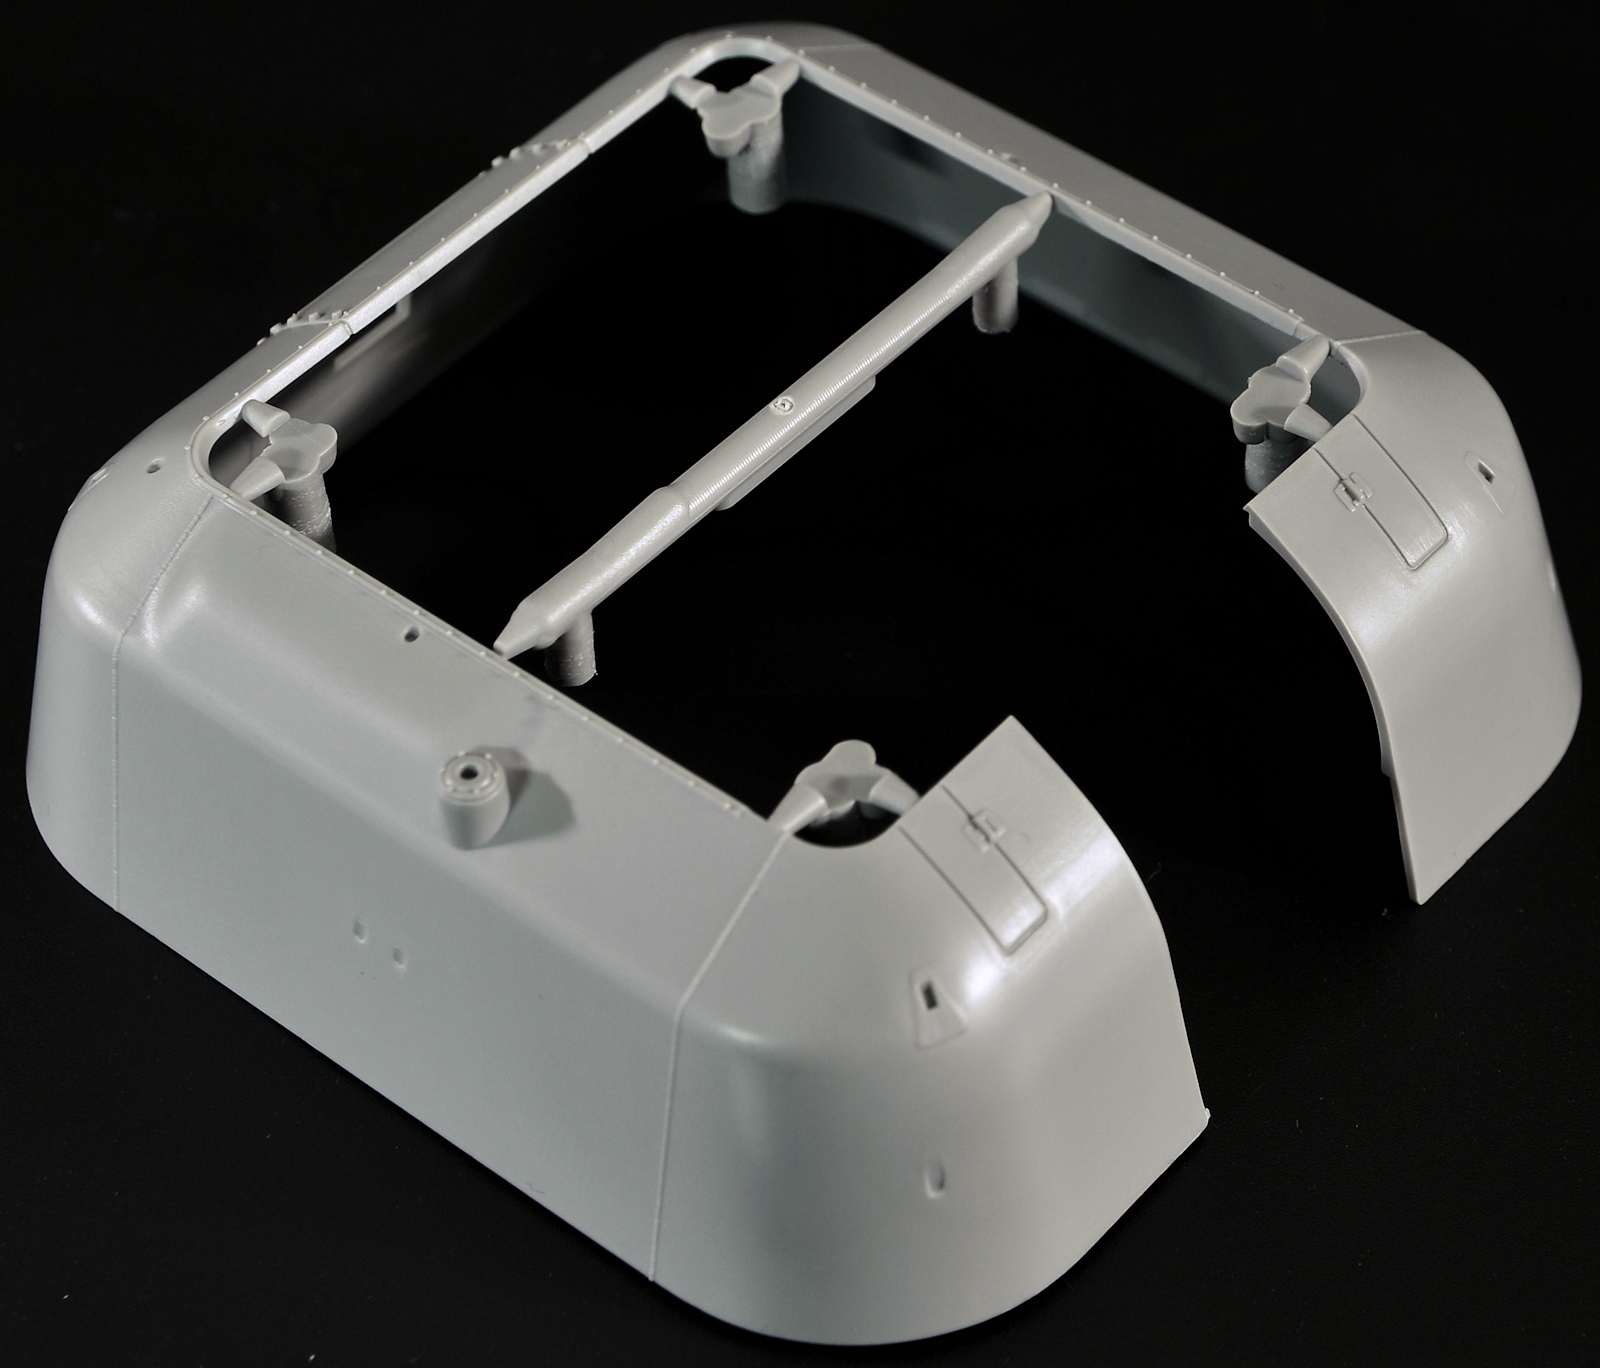
The turret tarp on this SPAAG can be used to cover the large open top to save the crew from the elements and wind when in transit. In the “travelling position,” this tarp features clear plastic windows, however, in the kit’s case the canvas cover is seen bundled up in a roll. The detail is very nicely done. I have seen lots of different variations of this wrap, as I suppose everyone folds differently. If you wanted something different to what is supplied, or you want to show this kit sealed up, you will have to make your own solution. Probably I would think by “Greenstuff” or a similar putty.


While we are on the turret we will look at the photo etch in this kit. Some simple bending will make this turret basket into something quite effective. There are several brackets for the fenders supplied here also. There looks to be no overuse of PE here which is good.


Sprue A (x2): is a duplicate sprue. Both sides of the road wheels are here on these sprues. Linkages and wheel caps are here in the suspension which make the build a lot simpler (no need to go hunting around the box.)


Handy notches are included to help you align these wheels correctly with each other.

Sprue B (X4): each of these four sprues contains five road “tyres” which are lined with the ribbing you might find on brand new rubber. This will be mostly sanded down on most people’s kits, with many modellers wanting to show the kit weathered and not factory fresh. The fact that the wheels come separate is good as it hides the four injection points on the metal roadwheel part, but the ribbing will need a rubbing...if you know what I mean.


The Hull: All of these road wheels and the suspension has to be attached to something. Takom have done a lot of work in replicating the undersides of their hulls, and although there isn’t much on the top you can see here the hatches and fully detailed underside here.


Sprue P: contains a major part of the hull, the whole top centre of the structure, also here are the straight mudguard/fender parts for either side as well as the bottom base of the turret and gun mounts.


The front glacis plates of the tank is here – betraying all of its T-54 roots. Here you see the open holes for you to pose with a crew member inside them or open/ closed to the elements.

Sprue S: again focussing on the hull – Sprue S contains many of the exterior details of the outside of the superstructure. The fuel tanks, fenders & mudguards, spare track for the front, tow cable loops, posable hatches, and most pleasantly exterior fuel lines are all here and all moulded pretty cleanly.


Hinges and screws holding them in place are of note here, and an extra point to weather and detail. The moulding points are again hidden. Good stuff Takom.

A good quality unditching log for the rear of the tank is included. No fishing for similar looking stick in the back yard needed here.

After the fenders, mudguards and fuel tanks go on you will have to attach the Steel towing cable – This is here in a single length of 23.5cm This is silver which is a good start for people who do not like the brass ones, but it will require some “counter bending” to make it the right shape before you attach it to the hull. It’s pretty stubborn.

Sprue L: The external fuel tanks are often discussed with this hull, and these are moulded finely, ready to be connected to the external fuel lines that most are so thankful are included in this series.

By the time you get to the 22nd step, you are finished making the hull. Next are the twin 57mm guns. Sprue J has most of these parts that make up the gun and interior on the – so many there really is nothing to point out until the kit is built that you could recognize.


Some of the external parts of the turret – the mantlet facade and the base of the rotating turret are also included here – nothing again of note until the kit is built.

Sprue N (X2): Is also a major part of the gun and here the most easily picked out part is the partially hollowed out gun muzzle of the 57MM. There are also external hitching cleats and the hollowed out end of the two ropes on this sprue.

The gun barrel is OK – but with this AVF, the main feature are the guns and the barrels, for this reason, I would replace them with aftermarket ones for the cleanest look. You do not NEED to, but I know I would in this case…It’s up to you in the end.


Sprue E: contains the larger parts of the gun all of the body of the mechanism is here in sharp detail. This is just as nice looking as the rest of the gun parts however it means nothing till you see the gun altogether.

Here are the guns all made up - it's an impressive beast !

Sprue G: houses 220 unspent clips of ammunition. Ready to be plonked right into, covering up those nasty ejector circles we saw earlier. These are great – I would like some hollowed out spent brass for the rear basket, but again that is an aftermarket solution.

The Clear Sprue has the vision port/ periscopes and the light “glass” all ready to go. No blemishes or hard to remove parts to scare the transparencies here.

Many, many colours…
That is the end of the plastic and metal – now we look at Decals and markings. There a total of ELEVEN markings included in a full colour fold-out A5 leaflet. AMMO has supplied the colour call outs with their partnership with Takom well known and successful. If you have those paints, then great – but a bit of colour matching will need to happen if you want to use someone else’s brand. This isn’t ideal, but then again with all the research that goes in from Mig’s guys, there would not be that many choices to be had with a kit colour scheme booklet without their help.

An attractive booklet isn’t it?

The decals are supplied on a small sheet that kinda hides the sheer number of schemes it has to cover. Even the smallest of printing is rendered here very sharply. The marking of East Germany are especially hard to pull off in such tiny detail, but they are done well here by the printers at Cartograf. You can see the regulation/ competition sized match how fins some of the printing is. The decals are printed on a medium shine surface with thick texture.


Most interestingly to some builders the 1960 Moscow Parade vehicle with its white wall tyres of the Red Army and two versions from the NVA in the Vietnamese war are here. I have my favourite already – maybe two or three from that lot.

Here the kit is all made up.

This is a great choice of a popular kit that needed updating. I like this kit very much and think it will be deservedly on many people’s shopping lists.
Adam Norenberg
Thanks to Takom for supplying this kit to us to review – you can get it from their distributors worldwide.
Our very good buddy Charlie Pritchett (who works for Takom when not building models – full disclosure here) has built this kit – this is what it looks like in NVA colours…


We met Charlie on our trip to the Shizuoka Model show in Japan this year. He struck us immediately as a lovely bloke, and I know I am happy to know such a talented modeller is such a good person. When he told us he was making this vehicle we asked if he would let us into how he painted his before it goes into print later in an article. This is the painting instructions he gave for this NVA ZSU....

Painting began with the turret interior, which was simply airbrushed with A.MIG-050 Matt White.


The tracks were airbrushed A.MIG-042 Old Rust, while the exterior of the model was first painted with a base coat of A.MIG-930 Russian 4B0 Shadow to cover all of the grey coloured plastic, followed by A.MIG-931 Russian Dark Base.

The final colour to be airbrushed onto the model was A.MIG-932 Russian Green Base (ZIS 508), which was focused in the centre of panels & parts, allowing the darker base to show through around the edges. A clear gloss acrylic coat of Johnsons Future floor wax was then airbrushed over everything to prepare the surface for weathering & decaling, and also to create a shiny painted metal effect to contrast with the weathering.
At this point, the other colours were applied with a brush, such as A.MIG-033 Rubber & Tires, which was used to paint the road wheels & mud flaps, and A.MIG-049 Red which was used to pick out alignment bolts on all of the wheel hubs. Washes of A.MIG-1005 Dark Brown were applied to the exterior to create depth and contrast before adding a bit of the darker base colour (A.MIG-931) with a sponge. This was done to distress the paint and add a bit of tonal variation; not to create any chipping effects. Further washes of A.MIG-1400 Kursk Soil & A.MIG-1404 North Africa Dust were applied individually, mixed, thinned, and layered to create the dust effects on the horizontal planes, and the same colours were used to create streaks and rain marks with the help of A.MIG-2011 Heavy Chipping Effects on the vertical surfaces. The interior of the turret was washed with A.MIG-1003 Interiors Wash, and darker stains & washes were added with A.MIG-1005 Dark Brown Wash & A.MIG-1409 Fuel Stains.

After airbrushing the internal ammo with Alclad Polished Brass, the warheads were carefully painted with a brush using A.MIG-924 Olive Drab Shadow, and then dry-brushed with Rub'nBuff silver leaf. Finally, the first round in each ammo clip received a painted red tip to indicate a tracer around. The tracks were given washes of A.MIG-1004 Light Rust and A.MIG-1400 Kursk Soil, and then the treads & guide horns were dry-brushed with Rub'nBuff Silver Leaf."
