

On hearing that Takom had released the "V-2" missile in 35th scale, Clayton (and a few other modellers we think) got interested. How would this massive rocket look in this scale, and how would it all go together? Well, we have the pictures of the kit and Clayton's build here for you today so you can make your own mind up...


V-2 WWII German Single Stage Ballistic Missile
1/35th scale
Product No # 2075
Markings for five different rockets
Price: ¥2,640/ USD $23.91/ €21.96
The V-2 or Aggregate 4 (A4), was the world's first long-range guided ballistic missile. The weapon was developed during WWII and was designed to be used against the allies as retaliation against the carpet bombing of German cities.


At the fall of the war, Allied forces raced to seize control over the German manufacturing sites in a scramble to help better understand the new technology. Over 100 German’s working on the V-2 program went on to surrender to the Americans, and he would go on to work with them on their own rocket program.

THE KIT
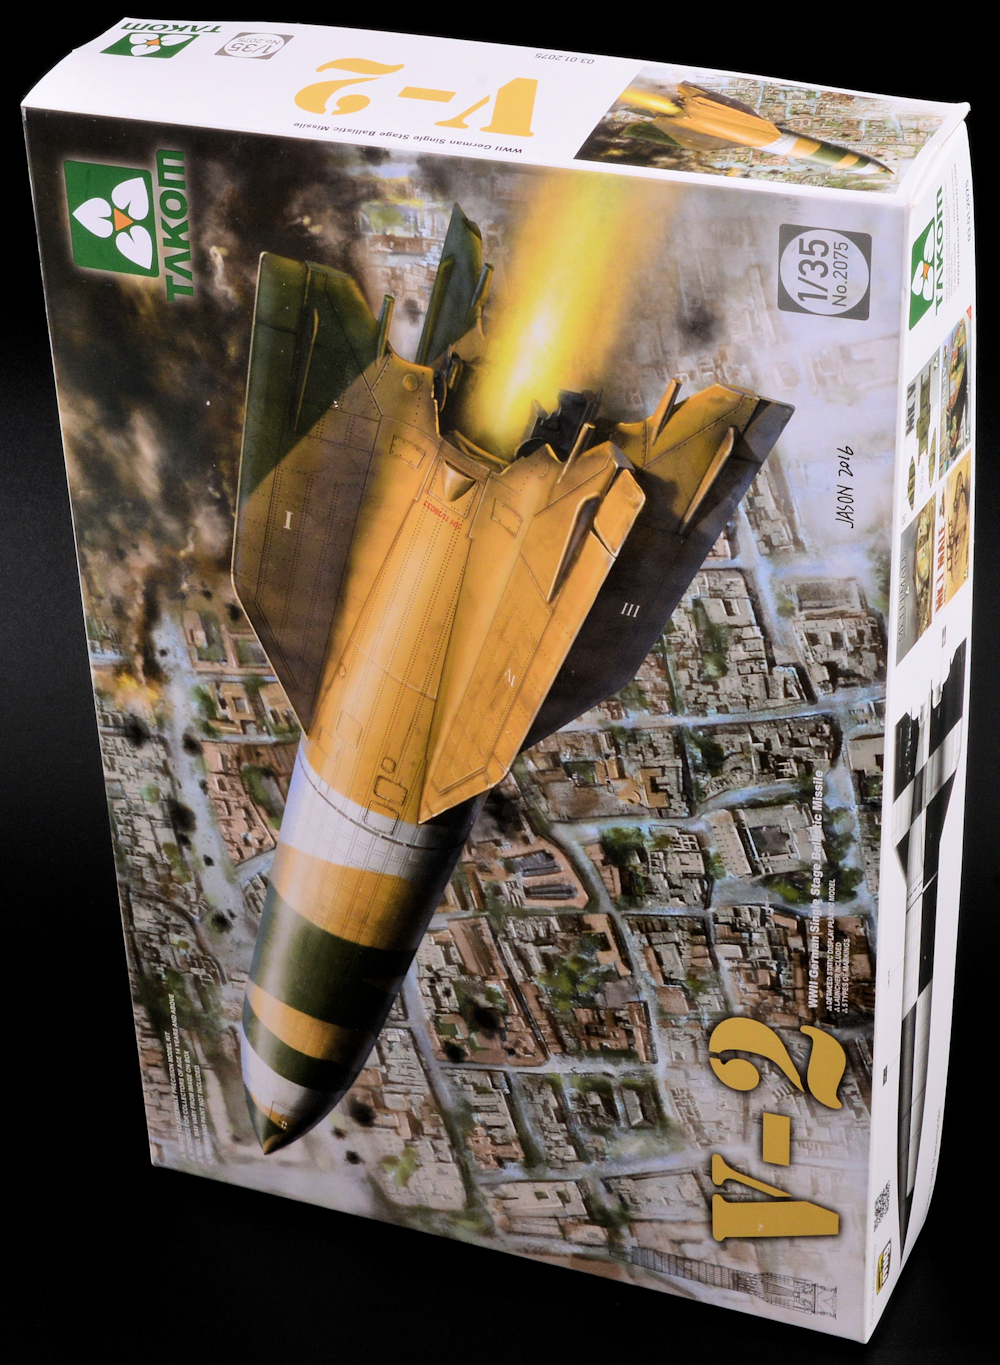
Again, Takom’s box art is beautifully presented and a real draw to the kit.
The kit comes with 77 parts over 6 grey sprues. A lot of these parts are not actually required for the build and are used in the alternate release of this kit that sees the rocket paired with the Hanomag and trailer.

The instruction booklet is included and is in the typical Takom style we have become accustomed to. There are six (6) basic assembly steps, four (4) of which are from the actual launch pad, so the kit should prove to be a very simple build.


1. Field Test, Fall 1943, Spring 1944 (work that one out…)
2. October 3, 1942, Peenemunden

3. Test Scheme Fall 1942 thru Spring 1944
4. October 3, 1942, Peenemunden

5. Test Scheme 1, Summer 1943

There is an interesting mix of schemes in that selection, and that for me was one of the real drawcards of this subject.
There is a small decal sheet supplied with the kit, and the positions are noted on the back of the instructions. I found it a little odd that the decals weren’t called out over the colour schemes, and it makes me wonder if each of the different schemes actually wore the stencil markings. I also believe after some research that there is a really key element missing from the decal sheet. That being the tail art the rockets wore.

As with the rocket program, the nature of the business was that you would see months worth of work come crashing to earth in a matter of minutes. As a way for the scientists working on the rockets to preserve the memories of them, they would paint a unique piece of tail art on them prior to launch.

On to the rocket itself…
I liked the straight lines of the test scheme from 1942, and set about painting my model in this scheme. I was attracted to this scheme due to the history of the rocket. The V-2 that wore this paint scheme, was the first man-made object to enter space. It is unfortunate that being such a historical subject, that you only see one side of the scheme. I don’t believe the pattern is symmetrical, so a bit of research and logical thinking was needed to be employed, however, a four (4) sided drawing of the scheme would have been really helpful.
I also believe, as noted earlier, there was a pretty significant graphic on the base of the rocket that would have been a really nice addition to the kit. I did consider attempting to hand paint this, but backed out of the challenge without even trying.
The graphic was entitled, ‘Lady of the Moon’

For anyone interested in learning a little more about the subject, I found some terrific information at https://clarencesimonsen.wordpress.com/
The Build and Printing Process.
Steps 1 to 4 sees us making up the construction of the launch pad. The build is very straightforward and requires very little explanation on my behalf. Here are the main parts on the spue for these steps.


 One word of criticism would be that no colour advice is pointed out for the launch pad, and very little information was available on it, so I took it upon myself to choose some plausible, German colours. Don’t take my build as any type of authority. It is just a bit of fun mixed with a lot of guess work.


Photo etch is included for some of the finer details of the rocket's rear end...

Sub-assemblies were made and painted in Tamiya Neutral Grey and lightened in parts with a mix of the base colour and Sky Grey. I wanted to try and give the base some character so this layer of paint would serve as the chipping colour for subsequent paint layers.

The base then received a layer of my wife’s finest hairspray. The base was then painted in NATO Black, and the top sections were sprayed in Field Grey. The uppermost section received an even lighter shade.

Using a moistened old brush, the chipping was achieved by gently rubbing the brush on the area in question. Here you see the initial result. Washes and painting some details will tone this down later and make it look more realistic.

Details were brush painted using Matte Aluminium from AMMO, and the model received a wash using AMMO’s wash for Modern Vehicles and Anto Camouflage wash.

The teeth on the gear wheel are now buffed up using Gun Metal pigment and a greasy, oily looked is achieved using an Oil enamel wash. A matte varnish was that sprayed to set everything in place.


STEPS 5 and 6
The two sections of the rocket are now connected and the fins are applied. Here are the main parts of the rocket...You can see here the whole 39cms length


 The fit wasn’t perfect and a small amount of filler was required to close up some minor gaps. Nothing major though. The join between the two larger sections was OK, but not seamless and required some sanding to lose the lip.

The rear/ lower section of the rocket in closer detail.

...and the fins of the V-2


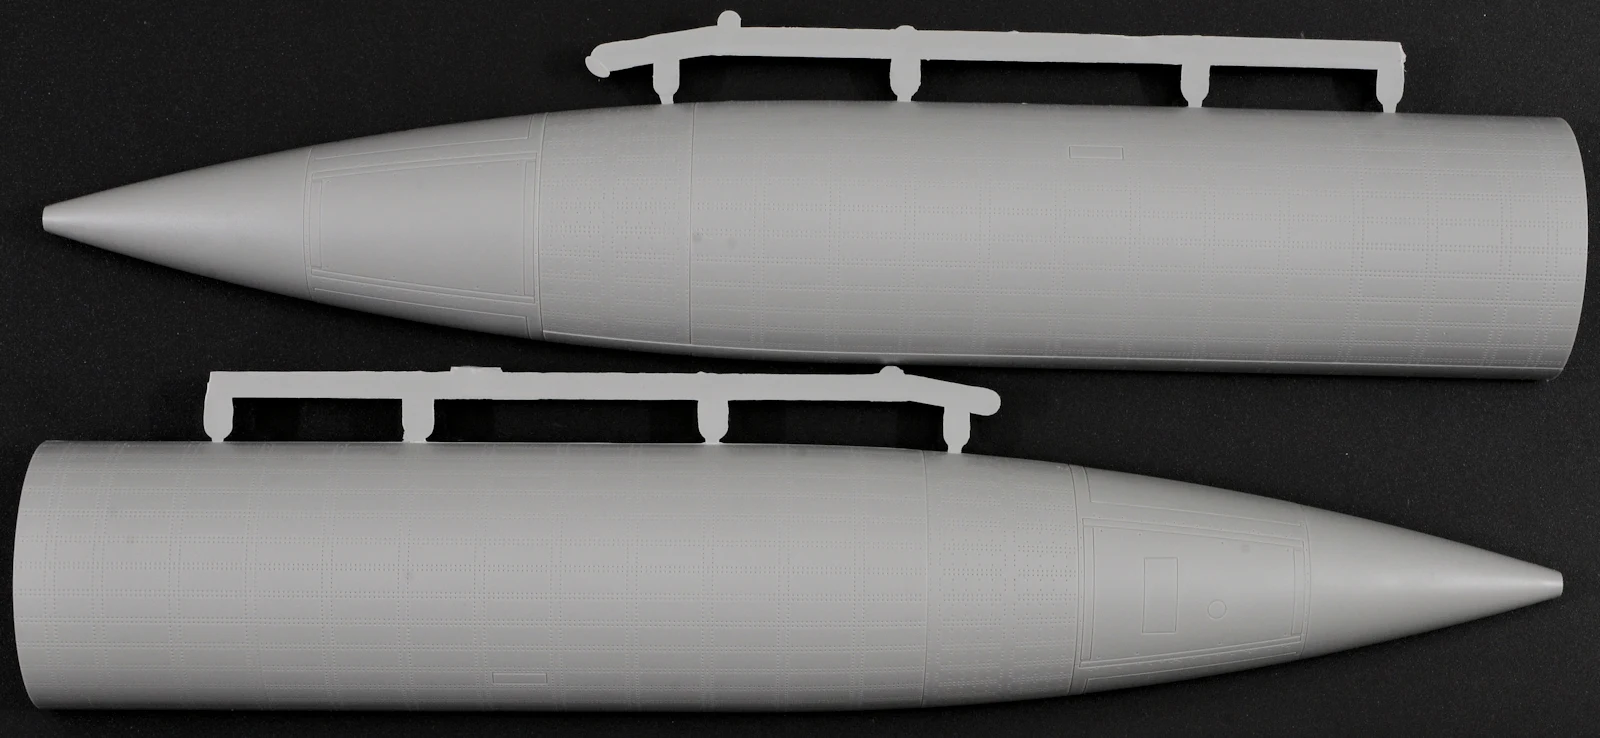
Here are the two main fuel and warhead sections of the V-2 a bit closer, they are attached to a small runner.


...And closer still - you can see rivet detail but unfortunately no raised rivets here.

It’s about now you get an appreciation for the size of this model. It is massive. Here you see the model has also received a primer coat of Alclad Grey Micro filler.

The challenge with this scheme was always going to be getting some depth and life out of the two neutral colours, in the hope it wouldn’t look like a toy. In order to achieve this I thought I would try the pre-shading technique. Basically, I have loosely sprayed around seam lines and logical places where a shadow would sit. It isn’t perfect, but it won’t matter. It’s just for some variation in the white parts. The tone was a heavily thinned NATO black. Peg courtesy of the clothes line…


The model then received a very basic spraying of white around about where it was required – masking will tidy these lines up and the black that will follow will hide any of the paint underneath. Not too heavy on the white coat as we want to see some of that pre-shading coming through.

Due to the nature of the scheme, I found it easier to break it down into two parts. Here you see the first basic mask. I do get a little lazy with my masking in the fact that it is the bare minimum, so care needed to be taken to avoid overspray.
Tamiya XF-69 NATO black was the foundation colour, and subsequent layers were applied using lighter tones by mixing Sky Grey and Deck Tan in with the NATO black. Again, this was in an attempt to get some life into the black.

The first layer of masking is removed and immediately the scheme is starting to take shape.

The second part of the masking has been completed and removed here. Shortcomings in the white spray will need to be tended to, note that the fin needed attention.

Again with some masking, and the white is blown in. Not a lot in it, but here the white has a little better coverage.

The black sections now receive an oil wash using ‘starship filth’ from Abteilung, and the white with Faded Grey. There are a lot of rivets and panels in the moulding. The wash will help highlight them. It is a fine line though, as the subject would have seen very little wear in reality, so this was a case of trial and error.

The wash complete

I wasn’t entirely happy with the finish, so I gave the whole model a brush coat of Grey for White filter. But it softened things up a little too much…. So….

More masking… I felt the black needed to be stronger than it was, so a thinned mix of NATO black, JN Grey and then Black was used to lift panels and create shadows. Hard to pick in the photos, as it was quite subtle.

As a final attempt to get some variation out of the black tones, a drybrush technique was used on some of the raised areas using Tamiya Neutral Grey. White was sparingly used in some parts also. It is also worth noting the decals have been applied at this stage. I can’t vouch for the accuracy of these markings, and the positioning of them seemed a little ambiguous to me, but they did add some interest, so I decided to apply them regardless.

A couple of coats of MATTE varnish from the AMMO range would see this model complete.


Conclusion
I always recall the old Dragon V-2 kit and kicked myself I never picked one up when I had the chance. But as they say, all good things come to those who wait, and Takom came to the rescue.


This kit is as basic as it is big. There’s not a lot of building in this, the fun is all around the painting, and the numerous number of schemes available for this subject mean the modeller is spoilt for choice.


It was a logical but clever piece of marketing for Takom to offer this as a stand-alone kit as well as offering it with the tractor and trailer. It is a nice entry point to this unique subject for those how can’t stretch to the trailer/ tractor combo.
Just be mindful of the size of this thing. It is a big model, but an interesting piece to add to the collection.
Clayton Ockerby
See more of Clayton’s work at his website “Workbench Hobbies” or join him on his Facebook page

Thanks of course to Takom for sending this model to Clayton to build
And last but not least thanks to AMMO for providing the weathering supplies to this model build...
