

Last week we gave your our in-box review of this little kit from Amusing Hobby - We prophesied that it might be a simple, but fragile build in parts - Let's see how if that came true or not - and how it built up in our build guide Article...

Build Guide: Pz.Kpfw.38D mitt PZ.IV turm 8cm PAW 600
Link: In-Box review of this kit.


The main running gear set up here, with the simplicity of this suspension compared to all of the interleaved roadwheels I had been doing of late this is a revelation.


Step 4: The rear deck of the hull of the tank is a simple flat wall that fits very well to the hull and mudguards. A simple addition of some spare tracks tot rear as well as a towing hook, just like the Jagdpanzer 38 or Panzer 38t this was going to be related to.


Build Guide: Pz.Kpfw.38D mitt PZ.IV turm 8cm PAW 600
From: Amusing Hobby
1/35th scale
Kit No# 35A019
Plastic injection moulded kit
Product Link on the Amusing Hobby Website
Price: ¥3,120/ $30.03 USD/ €24.15 from Hobbylink Japan
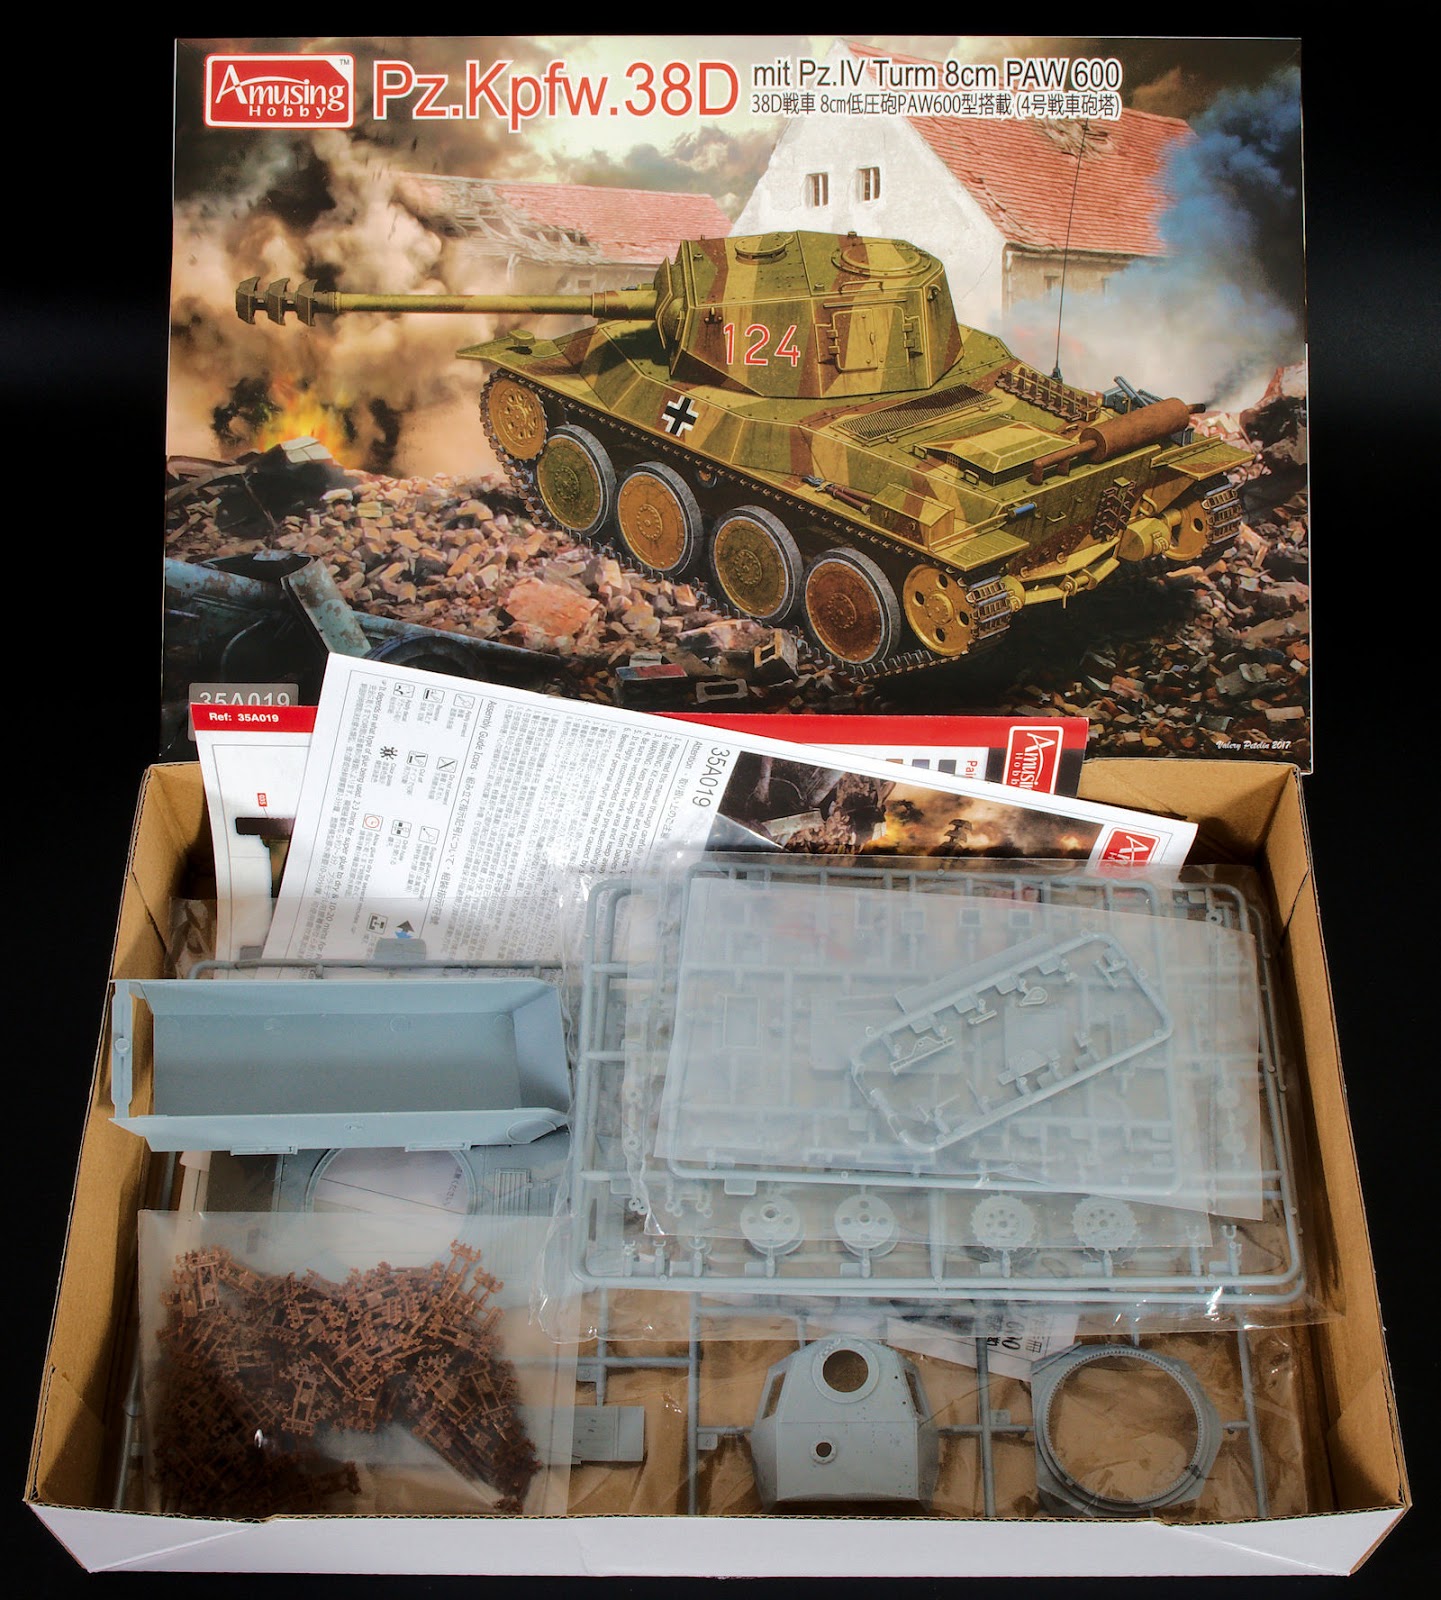
We reviewed this kit last week and found that it fitted into what we had seen already from Amusing Hobby - A simple process and low parts count with plenty enough detail to make a nice kit to display on its own, or to improve on with more details with (probably) flimsy tracks. Now if you can get over this last point you are in for a treat, and knowing that a model is what you make of it - we set about making the kit to show you the finer points of construction of this kit step by step.
Step 1 & 2: "Construction starts with the cockpit" is the old cliche, and with tank and AFV modellers it is the suspension that always seems to be the first thing. The first step is just window dressing the hull and fitting the return rollers to the upper hull. These can be left off until the tracks are in place if you like.

The road wheels are secured on lugs that allow them to be revolved after construction for a working suspension and tracks (not recommended) and as you can see the suspension mould seam down the centre was pretty easily removed. There are four spring sets ups in all and these, with the whole running gear were a cinch to get made and on tot he bathtub style hull of the tank.

The articulating suspension on display in action here. AMS modellers might want to chip these rubber wheels a little - I think it is an easy addition I would have added and still might before the kit is painted up.

The main running gear set up here, with the simplicity of this suspension compared to all of the interleaved roadwheels I had been doing of late this is a revelation.

Step 3: Before the tracks go on I thought I would show how this gear can be posed over an uneven surface. It does not spring like some suspensions but it is easy to pose and fix in place alternative that impressed me. The side skirts of the tank pop on pretty easily and give you a stencil almost of the placement of the top of the hull.

The underside of the kit with side guards attached.

Step 4: The rear deck of the hull of the tank is a simple flat wall that fits very well to the hull and mudguards. A simple addition of some spare tracks tot rear as well as a towing hook, just like the Jagdpanzer 38 or Panzer 38t this was going to be related to.
The rear deck with everything added, again a very simple construction. The rear mudguard holder here on the left-hand side separated but I secured it with a squeeze.

Step 6 shows you the return rollers and how they can be left "workable" I secured mine in place.
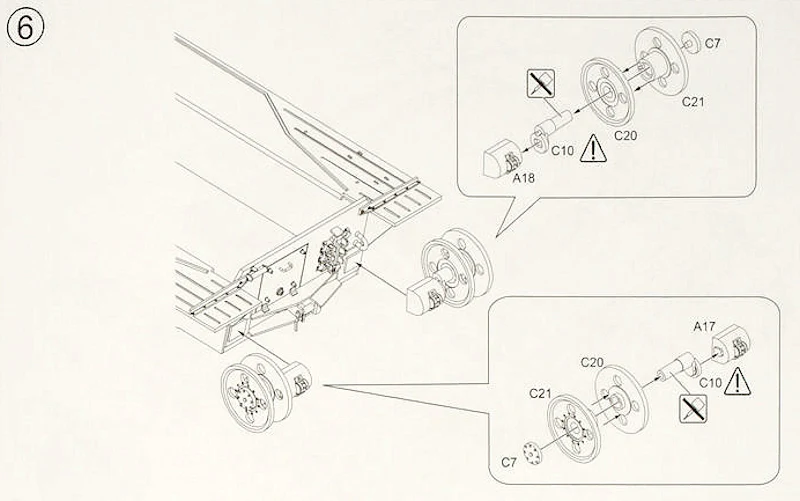

I secured the top deck of the hull before I added all of the rear engine deck stuff, it was such an easy thing to do I jumped a step on that one. Don't worry the steps are so simple you won't miss anything.


Securing the top and bottom hull parts there are some nice weld details that I enhance with some extra glue and the knife, making these a little more pronounced and rough was my aim here. I know that as the war went on resources and time was scarce so this being a late war AFV I wanted a rougher look than a Panzer IV for example.

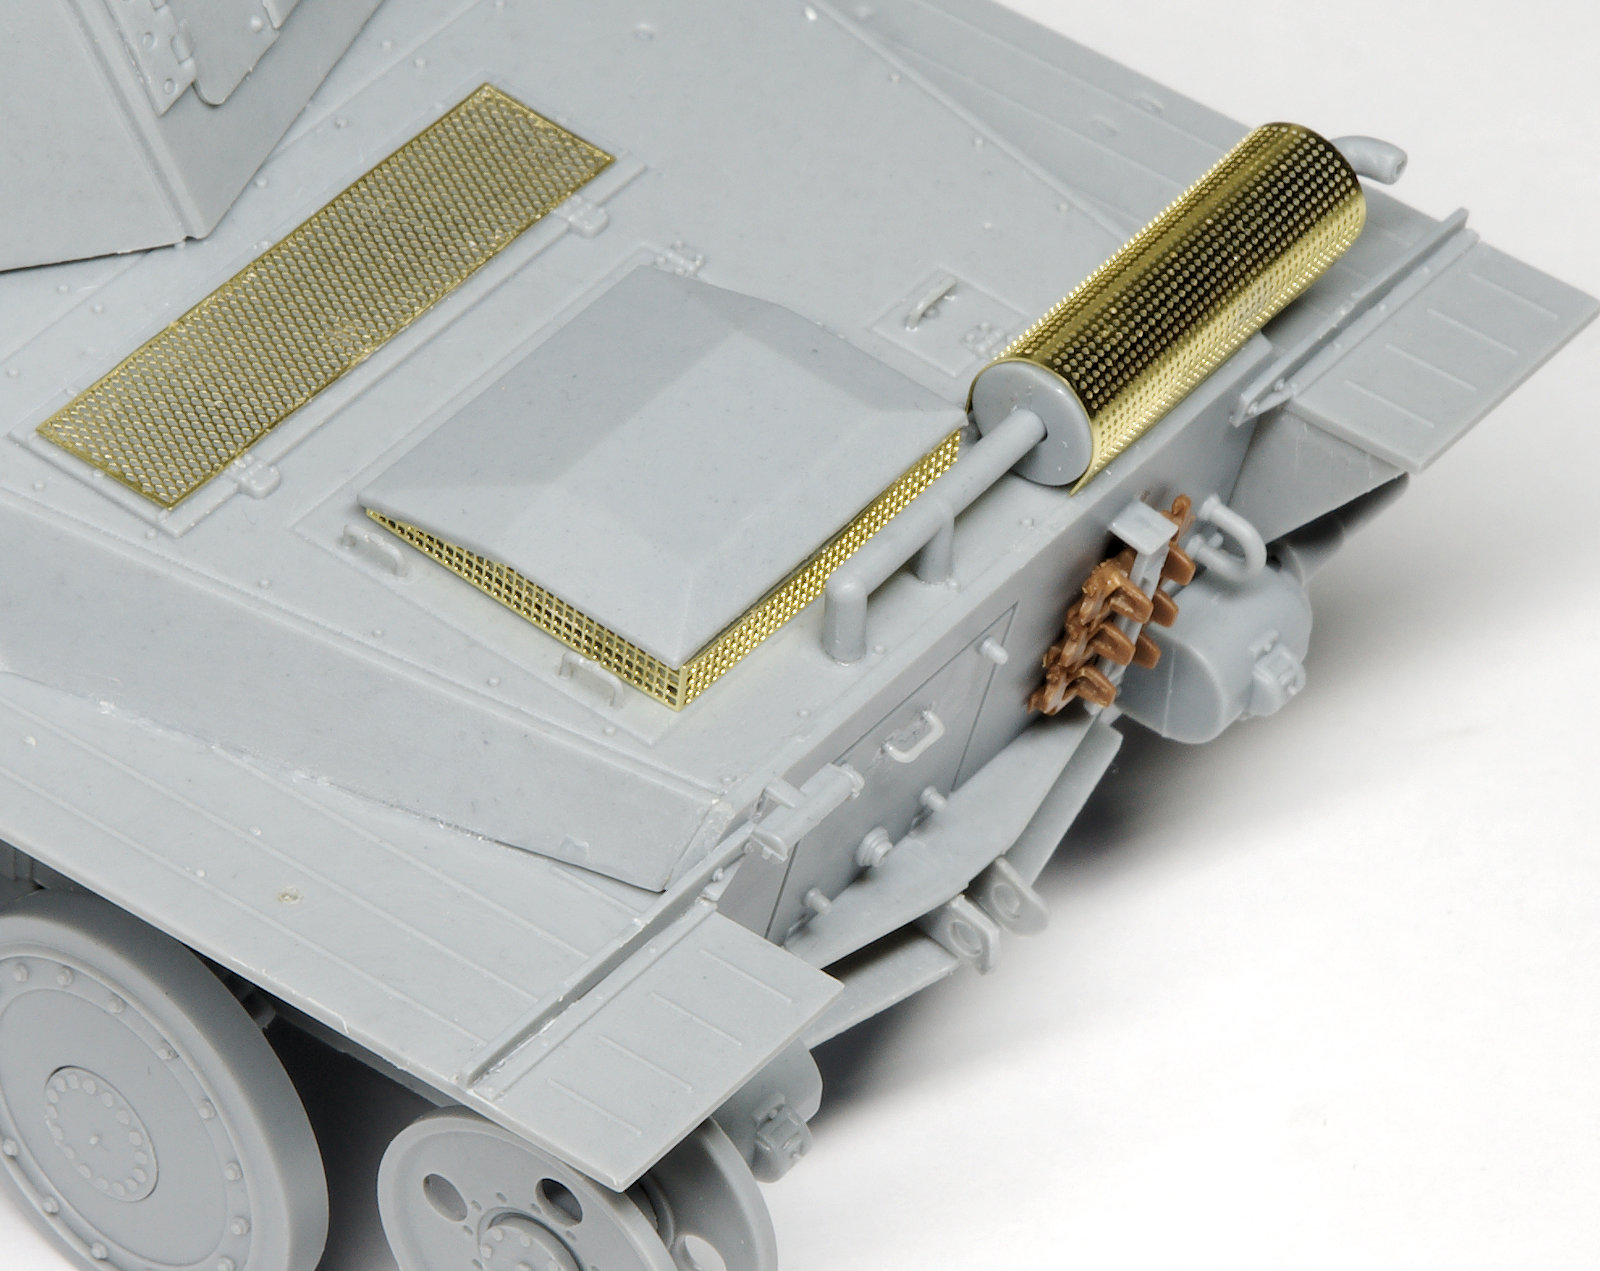
I bumped back to steps 7 & 8 now: these steps involved me constructing some spare tracks for the top deck and the mech guards for the engine grilles and the exhaust.

The top cover of the engine is raised above the rear deck and the grilles are wrapped around the box to stop foreign objects (including the odd Molotov cocktails) falling in there

I used my handy Xuron Photo Etched Scissors and flat bending pliers to bend the straight parts of photo-etch. A spare pencil to roll the rounded exhaust cover. Tools like these and simple household items can suffice when you want to save time or do not have special bending tools.

As you can see here the grilles fit quite well, except for the rounded exhaust cover which is a little short in width (the thinnest edge). I bent these extra tight to minimize any gap and so it is hardly perceptible.
Step 10 is the addition of all of the other tools for the rear deck. The tool boxes, wire cutters, spare tracks and keeper, NOTEK headlight, jimmy bar, and lastly Jack and wooden Jack block are prepared. The wooden texture of the jack block was enhanced with a knife to give it that grain that enhances these under some weathering.


Here it all is on the rear deck in close up - Very Jagdpanzer 38t-like in look, and I think I will damage this up a little to give it that "lived in" look before I paint it.

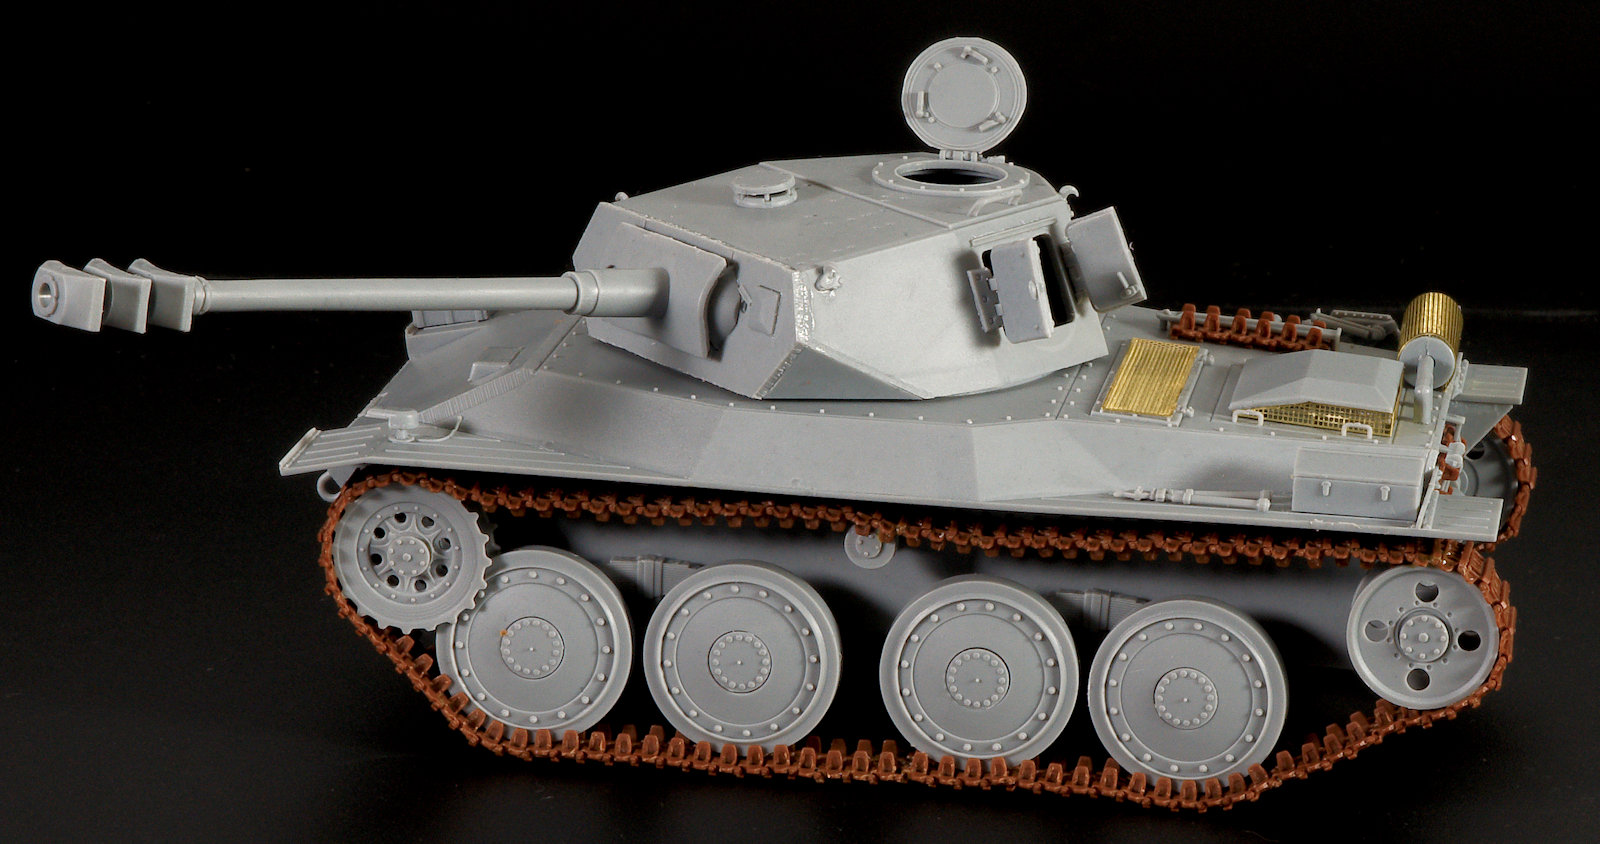
Steps 12 & 13: The turret is next - with the main construction being top and bottom parts whch meld in very nicely. The hatches, two turret doors on each sides and various lifting points and rain guard over these are easy to put together.

DONT do what this silly differ did and put the turret on back the front! lol - I realized too late after I sealed up the top and bottom halves.

Step 14: Sees the PAW 600 lightweight anti-tank gun that used the high-low pressure system to fire hollow charge warheads placed on the front mantlet. The mount is then able to be pivoted upwards and downwards, of course, the inclusion of the MG 43 into the mantlet is here also - thankfully just a barrel and none of that several parts gun no one sees silliness.

I roughed up the seams on the sides of the mantlet to give it a rough weld texture.

The barrel of the PAW 600 is notched o it goes in only the correct way.

The front plate and mantlet hinged here slightly popped out so you can see it (on the left)

The three barrel baffles trimmed of the flash that the thin edges house (be careful kids!) ready to be secure dot the barrel.

The PAW 600 in-situ (refer to our review to see exactly what this weapon is all about). The baffles on the front of this weapon really set it apart from a lot of other main weaponry you see on tanks and they are a talking point amongst your mates when this kit is completed "What is THAT" is a common question.


Step 11: The tracks are next and the penultimate step. I left these till nearly last because although they are meant to be workable, and although they go together really easily, they are fragile once in place because of the fine nature of them. These look great, but you need to secure them in place with some strong glues otherwise they pop out of their side securing links.

The very front of the gun - an interesting talking point on this tank I thought

Step 11: The tracks are next and the penultimate step. I left these till nearly last because although they are meant to be workable, and although they go together really easily, they are fragile once in place because of the fine nature of them. These look great, but you need to secure them in place with some strong glues otherwise they pop out of their side securing links.


Here they are wrapped around the running gear. The securing, fixing, breaking of these tracks took nearly as long as it took me to make the simple steps of the rest of the kit. they are just so delicate. However, I am not going to complain - as they look great and cost no extra to make realistic and fine looking tracks for your kit.

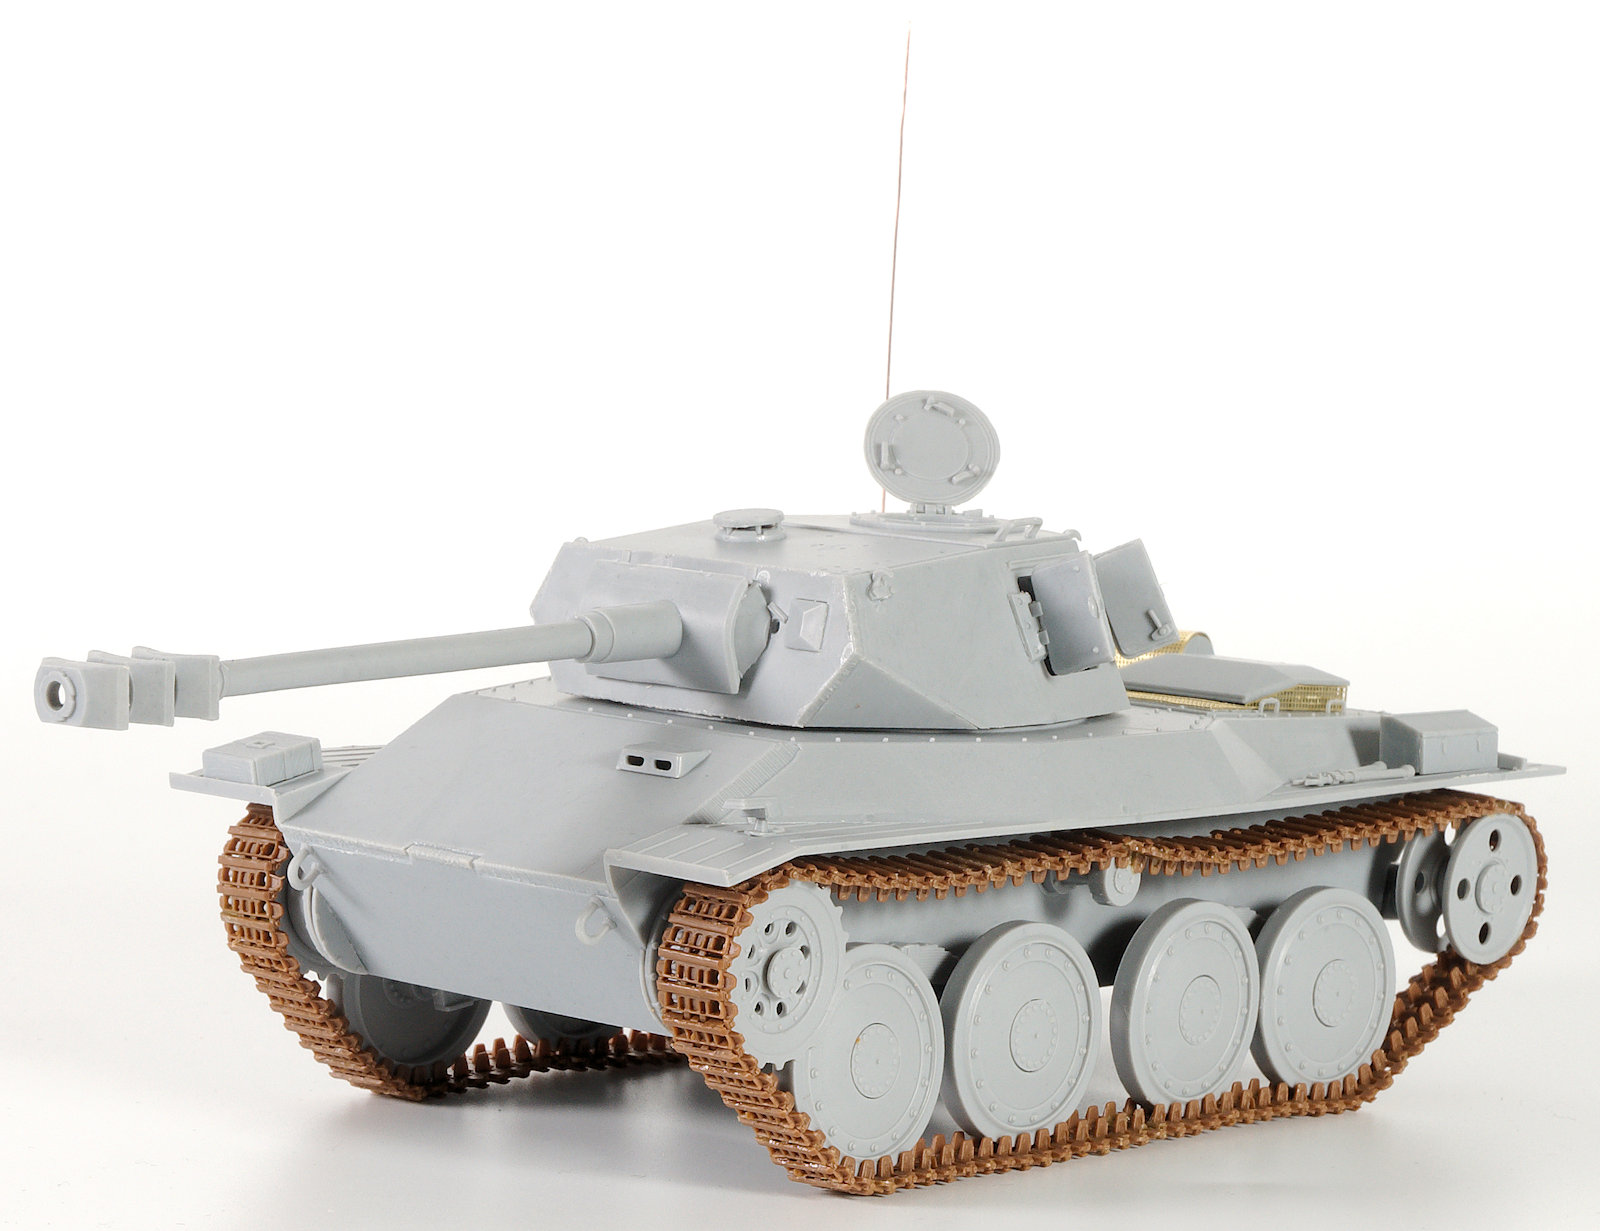
Lastly, I used a simple bit of brass wire straightened out to make the whip aerial.

Now we see the finished kit with everything in the box added in some detail in a walk around.


Here it is at a greater distance away showing the whole tank and its peculiar look...


The actual size of this diminutive tank is seen here next to a tankman of the same scale. It sure was small, and the weight of the turret saw it not taken into production in real life. No one is saying it wouldn't make a great little model. and I think that is what it is - a nice, simple to make and effective kit from Amusing Hobby.
 Adam Norenberg
Thanks to Amusing Hobby for sending this kit to us to review and then build.
