


Published by: Model Art
3 DVD Set
Available in English.
Total Length: 253 minutes.
Available from this link on the 20th of April for 3,333 Japanese Yen/ $29 USD/ $41 AUD/ £24 GBP/ €26 Euro (plus P&P)

Volume three of Calvin Tan's figure model masterclass series focuses on the remodelling, painting and construction of figure models. A three disk set, this DVD promises to add to the previous volumes with new techniques to be added to your tool kit and an expanded base of knowledge from this very good tutor - all on an easy to follow video format.


“This instructional DVD was developed for the beginner armour and diorama modeller in mind; in which I will demonstrate a variety of easy to master techniques employed to attain this final result. Topics include proper paint application techniques, choice of brushes as well as some little tricks and shortcuts I have developed over the years painting figures. Bear in mind that it is not a continuous record of the painting process but a showcase of techniques for any modeller of different skill levels to incorporate into their repertoire of techniques”
by Calvin Tan
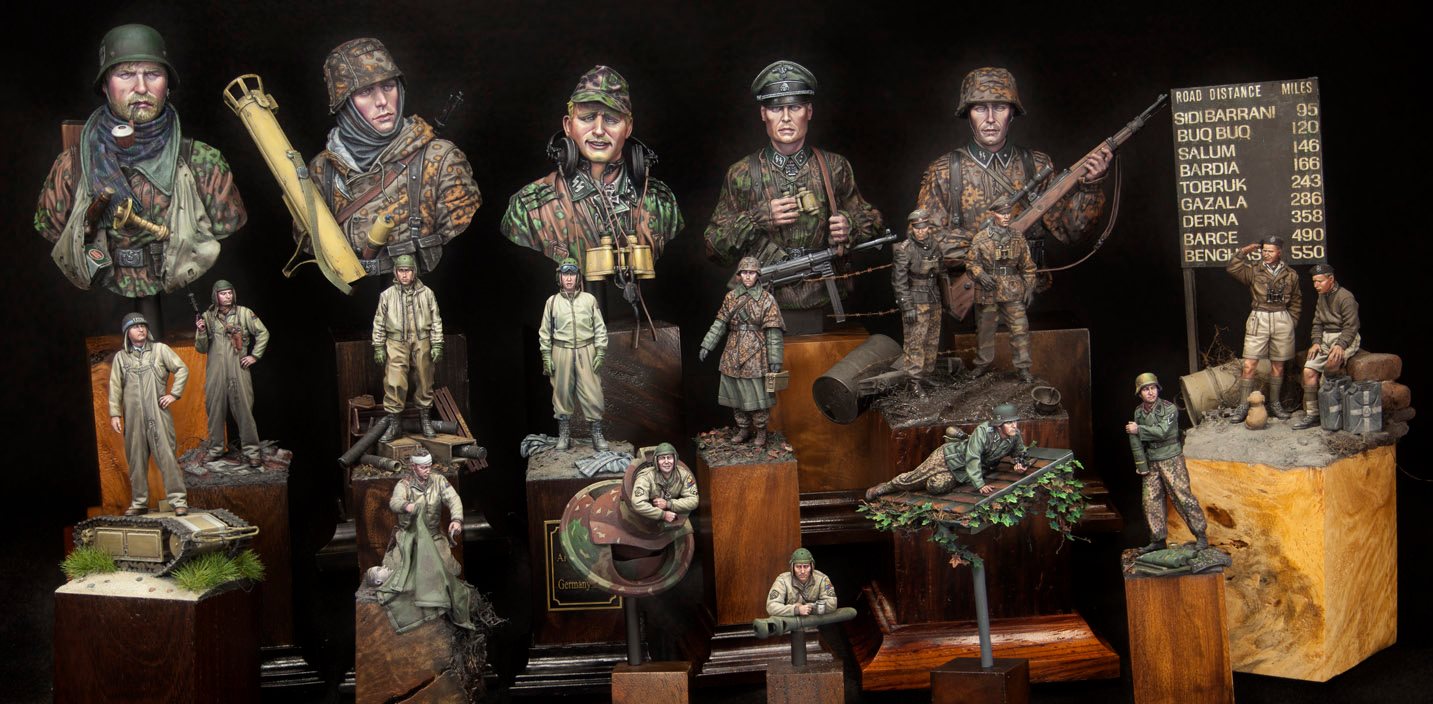
Wait - who the hell is Calvin Tan?

Some of Calvin's previous work
Each of the video disks has a chapter selection so you can jump straight into the part you wish to continue/ refresh your knowledge with...

Ch I: "Tools of the Trade" (04:52)
You soon get used to the way this video is shot. Sometimes with the look of Calvin front on to the camera, but mostly, the vision comes from over the shoulder of the modeller looking down on to his green modelling matt.


Calvin first gives us a rundown on the real thing that holds his figures together - namely the epoxy putty that he moulds together to create the extra space between the joints of the figures that he is reconstructing. The ration of resin to hardener and how he accelerates the drying of the putty is explained. Calvin then selects the figures that he will be adapting, in this case, the recent Tamiya WWII German tank crew, with the help of some Hornet heads and different weapons to add to them.


Using the sculpting sticks with soft rubber edges and the epoxy putty, Calvin shows us how he re-creates the seams and wrinkle of the clothing after he has re-shaped the joints. The gaps are erased and gently needed into with the putty whilst Calvin shows and explains just how he tackles this part of the process.


Talcum powder, epoxy putty and the glass bottle come out again for the "pasta treatment" to use in the remodelling of the sleeves of the soldier as Calvin illustrates how to thicken that area around the soldier's wrists. Pushing and pulling the clay back to mould seamlessly to the rest of the arm and leaving a much more substantial hollowed out cuff is shown in detail.


Disk 2 -
CH V: "Painting the Head" (101: 30)

I could not resist putting a picture of Calvin wearing his optivisor in there...


Highlighted pink flesh colours now take your focus to the upper sides of the face. I notice that attention was paid to the light on the two different sides of the face and how they differ from each other. This point is where Calvin leaves the face (for now) and we move on to the helmet cover.

Calvin uses the "Wet Palette" method of painting with acrylics, and throughout this DVD he shows us the colours that have been used and general ratios of how he mixes them which is important to anyone wanting to follow his work in their own endeavours...

After an introduction to the brushes that Calvin uses and chat about using flow medium, he shows us how he paints the figure's helmet. The pre-shading in dark colours for shadows and light highlights, almost tracing the helmet before the main colours are applied. Calvin then shows and describes the opacity of the paint that he applies to the helmet. Techniques that were not in the original DVD compliment the earlier disks here which is nice, but also we see those older techniques in use whilst painting this helmet as the tones go on in that hexagonal splinter camouflage pattern one after another.
You see Calvin make mistakes, then show how he fixes them, refreshing and he is always talking us through his thoughts.

CH VI: "Painting the Uniform" (26: 50)
To paint the field grey panzer wrap Calvin first shows us his mixes of acrylic paints, flat base and flow enhancer in his wet palette, then brush choice before he starts to paint his undercoated torso of the figure. He establishes a monochromatic contrast with first shadows, mid-tones, then highlights while he describes the brushstroke length he uses for these shades. 

The base work of the figure is just as important in the presentation. Calvin shows us the ingredients that he used in this particular figure's creation and which companies (sometimes a construction site or the grocery store) that the products come from. Aligning and positioning the plinth the figure stands on, then the groundwork on the base is all described here by Mr Tan.


Disk EX
Disk EX? EX-Tra? ohh yes - OK - this is an addition to what we have already seen, showing the modeller some advanced techniques to make your own straps & belt buckles, rifle strap, collar insignia & barbed wire to add to your diorama. Really this disk should be the second disk, and the painting and groundwork disk should be number three - but that is a little thing in the shape of the outcome. Just be sure to take this third disk into your calculations when watching theses - it is not just little extras!

A long chapter, this section shows the modeller how to model belts, Y-straps and buckles for them to attach with. Starting with his "Y"-shaped combat harness. Calvin shows us the precess from marking out, to carving a recess on the front and rear of the torso, then using a template cut out the straps, apply them to the recessed torso, then bend and gently stretch these strips into straps conforming to the torso.

The thin stip of 1.2mm plasticard is cut and moulded into shape by Calvin in this useful tutorial. all throughout he describes little tips and tricks to transform plastic into something resembling scale thickness leather or cloth strap.

Calvin explains the use of Archer fine transfers and his alternative to them to make them more 3D and realistic. Using the putty and flow enhancer, the modeller shows how he brings more depth and reality to this otherwise good but not perfect accessory.

Using nickel wire and a holding device that he has fashioned himself, Calvin takes us on at first looks like an experiment, but really it is a very simple process of making barbed wire with the help of a rotary drill as he braids the wire. The technique and tools are simple but his description makes this easy to understand here.

The DVD is a bit of an accomplishment from the Publishers and the modeller himself, the scope of the work and the addition of extras on and over the originals is encouraging. There are however some things I would change, there is a constant lower volume track of Calvin talking as he shot the video that was not completely erased before it was dubbed over. I would also have changed the EX disk to just a straight-up second part and then have the painting and groundwork disk as the third disk, but that is semantics really.
The work that is on display, the way that Calvin explains and demonstrates his successes and failures on the ongoing monologue are excellent. The ease at which this modeller could understand the DVD's concepts and retain the knowledge impressed me, and I did not "switch off" at all during the long presentations.
One of the best DVDs and learning tools of its type on the market. Get it if you are at all interested in improving your skills as a modeller.
Adam Norenberg
Thanks to Calvin for arranging this video to be sent to review. You can get the video from a few places - but it is available from this link on the 20th of April for 3,333 Japanese Yen/ USD $29/ AUD $41/ £24 GBP/ €26 Euro (plus P&P)

You can also check out Calvin's excellent website that is a great resource on its own...
