


From Bronco Models
1/48th scale
Product No #FB4014
5 marking choices in this boxing
Product No #FB4014
5 marking choices in this boxing
Product Link on the Bronco Models Website


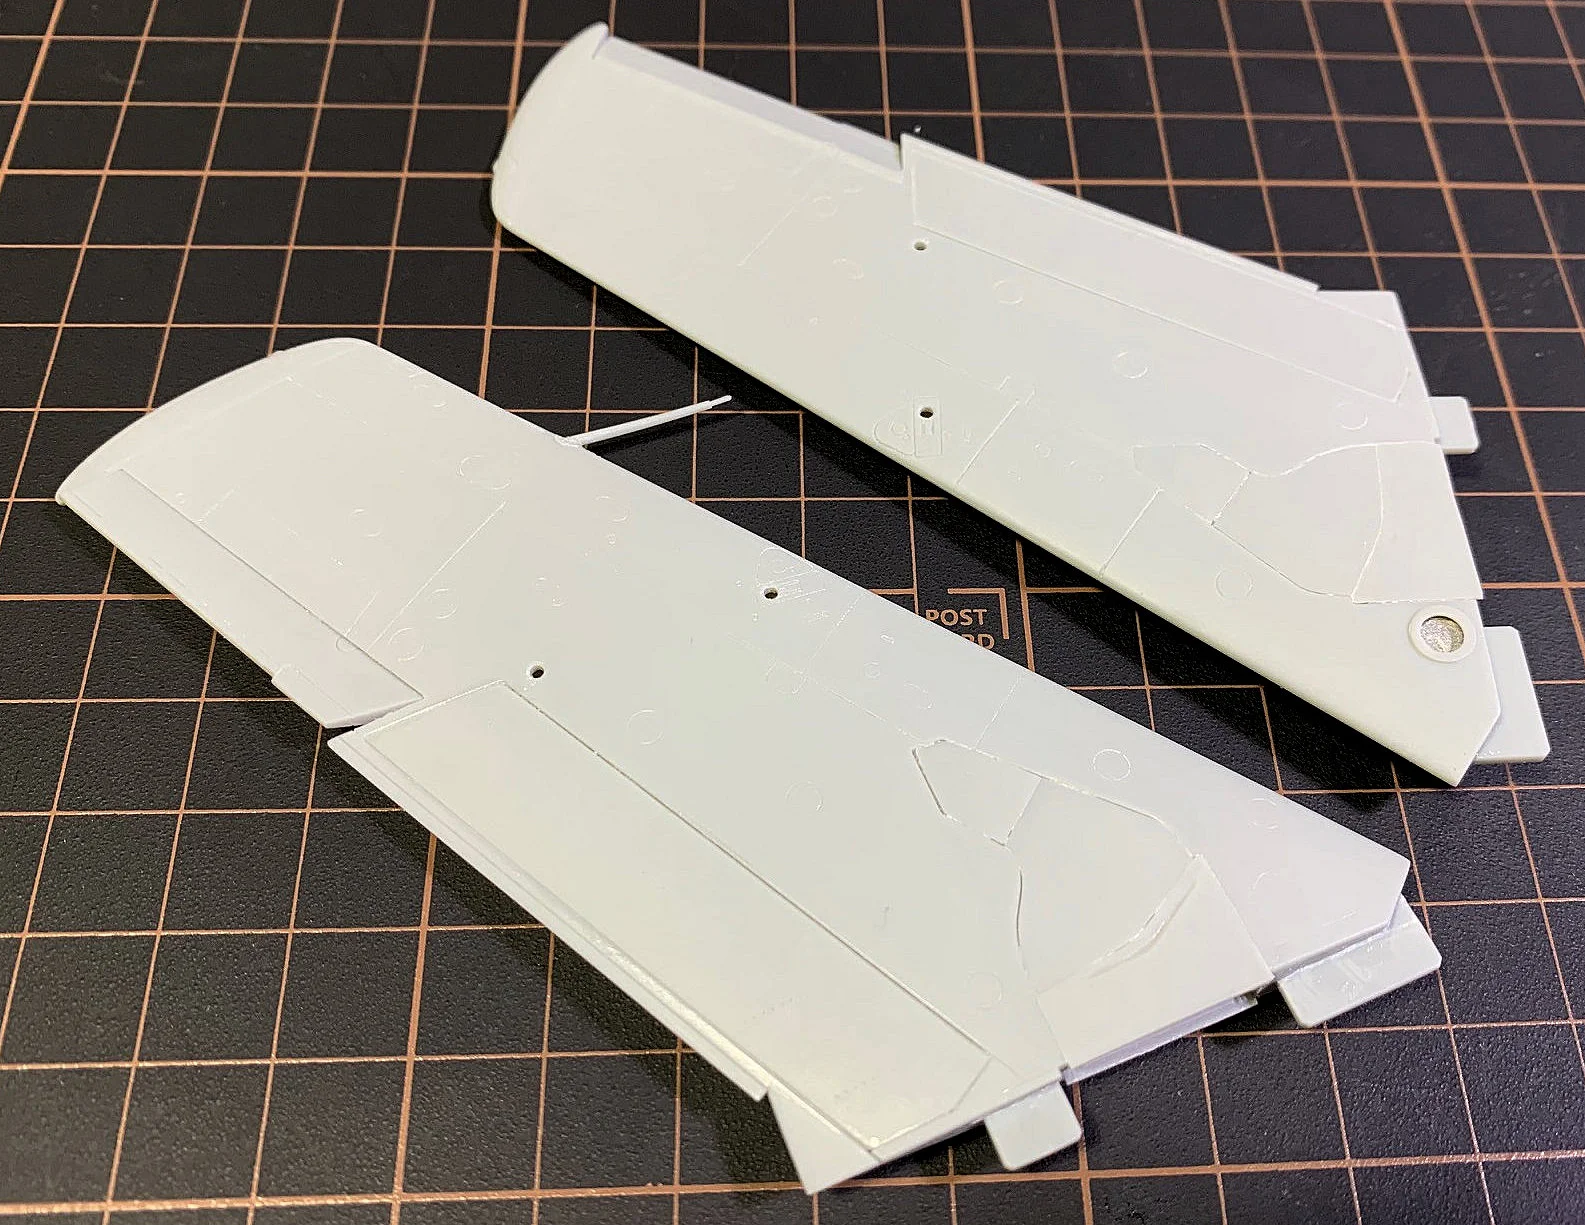
 The simple nature of the subject and the kit is borne out by only 3 grey sprues and 1 of clear parts in the box with a modest instruction foldout and 2 small decal sheets. Who needs sprue shots when we can dive right in right?


The Mikoyan-Gurevich MiG-15
The Mikoyan-Gurevich MiG-15 was one of the earliest jets success stories to emerge from the Russian military manufacturing juggernaut during the cold war period. They were manufactured in large numbers for the Soviet Union and her allies to help support the spread of communism. The swept wing at the time, was quite revolutionary and allowed the nimble MiG-15 good levels of manoeuvrability.

The fighter’s armament of 2 x 23mm and 1 x 37mm Cannon packed a lethal punch when rounds were fired by a competent pilot. They were in a pack under the nose intake adjacent to the nose gear bay.
During the Korean War, MiG 15s were piloted by both Chinese People’s Volunteer Air Force and some Russian “Advisors”. They achieved early success against piston engined fighters and early western jet designs with straight wings like the F-80 and Meteor. This lasted until the introduction of the F-86 Sabre which helped restore some of the balance.

This new Mig-15 kit from Bronco:
Bronco Models release of their kit #FB-4014 (& the sister MiG-15 BIS kit #FB4013) at the end of 2020 was a bit of surprise to most of us. The Chinese manufacturer previously being best known for their 1/35th scale armour and vehicles.

The plastic had a weird feel to it, so I gave it a good bath in warm soapy water before doing anything. The textured surface of the plastic was a little disappointing, as was the clarity level of the clear canopy parts. I gave them a polish with a buffing wheel in my Dremel but it didn’t help much.


 Nearly forgot to mention that I replaced the wing pitot and the 2 x 23mm cannon barrels with some brass tubing.


All the kit decal options were mainly painted silver/natural metal (some debate over that) so a smooth surface would have been preferred by this modeller. The kit has some funky giant locating towers located inside the main assemblies, the did assist with strengthening the fuselage but made dry fitting a challenge as they are almost snap tight in nature. I left them in place but removed the locating pins on the fuselage halves as they pushed the alignment out.

The construction otherwise was straightforward, and the fit is quite good for all the main parts. Nothing more than the usual caution and trial fitting was required.


Since I had chosen to model the aircraft wheels up, I closed the gear doors and made a mount for my square acrylic rod into the fuselage. The kit cockpit is simple but functional. A Flat instrument panel is dressed by a decal for the dials.

Paint and decals bring the cockpit to life...

The choice of wheels up necessitated the provision of a pilot figure. Since one is not included in the kit, I raided my spares box for one that looked the part. I think the kit seat looks like was made for a giant Cossack so I had to glue him slightly high so he could see out.

And painted him in what I though might be appropriate attire.

He looks fitting in the cockpit...

The fit of all the major components were quite good. I used less filler than I thought I might need and mad construction quite fast. The separate flaps were closed, and the separate ailerons were posed for a left bank. The rudder is separate as well, but I left that neutral.


I shot some Mr Surfacer 1500 all over followed by a coat of SMS Lacquer Aluminium. This really brought out the gritty texture of the plastic and tool marks were apparent in places I hadn’t noticed before. To be honest I was pretty disappointed with the build so far. The hazy clear parts and grainy plastic nearly beat me. I also found that the plastic did not take a scriber well when fixing seams and deepening panel lines. You can do better Bronco.

But push on we must ! In an effort to provide some visual interest I masked and picked out some area with shades of aluminium mixed with steel, stainless steel and light bronze. Most of the kit decal options have a red nose, but I wasn’t up for more masking so I went with “079”as flown by Chinese Pilot Wang Hai in 1951. I chose a clean finish with no weathering other than a panel line wash to bring out the details.
The marking choices in this kit.

The kit decals performed flawlessly, they are thin, well printed and easy to position. With a little Micro Set/Sol the carrier film all but disappeared.
The completed kit positioned in flight from several angles...


Conclusion:
So I’ve had my beef about the hazy clear parts and the grainy plastic. The model fits great and has excellent decals. The detail is enough for the casual modeller and could be really enhanced if the MiG-15 is your favourite thing.
The kit closer in in detail...


The aftermarket seems to be catching up now with releases from Eduard starting to hit the stores as we speak. I can’t speak to the shape accuracy, but it does look good to me. A simple build of a classic subject should await you if you choose to tackle this kit for yourself (and do a better job than me).
‘Til next time.
Andrew Perren.
Thanks to Bronco Models for sending this kit to us to build and review. You can see more about Bronco's kits on their website.