

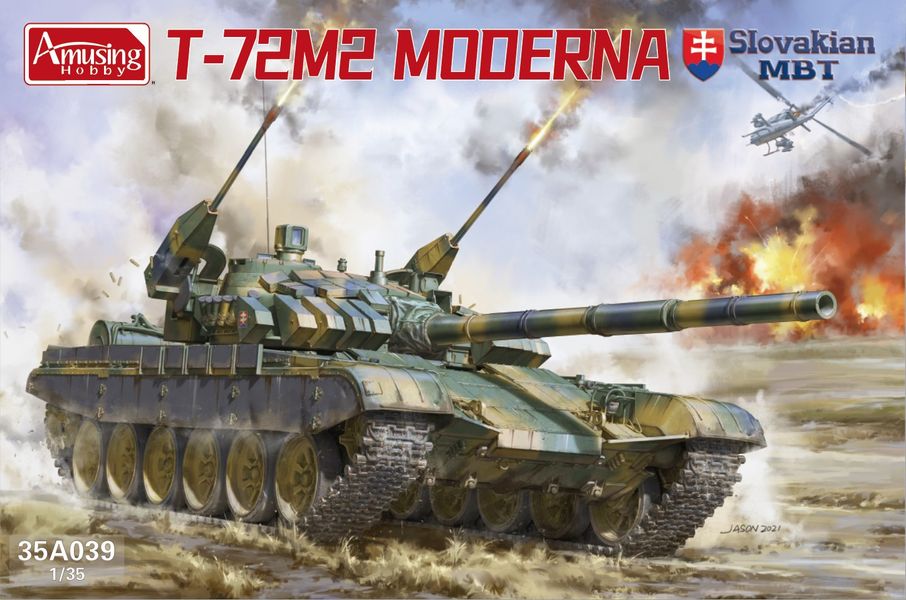
Build Review Pt I: T-72M2 Slovak Moderna MBT.
From Amusing Hobby.
1/35th scale.
Kit No #35A039.
Injection moulded plastic kit.
Photo-etch included.
National markings for Slovakian version include in the box.

The subject: the T-72M2 Slovak Moderna MBT
The T-72M2 "Moderna" is a Slovakian upgrade of the Soviet T-72 main battle tank. The T-72M was license-produced in the former Czechoslovakia. It entered service with the Czechoslovakian army in 1981. In the early 1990s after the dissolution of Czechoslovakia, various upgrade programs were developed both in the Czech Republic and Slovakia to keep their fleets of T-72 MBTs operational and combat-capable. The first prototype of the T-72M2 Moderna was revealed in 1993. The development of this tank is completed. For several years, this upgrade was actively proposed for Slovak Army as well as export customers. However, it received no production orders. Slovakia never ordered this tank due to funding problems. Only a few prototypes were built for trials and evaluation.

The T-72M2 Moderna has improved protection. The tank is fitted with DYNAS explosive reactive armour. The second prototype is fitted with cage armour that provides protection against RPG rounds. The tank has a laser warning receiver. It notifies when the tank is illuminated by a laser beam and identifies the direction of the threat. Then smoke grenades can be discharged to hide the tank. The tank is fitted with a new automatic fire suppression system.

The tank is fitted with a modernized 2A45MS 125 mm smoothbore gun. The gun is fitted with an autoloader. There is also a coaxial 7.62 mm machine gun. The first prototype of this tank was fitted with two Swiss 20 mm cannons, mounted on either side of the turret. These could engage air and ground targets. The second prototype was fitted with a single 30 mm cannon, from the Soviet BMP-2 infantry fighting vehicle.
The T-72M2 Tank 20mm chain gun

The tank has got a new VEGA fire control system, a new ballistic computer and new sensors of Belgian and French origin. The vehicle commander uses panoramic sight. The same sight is used on the French Leclerc, and some other modern MBTs. This tank has got a hunter-killer engagement capability. Once a commander spots and identifies the target, he lays the gun and lets the gunner complete all the aiming and firing processes. During that time commander looks for the next target.
This main battle tank has a crew of three, including commander, gunner and driver.

The tank is fitted with a more powerful S12U turbocharged diesel engine, developing 850 hp. It is a Polish modernized version of the Soviet V-46-6 tank engine. It was used on the Polish PT-91 Twardy main battle tank. Even though the upgraded tank is heavier it has improved cross-country mobility over the original T-72M.

The build:
Hello everyone. Here I am with another build/review. First of all, some word and reference pictures of Czech and Slovak tanks that I used in researching this build and a hint of what I will aim for with my final results.


The T-72 is the most widely used main battle tank in the world. It has been manufactured in six countries, is in service with the armies of 35 nations and has fought in all the major wars of the last 20 years.


The striking feature of T-72 is the low profile. This is achieved by careful design but in particular by the elimination of the loader who, because he has to work standing up, largely dictates the height of a tank. He is replaced in this vehicle by an auto-loader, which can feed the gun at any angle with a separate projectile and charge case. The ammunition is arranged around the turret rather like the carousel of a slide projector. Ammunition stowage is limited, the rounds are unprotected so there is a high fire risk, the mechanical equipment is prone to break down and the rate of fire, due to the action of the auto-loader, is slow. (credit to tankmuseum.org)

Before I jump into the build here is a disclaimer, or you can call it modellers excuses. The choice is yours…

I am nowhere near to being an expert on the T-72 tank and I won’t be making any claims in regards to accuracy. In my eyes, this kit reassembles the T-72 quite well when put together and in the end, it gives a very nice platform for additional detailing and weathering possibilities. More on this in the second part when I am painting this thing.
The kit contents...

When I took on this build I knew that the T-72M2 Moderna version wasn’t my cup of tea. Instead, I realised that I could build other versions from the same boxing. So, I downloaded instructions for the T-72M1 version and ordered decals for Czech T-72M1’s from Echelon. Originally, I was going to paint it with very colourful 4-tone camouflage. However, by the time the decals arrived, I found out that the auxiliary fuel tanks wouldn’t be used during exercises and therefore turned my interest into the green camouflage.

The first few steps of instructions seem to be identical for all boxings and takes us through the construction of the hull.


Wheels come in 3 pieces and were given some texture by sanding them with a rough file.

I guess I will see how much will be visible when all the mud and weathering is applied later down the track.

The suspension is workable and I decided not to glue it. Something I would usually do. Instead, it might allow me to display in diorama if I decide to have a go at that.

The front of the hull fits well.

Included are some of these small photo-etch details and also a string to duplicate the towing cable.


Some of the things some modellers might look to improve would be all the straps that hold the tools and fuel tanks in place.


With this, the hull is finished. I will add the log and the rear towing cable later.


Now onto the turret. Some moulding lines are visible however they are easy to fix


Rear grills received some user damage


And here are some pictures before I will clean it and apply surfacer to prime the model ready for paint...


I enjoyed the build. If you like to build this tank in one session or over few days this kit is definitely for you. I can however see endless possibilities if you want to experiment and add the specific modifications applied by a various number of armies that use(d) this tank.
See you next part when I start painting this thing in Czech colours…

More information on all of their kits is available from Amusing Hobby's Website...

You can see more of Lukas' work on the excellent Workbench Hobbies page...
