


From SIO Models
Kit Number #K48001
1/48th Scale / Price: $101 USD / Product Link at Hobby Easy

AMK/ SIOModels Foxhound Genealogy
Back In 2015, the young brand AMK from Macau released the Mig-31BM/BSM. The kit made a good impression at that time and since it got a good reputation: nice overall details, good fit and…that bestial look!
Back In 2015, the young brand AMK from Macau released the Mig-31BM/BSM. The kit made a good impression at that time and since it got a good reputation: nice overall details, good fit and…that bestial look!
An earlier build I made of the AMK kit with Eduard Photo-etch, master pitot tube, Eduard wheels, katran exhausts and begemot decals

- Nevertheless, the first MiG-31BM/BSM boxing (88003) lacked some important features like Photo-etched seat harnesses or decals for instrument panels. It was later improved with the 2016 “model of the year” 88003-S release which included metal landing gears, a more comprehensive PE fret with harness, upgraded decal sheet with instrument decal and pink sealant for canopy, and yellow tainted transparent tree in addition to the clear one.
AMK Kit No #88003

AMK Kit No #88008

- The 88003-U set is more comprehensive and gives metal gears and pitot, extended PE frets, the completed decal sheet and yellow clear part.


The two
versions BM/BSM and B/BS differs in the
plastic by the following frames features:


IN THE BOX
Mikoyan MIG-31BM/BSM Foxhound, SIO Models #K48001


Step 5 deals with engines installation and tells you to cut the top end of the parts.

At step 16 you can switch F1 and F2 exhaust part by 3D printed resin parts. Drawing show to assemble resin exhaust with post combustion pipes, but those are told to be glued in the engine at step 1. Maybe some dry fit before final assembly is needed here, in order to know which method is the better. Going back to front gear at step 17 on page 11. Just a reminder that front gear you installed at step 5 is 3D “printde” 😊


At step 20 we assemble the plastic parts seats, but you surely will replace them by 3d part.


The last addition to previous boxings is pre-cut masks made by Galaxy model and gives you the necessary to mask inside and outside of canopy.


 DECAL OPTIONS
As the previous AMK “Kit of the year” boxing, you get 7 marking options:
- A: Mig-31 BM “34 Red”
- B: Mig-31 BM “93 blue” in 2009
- C: Mig-31 BM “93 blue” in 2013 with new standard tail codes
- D:Mig-31 BSM “25 red” in 2014
 The "C" marking - Mig-31 BM “93 blue”, is pretty well documented as the plane was displayed on several airshow around 2012- 2013.

I must confess that I am a bit confused by the “Canopy open” and “canopy closed” writings… Maybe to tell that they can be applied on single J7 part for closed canopies, as well as on the separated canopies?


As the previous AMK “Kit of the year” boxing, you get 7 marking options:
- A: Mig-31 BM “34 Red”
- B: Mig-31 BM “93 blue” in 2009
- C: Mig-31 BM “93 blue” in 2013 with new standard tail codes
- D:Mig-31 BSM “25 red” in 2014


Three more markings are also possible:


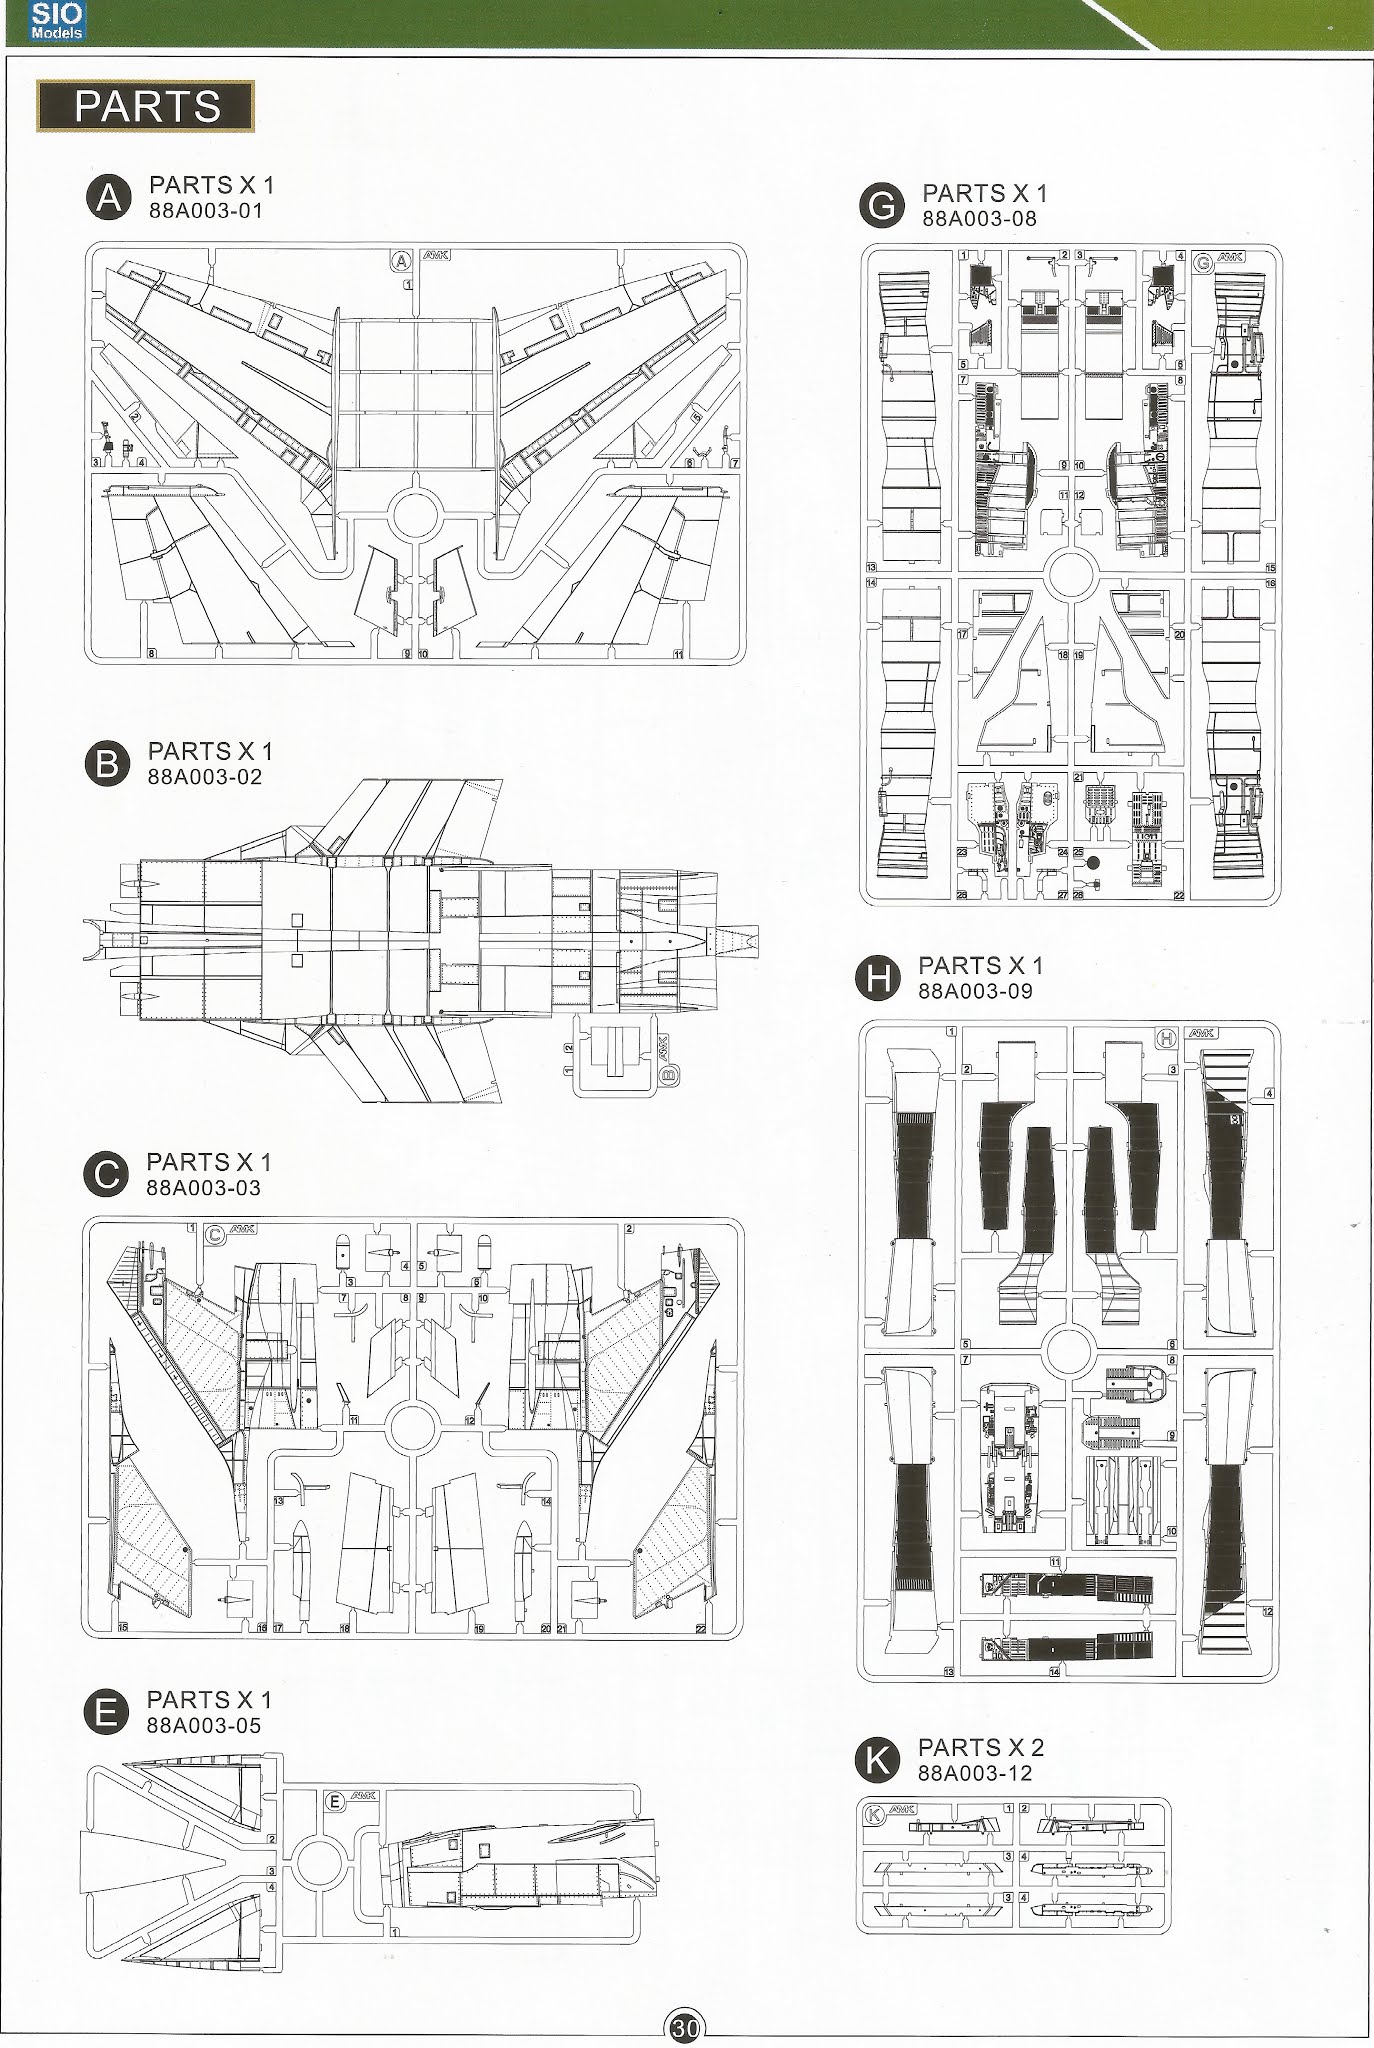
 PLASTIC PARTS
The Foxhound is pretty big aircraft, so you can expect that a rendition at 1/48th scale will be too.The main body is split in two lower and upper halves. Tamiya paint jar for scale.
 Surface details are very detailed, but personally I find the panel lines a bit too wide.On the upper fuselage, especially on the back, and on the rear sides, some panel lines are in fact weld lines on the real aircraft, so they should be raised on the plastic parts. You can correct this by filling the engrave lines with stretched sprue, resulting on a slightly raised line.

 The upper wings are molded in on piece, helping us the get correct dihedral angle once assembled.
 Horizontal stabilizers can be fitted in two positions with the help of two parts giving the right angle. the ventral fins have nice positive rivets.


- Mig-31 BM “01 red”

- Mig-31 BM “38 red”

- Mig-31 BM “84 blue”

Two decal sheets are provided. One for the general markings as red stars, numbers, cockpit instruments and pink sealants for canopies.

The pink of the canopy sealant is less vivid? Than the previous release.

The other sheet is full of tiny stencils that are well printed and quite sharp.

The Foxhound is pretty big aircraft, so you can expect that a rendition at 1/48th scale will be too.The main body is split in two lower and upper halves. Tamiya paint jar for scale.


Vertical fins are molded in one piece with rear fuselage sides. Again, you get the right angle here with no seam line.

The front fuselage is molded in one piece too. A very impressive part by itself.

The cockpit bathtub needs to be slid by the rear, and the assembly plugs onto the main body.

 Front instrument panels are on a separate sprue with again very nice details showing dials and knobs. The instruments are empty with no raised needles to paint. You need to add the provided decals.
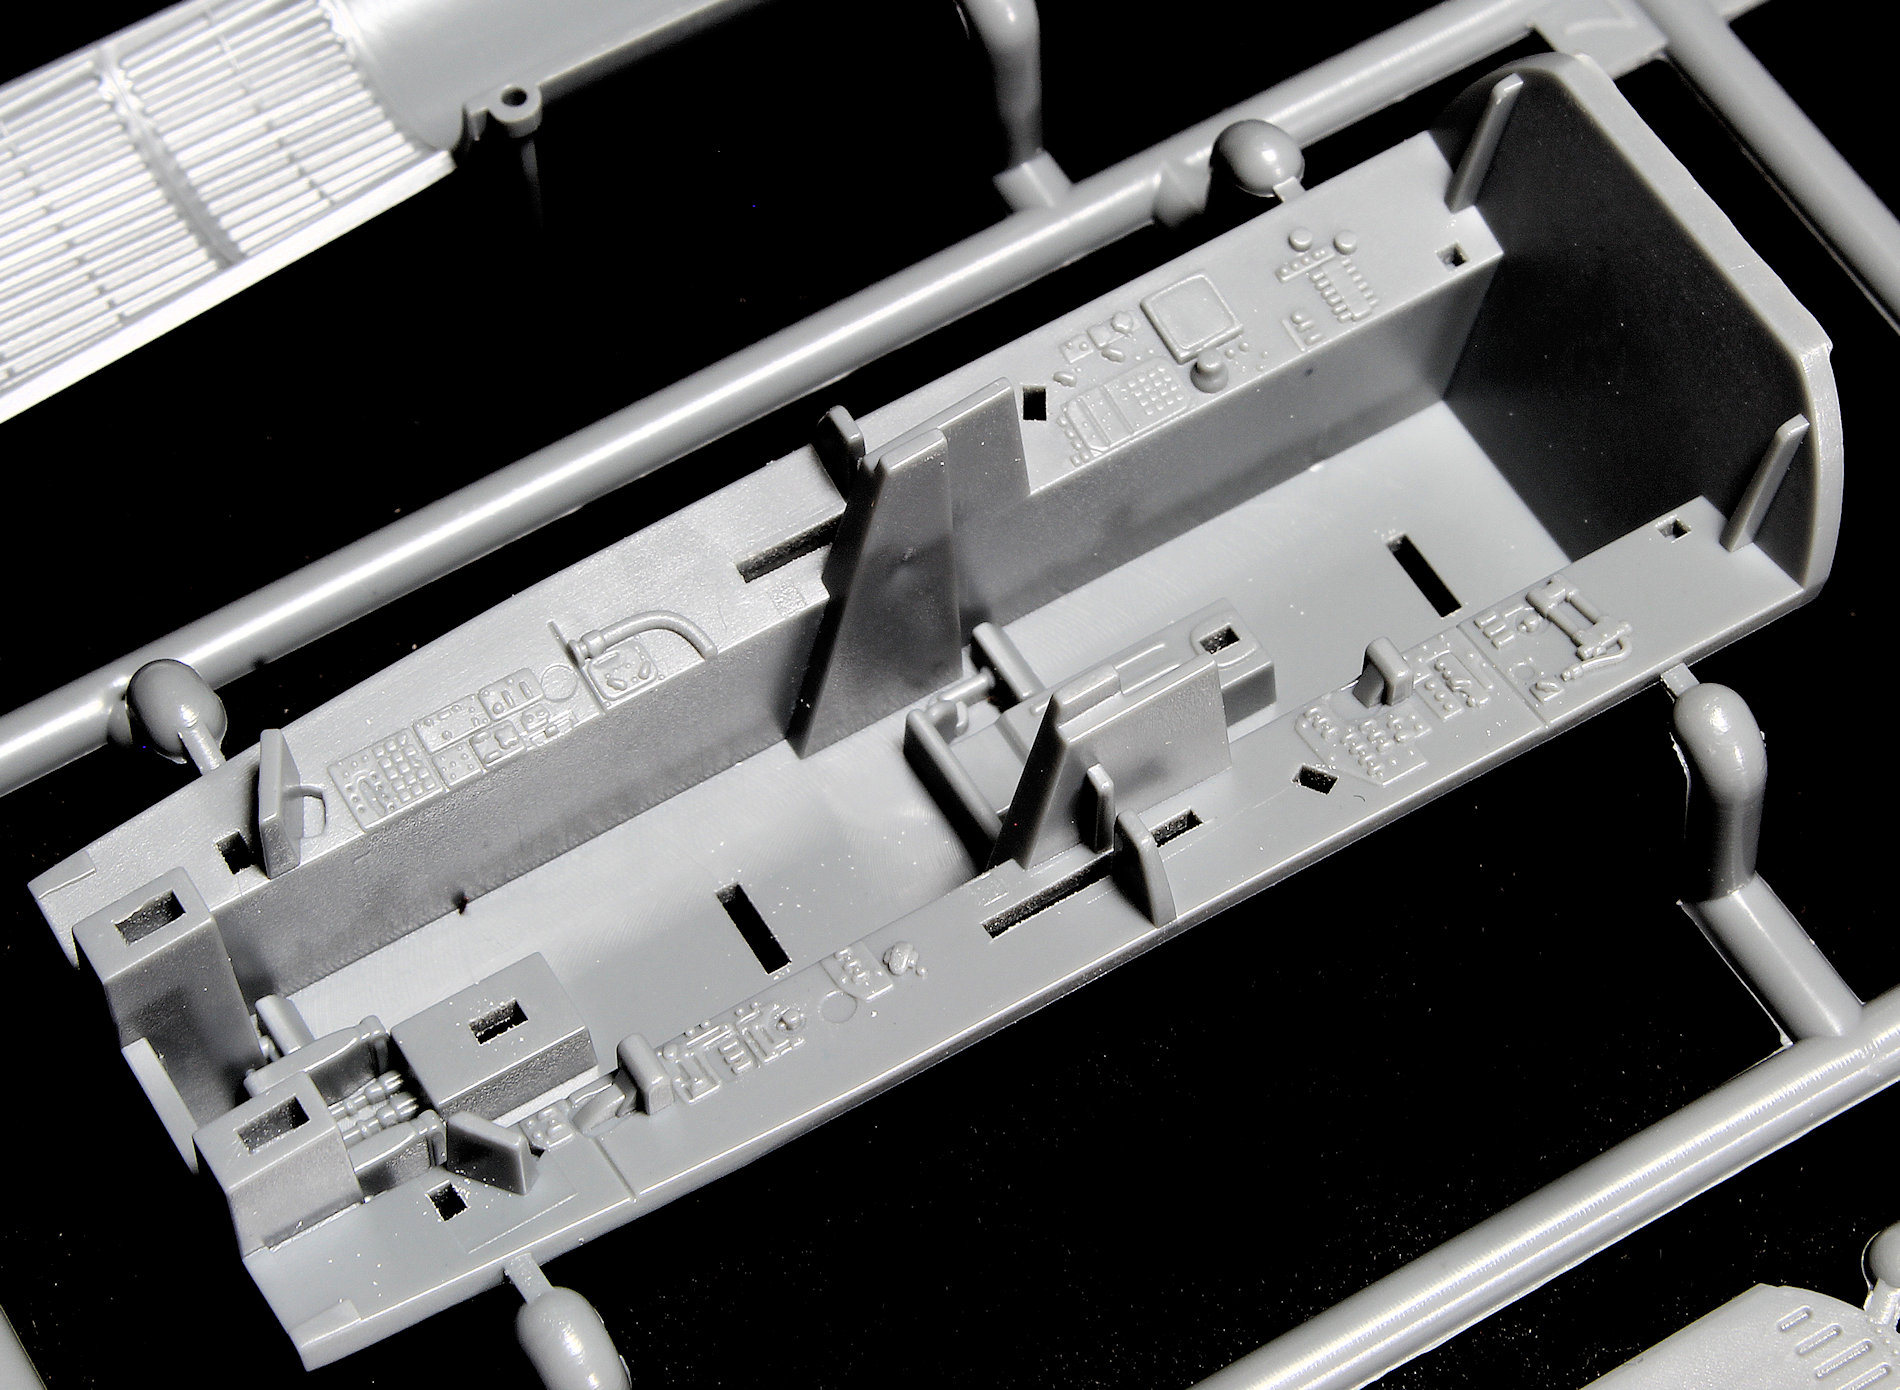
The cockpit tub has molded-on side consoles, and side walls show nice details too


Seats are made of 9 parts on which you can add PE harnesses.

But there is no instruction on how to add those parts as you get nicer 3D printed seats with harnesses. We will have a look at them later.


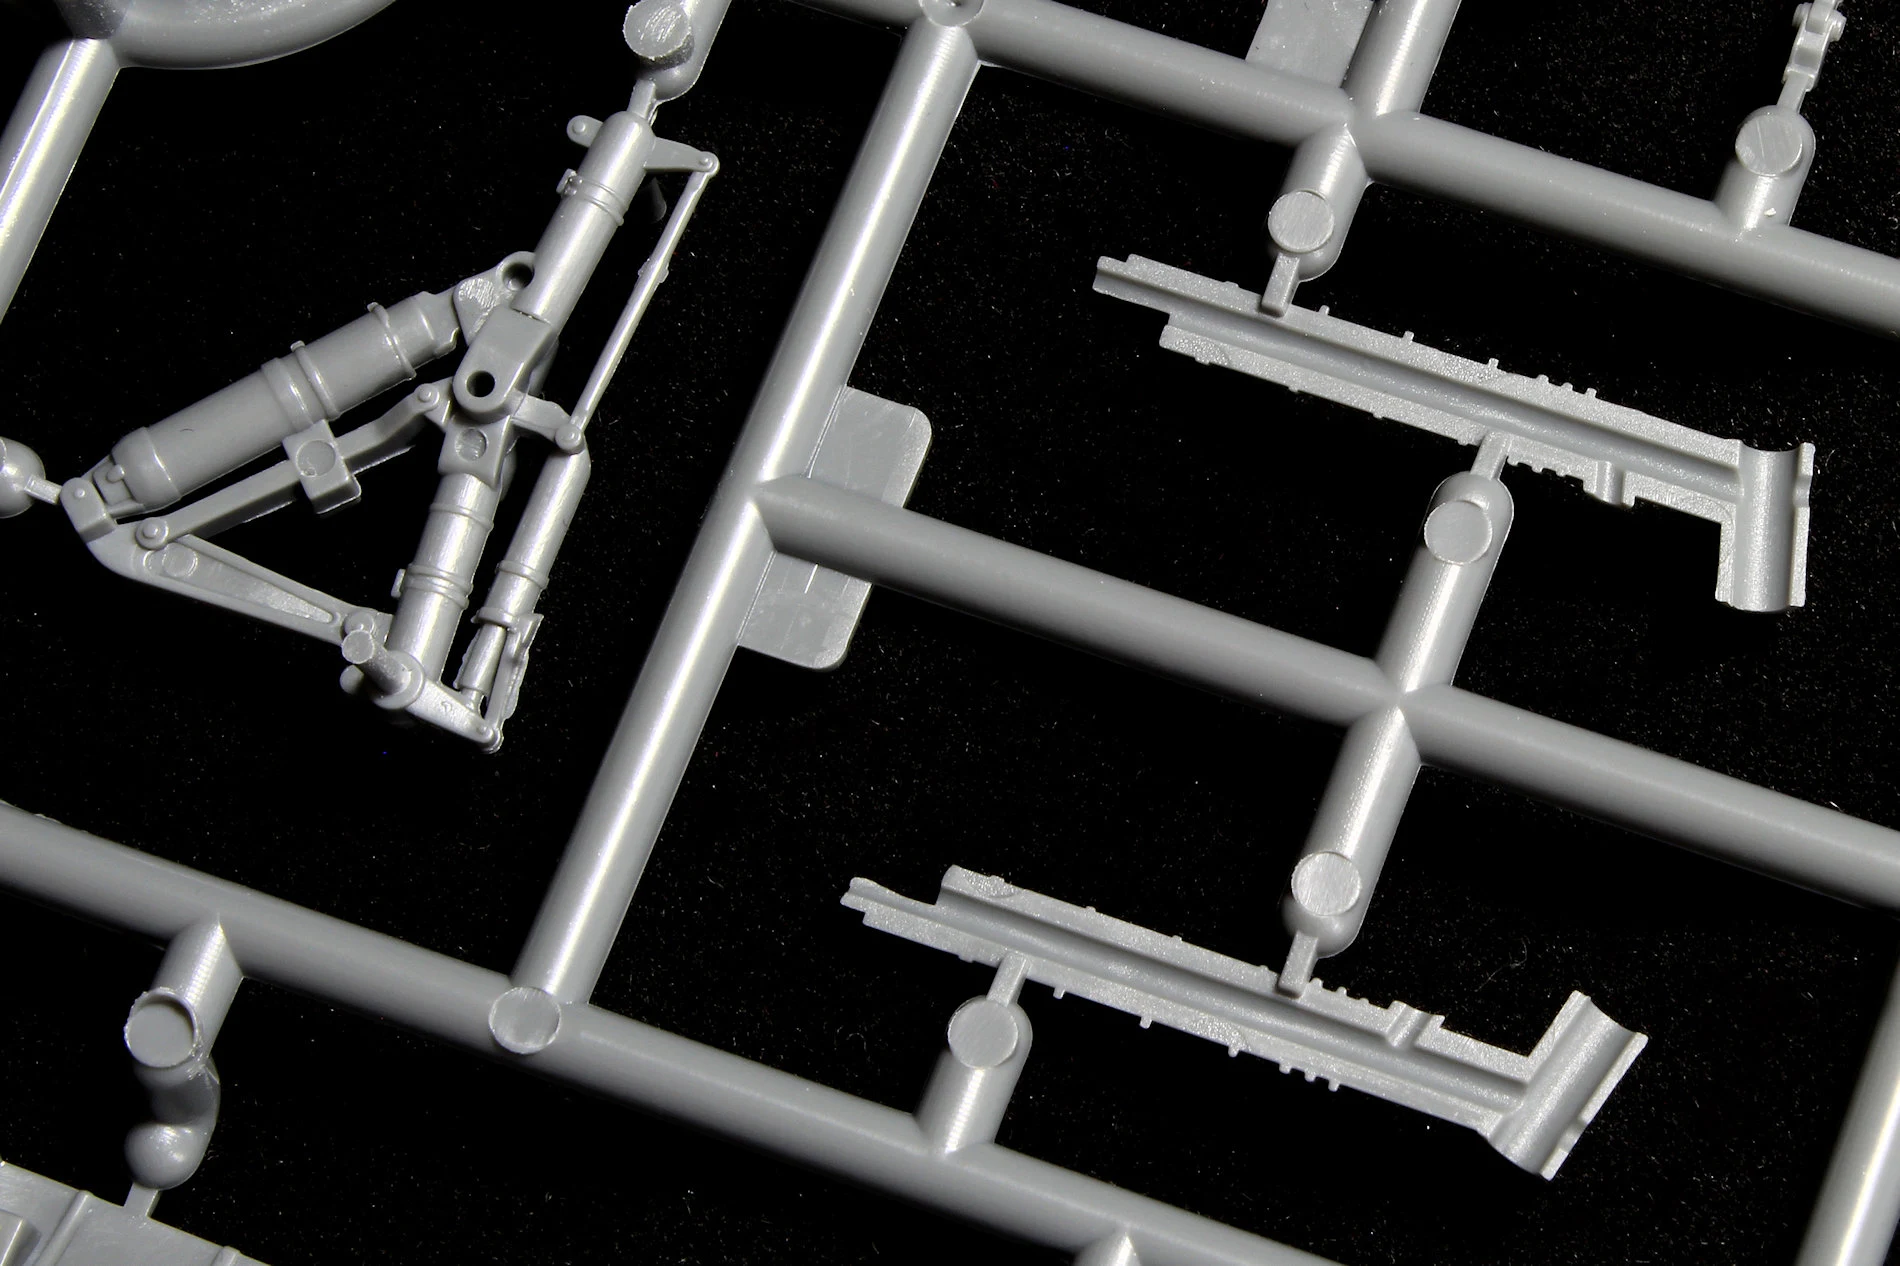
 On the Foxhound, Landing gear and especially the main ones are kind of a complex mechanics and AMK gave a good representation of them. Parts 26 and 28 are for the front landing gear.

 Main struts are split in two halves, and need to get a reinforcement shaft molded in plastic as well. I might have read that the plastic gears might be a bit fragile and susceptible of bending because of the weight of the finished model. Nevermind, in this boxing you get 3D printed gear struts supposed to be rigid enough according to Sio himself.
 The wheels are very basic with no markings or grooves. This is one of the very few drawbacks of the kit to me, and I was a bit surprised that they weren’t replaced by 3D printed parts in this boxing.
 To me, the other thing that would need to be improved on this kit are the exhausts. They lack some external on internal details. The burner can edges look a bit thick too.
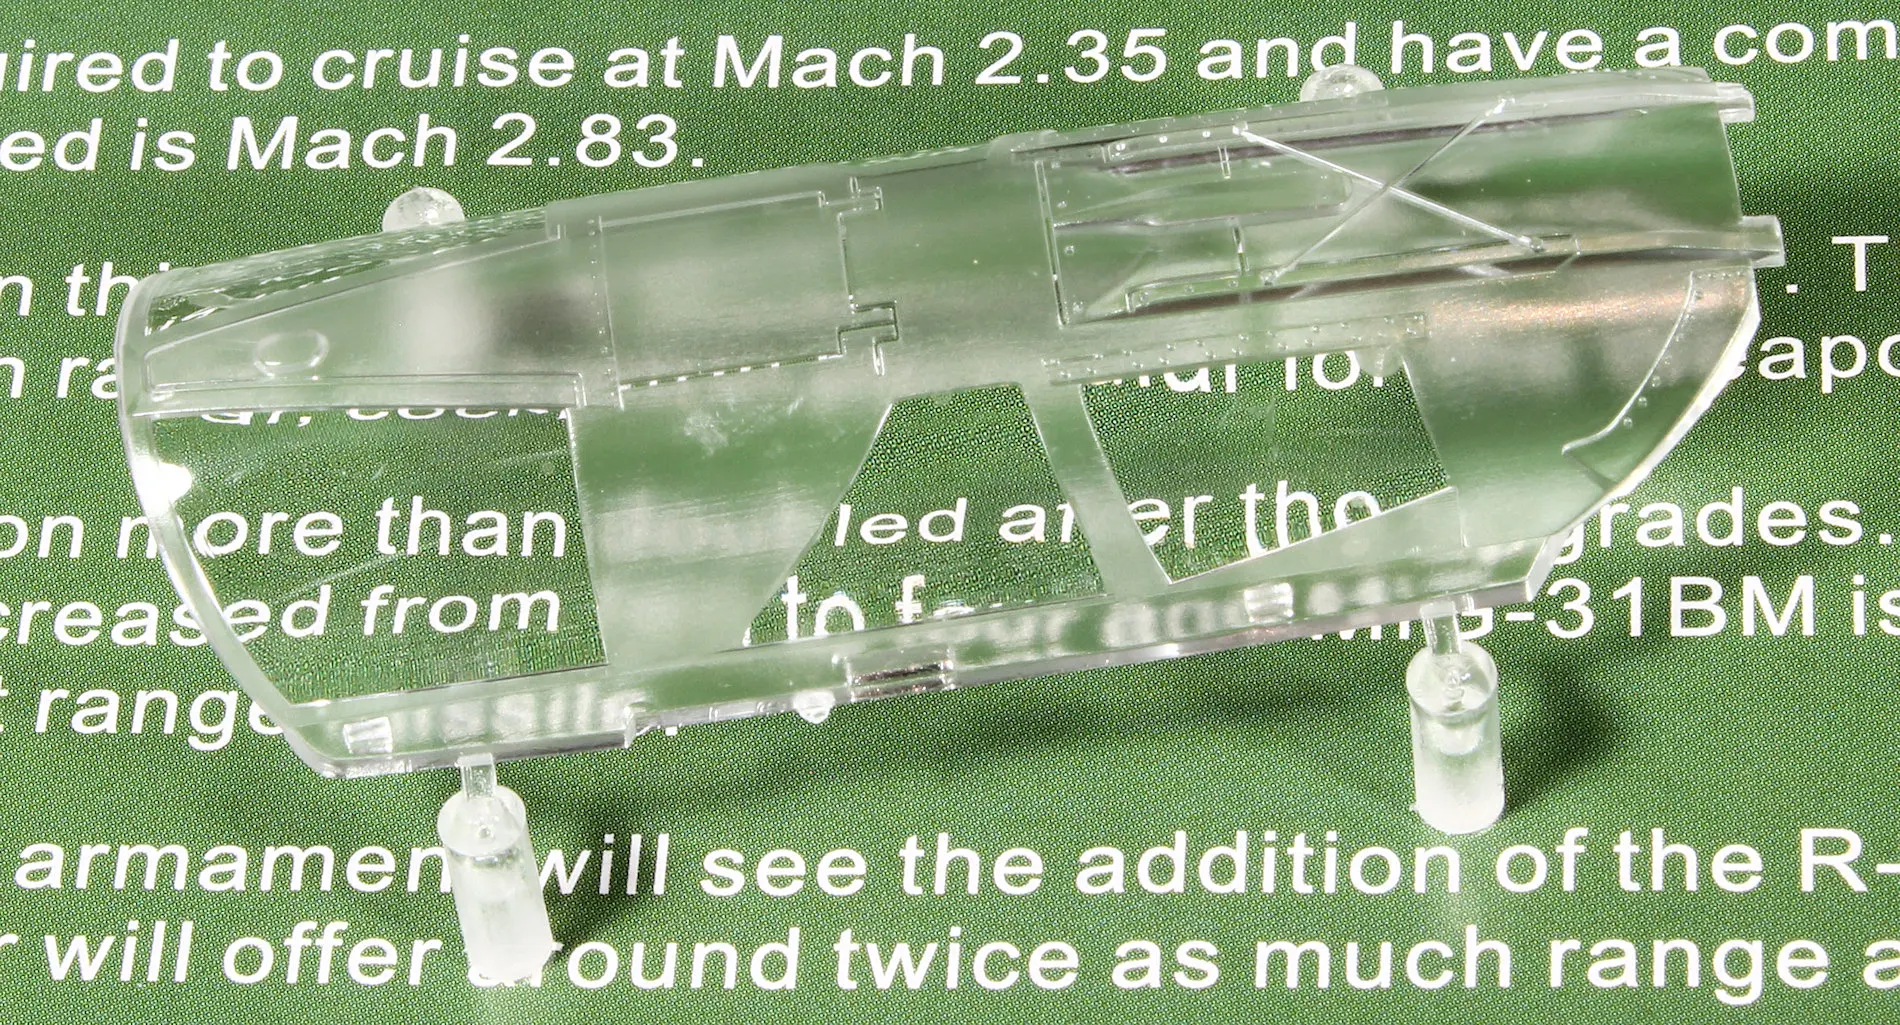
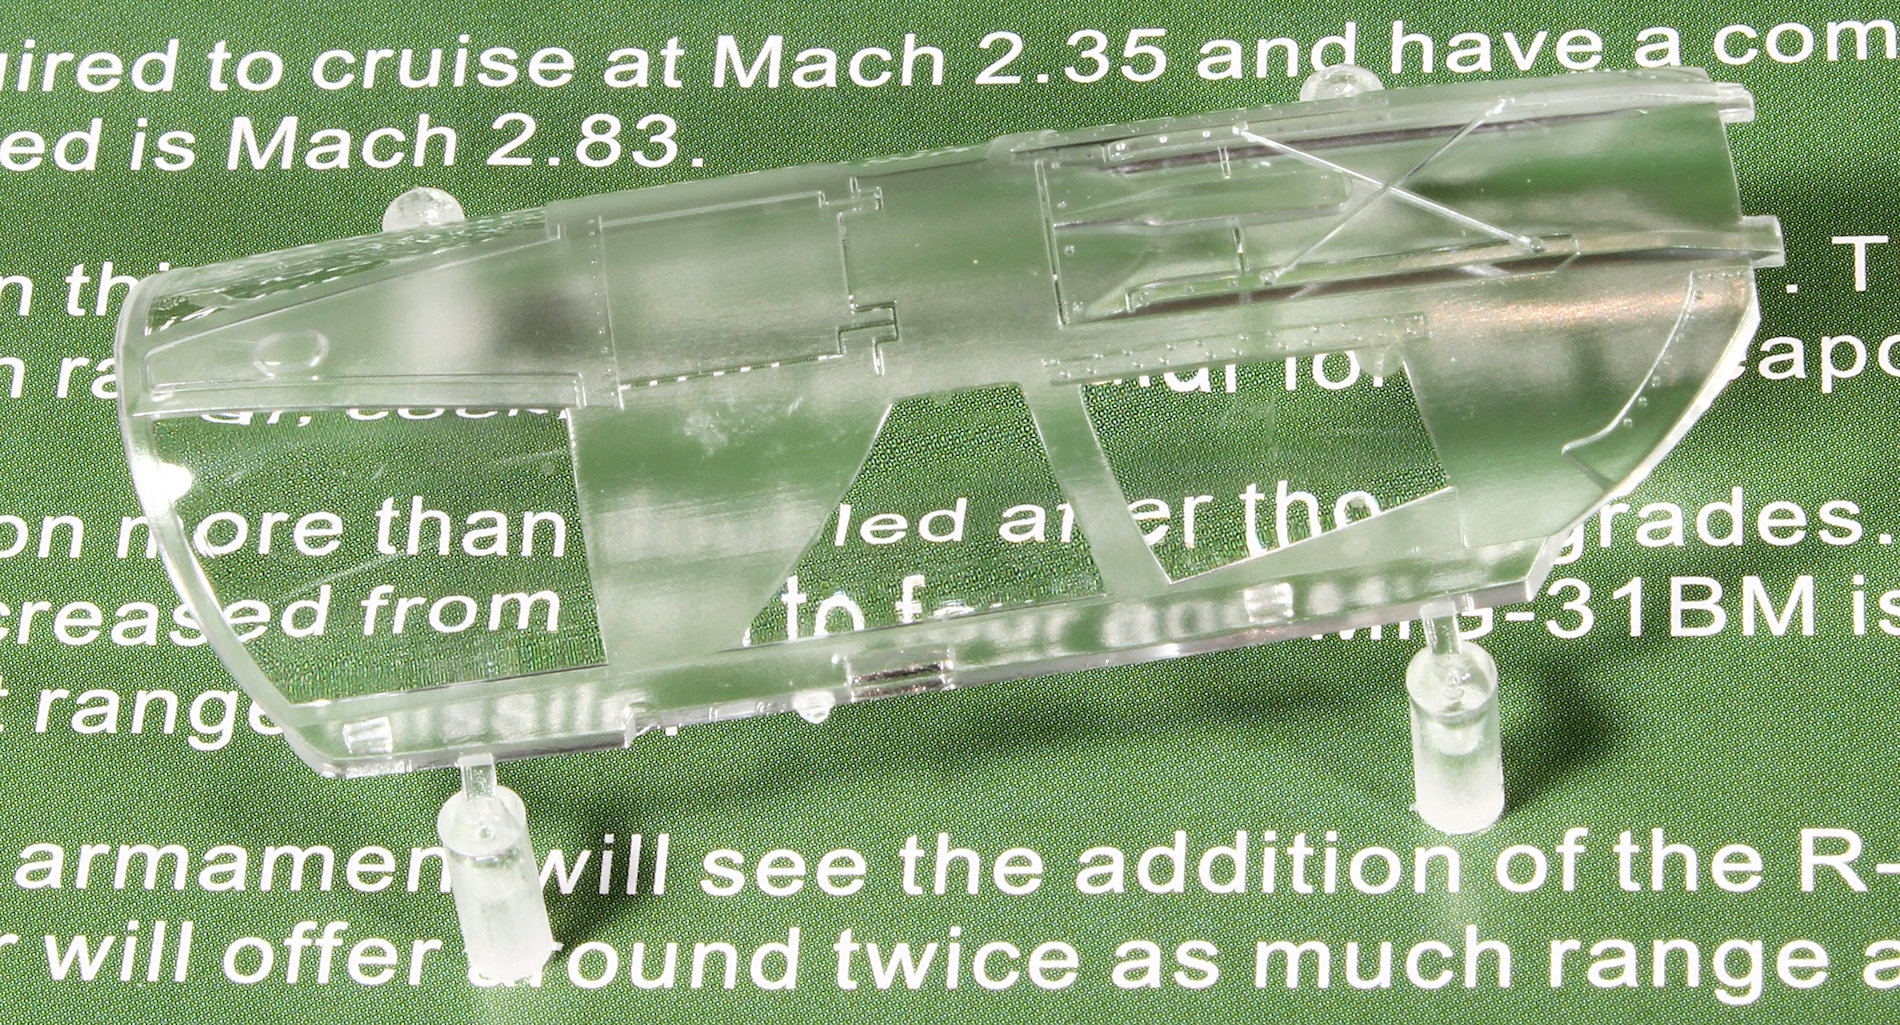
 Two clear parts frames are provided. One in crystal clear, the other is yellowed. Depending on the the airframe you want to depict, and the time frame you chose, canopies might age a bit and become yellow.

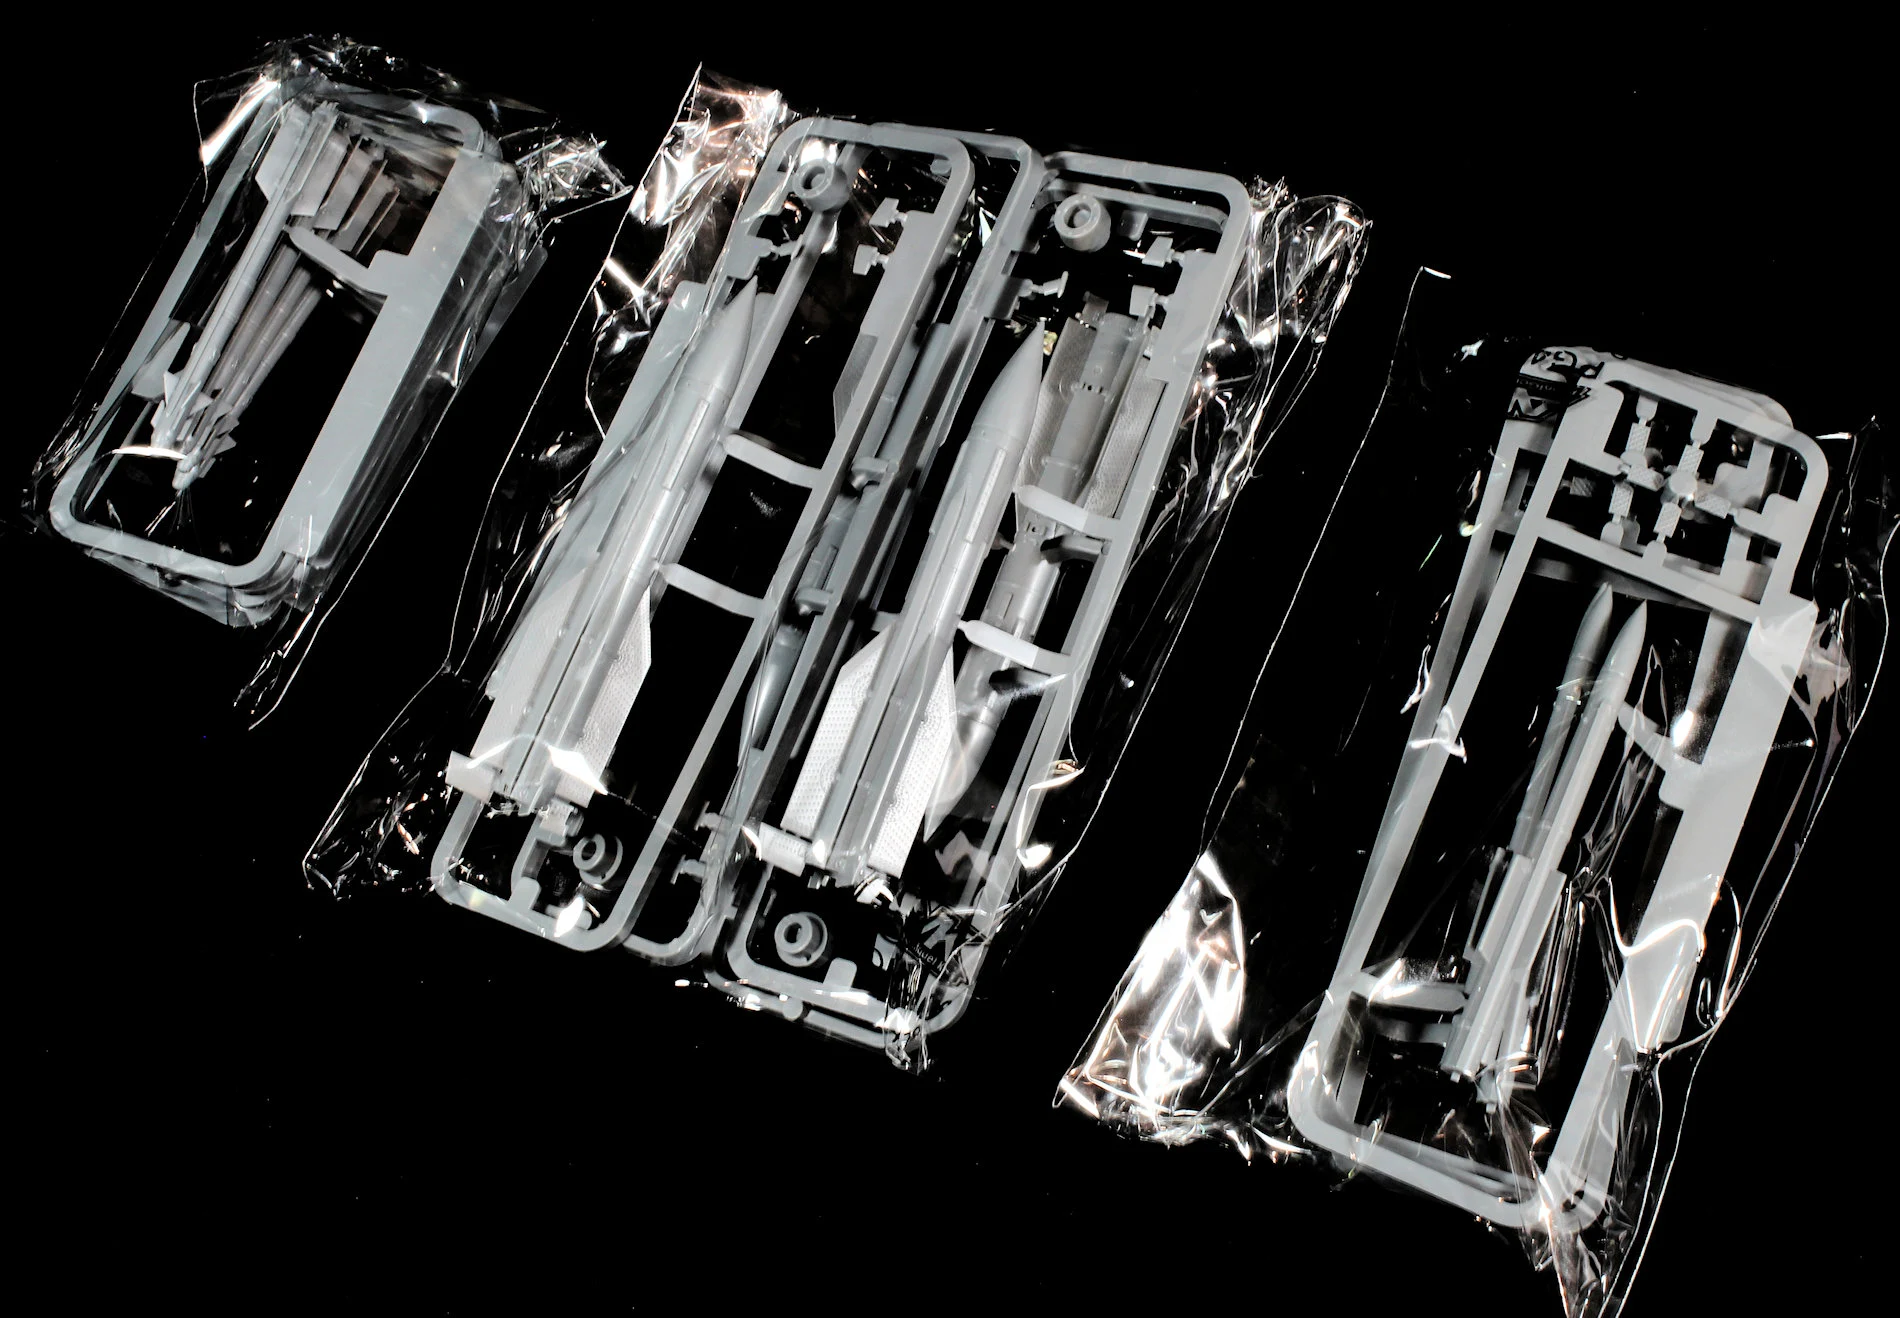
 Three types of missiles are provided: 4 big R-33 that go under the belly, 4 middle range R-77 and 4 short range R-73 to mount under the wings. While a very few pictures show them, I am not sure if the R-77 are operational under the Foxhound?

Front gear bay shows very nice details again with nice molded cables.


Same in the in the main gear bays.


The transparency is quite good with no major optic distortion.
All missiles are molded in one piece thanks to slide molds technology.

The Mid-range R-77. The R-77 fins should be a grid but we can understand plastic injection can’t do magic, no? 😊 If you want to go crazy, AMUR reaver has a photoetch set for them: PE4828

R-33

The short range R-73

Finally let’s have a look at what makes this boxing special: the 3D printed parts. For quite some times now, producers have used the 3d printing technology to create nice parts, but they used to recast them with moulds for serial production, as 3d printing is a slow process. Moreover, casting with moulds does not allow to duplicate complex shapes, as you need to get the part off the mould.
More recently, with the arrival of more affordable printers, we have seen producers to sell very nice and complex parts directly from the printer. The downside is principally lack of “smoothness” on surfaces due to printing artifacts, as parts are not post processed with priming and sanding.
This is what SIO Models offers int he way of extra 3D printed parts fresh from the box.

Right after printing, parts need to be removed from the build plate and the excess of resin must be washed off with a solvent like alcohol. Finally, the parts must be postured with UV light to finish the resin polymerization. So this is not a fast process. 
They are “imprisoned” in cages that play the role of supports. Thus, parts are also protected and easy to handle.


Front mudguard features some ribs and rivets not here on plastic parts. On this macro, we can see print layers, but on real size they are not that visible. Trying to smooth them down might make the rivets disappear…
 Last 3D printed parts are the huge exhausts. Plastic parts are a bit crude with thick edges and lack those little hatches that fall down with gravity. While inner petals are pretty amazing with a lot of details as actuators, fall down hatches and ducts, the big outer cans show some facets that should not be here. It might be a “low polygons” 3d model, where the digital file has to be simpler to be processed by software.


I think it can be smoothed down by sanding, but it is bit a shame to have to do this on a quite simple surface.
Conclusion
Well, we have here a very nice boxing with great additions that cover some of the few weak points of the plastic model. While I think the kit by itself could be built by a beginner because of the easy build and good fit, I would not put this boxing in his hands. 3D parts need sharper skills and the price around 100€ might not be affordable for all wallets.
Meanwhile, retail price of the standard boxings was around 60€, and paying an extra 40€ seems fair to me when I imagine the price I would pay for aftermarket seats, guns, gears, exhausts and pre-cut masks.
Some EU stores seems to have/had the SIO Models in stock for around 90-100€
To my opinion, the very ultimate AMK Mig-31 boxing would include nice resin wheels and a brass pitot tube.
Conclusion
Well, we have here a very nice boxing with great additions that cover some of the few weak points of the plastic model. While I think the kit by itself could be built by a beginner because of the easy build and good fit, I would not put this boxing in his hands. 3D parts need sharper skills and the price around 100€ might not be affordable for all wallets.
To my opinion, the very ultimate AMK Mig-31 boxing would include nice resin wheels and a brass pitot tube.
Romain Flechon
Thanks to SIO Models for providing this review kit for Romain to review...
There are not many shops that sell the kit but we found it for $101USD at HobbyEasy
