
.JPG)
The M.T.M. Barchino (little boat) with crew member in 35th scale from Italeri has been released before, & Clayton has shown us the difference in his in-box review. Today he presents the build & paint phases of the kit to a lovely finish in his guide.

M.T.M. Barchino with crew
From Italeri
Kit No #5623
1/35th scale
Contains 2 Crew Figures
- Photo-etched Fret
- Coloured Instructions Sheet
1/35th scale
Contains 2 Crew Figures
- Photo-etched Fret
- Coloured Instructions Sheet
Model Dim. 19,1 cm
Product Link on the Italeri Website.JPG)
Product Link on the Italeri Website
.JPG)
Today: Build & painting guide
I reviewed this kit a few weeks ago, and was keen to make a start with the build. Whilst the kit itself is rather simple I couldn’t help but feel there were some areas of the model that were a little underwhelming and could really use a little fine tuning.
I will however preface the article with the fact that during my research I did come across a number of variations across these vessels. Areas I have looked to enhance may not necessarily present on all subjects and I would encourage you to undertake your own research prior to treating any of this information as gospel.
So with the obligatory disclaimers out of the way, we can get on with the build.
Construction begins with the two halves of the hull being glued together. The small water intake is attached along the centre line and left to dry.


You also get a look at the release mechanism for the float on the sides on these sections. I’ll highlight that a little later however it’s worth mentioning at this stage.


I wasn’t planning on posing the model showing this section, but I liked how the desaturated green looked against the grey as well as the plumbing detail, so I decided I’d leave it open. The downside to that is when looking back through the cavity into the belly of the boat there is nothing but thin air where the fuel tanks and engine should be. I would have to obscure the view or undertake some serious scratch building (of which I wasn’t up for.)

A reference drawing of the internals of the boat.


The bow section (minus the framework) is attached as well as the top section. You can clearly see the empty space through that midsection bracing. It would look amazing with the engine and tank detail however that is for someone a little more talented than I.
 One of the details I noticed in some of the reference images was the fixings around the armoured shroud. This image also shows the detail in the release mechanism for the float. A detail that is painfully absent from the kit.
.jpeg) I added the screw detail with a 0.6mm punch and die set and thin styrene. Granted, the detail was a little overscale, but I thought it might have been an interesting addition, so left them in place.
I added the screw detail with a 0.6mm punch and die set and thin styrene. Granted, the detail was a little overscale, but I thought it might have been an interesting addition, so left them in place.


.jpeg)

Another detail I noticed in a lot of the reference images was the strapping around the boat.

Thin strips of lead foil were cut and fine detail added with a riveting tool to add something that resembled a screwhead. Overscale again, but something to add a little texture and life to the model.


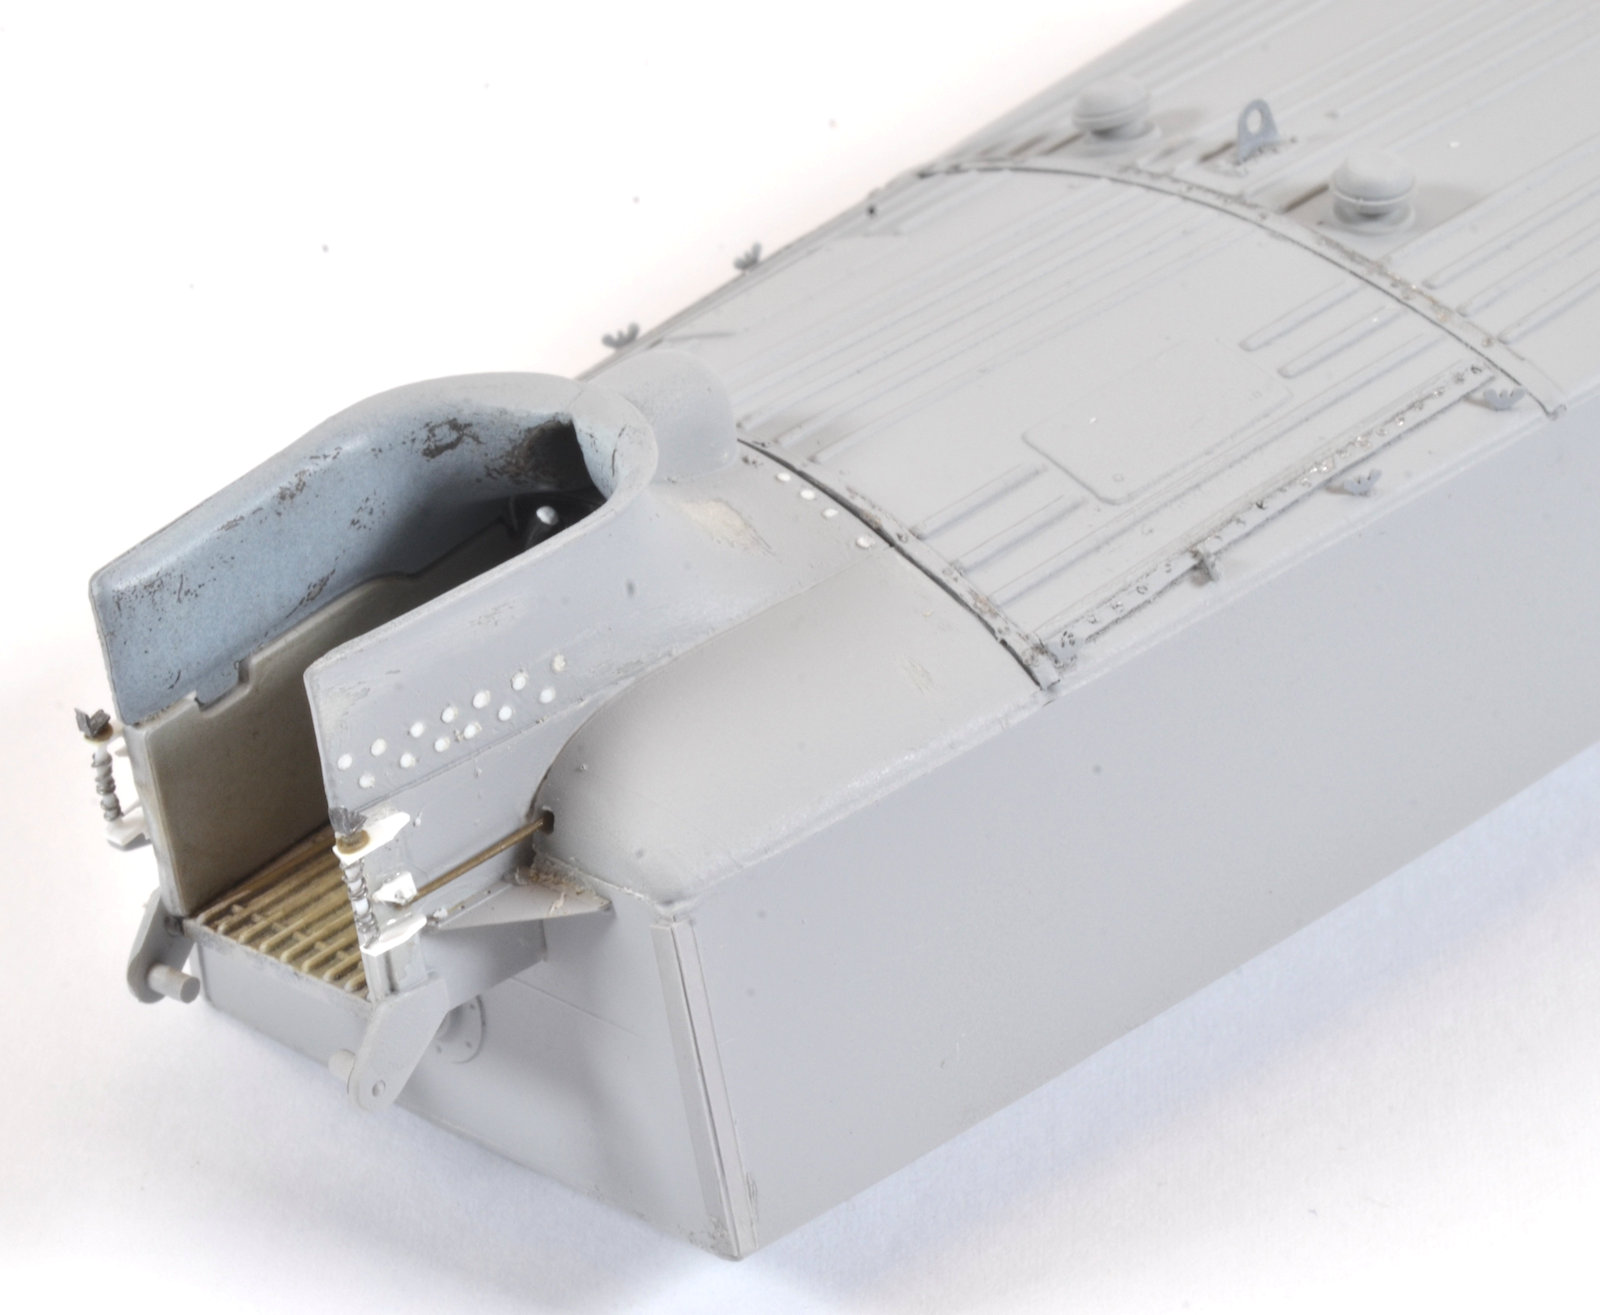
The model was them primed using Mr Surfacer 1200 and a basic pre-shade was applied.

The base layer was sprayed using MRP Light Grey and was lightened in sections with flat white.


The floatation device was painted and added to the rear of the boat.A thinned mix of Starship Filth oil paint was then applied as a pin wash. The depth of the colour dragged the tone of the model down to a level I was happy with as well as highlighting the recesses and details.

The propeller section was also attached at this point. The propeller assembly received some light chipping with a sponge and aluminium acrylic paint.

The figure was painted using acrylics, and with that the model was complete.
.jpeg)
This is a kit I have been wanting to build for years, so with the re-release it was the perfect time to put the excuses aside and add it to the cabinet.
The boat by itself without the figure
.jpeg)
.jpeg)
.JPG)
.JPG)
.JPG)
.jpeg)
.jpeg)
.JPG)
.JPG)
.JPG)
.JPG)
The added human part to the story is added...
.jpeg)
.JPG)
.jpeg)
.JPG)
.jpeg)
.jpeg)
.JPG)
.JPG)
.JPG)
.JPG)
.JPG)
Clayton Ockerby
Thanks to Italeri for sending this kit to Clayton to build for you. The link to this kit on Italeri's website is here...

You can see more of Clayton's work on his Facebook page - Workbench Hobbies
