The third part of this build from Eth and we get past
the bare bones onto the main job of painting the kit and the true sleek lines
of this aircraft are coming out - check
out this part of the kit to see what he has been up to with it..
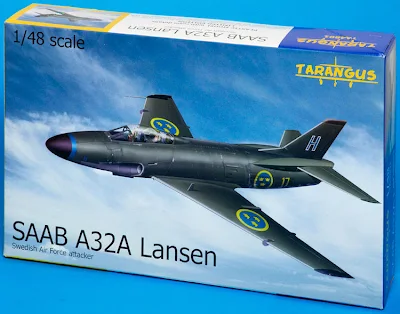
Kit Maker: Tarangus
Scale: 1/48th
Kit no: TA4801
Sprues: 5
Parts: 80 grey
+ clear Parts
Material: Injection
moulded plastic + PE Parts in the Maestro Add-on kits
Where to get it: Tarangus website directly
SAAB A32 Lansen A Build Pt. IISAAB A32 Lansen A Build Pt. IV
SAAB A32 Lansen A Build Pt. V
With the kit now ready for painting the first order of the day is the primer coat. Because Alclad Lacquers were to be used on this model it was primed with Alclad’s Black Gloss primer and filler. This is a very good primer and provides the perfect base for the next steps in the painting process. First an explanation as to why the Alclad primer was used. Alclad is an alcohol based paint and when using any of their “polished” range it needs a good black primer to give depth to the following paint.
The entire model was sprayed with the primer.
Although the upper surfaces were going to be painted LifeColor LC-UA001 this
would be chipped and so a metallic under surface was required. Setting my Iwata
compressor to 12psi the Alclad Polished Aluminium was sprayed on in several
layers building up the opacity of the paint. The drying time between each coat
can be between half an hour to an hour, so this was not a quick process.
However by the end of the day the Alclad was on and the model was set aside for
48 hours to dry. Due to an error on my part there are no photos of the model in
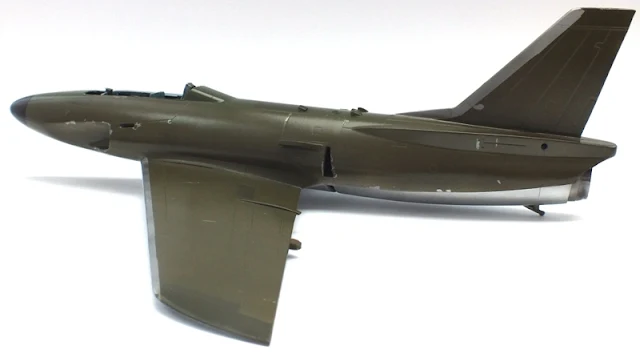
overall Polished Aluminium, however the above photos show the finish on the
under sides.
With the Alclad now dry, the surface was checked to
ensure no dust etc had spoiled the finish, thankfully there were no problems
and then several coats of Future were sprayed to protect the underneath of the
aircraft during the next stages. It was now time to apply the LifeColor to the
upper surfaces. Before this was undertaken some Humbrol masking fluid was
applied to the likely areas where scratches would occur.
LifeColor is quite easy to spray; the most difficult
thing about it is the paint to thinner ratio. I always use LifeColor thinner as
this gives the best results. Usually the paint to thinner ratio is 4 drops of
paint to one of thinner but this can change depending on atmospheric
conditions, humidity can really alter the ratio. The paint was sprayed on in
several layers, building up the colour until I was happy with it.
The model was left for 24 hours and then the liquid
maskol was removed. A tooth pick was used to remove more paint to create more scratches;
this is where spraying the whole model in Alclad paid off. The next step was to
mask out the natural metal finish on the leading edge of the wings, and tail.
Other panels were also masked off and a LC-UA078 was
used to help create a contrast between new and old panels. The model was then set aside so the paint
could thoroughly cure before the next stage could take place, the spraying of
more Future and the decal application.
Ethelian
Glendawr
Thanks
to Tarangus
for this kit and the extra additional etched add on parts more of this
build very soon right here - stay tuned.


