

We have already looked at the sprues of the kingfisher in our preview – and today Nico & Francois team up to make the model before
the next step of making a diorama for it to all fit into. They had some special
motivation along the way – see how the kit built up in today’s Build story.

Build review Pt II of III: OS2u Kingfisher
By Kitty Hawk Models
Product number# KH32016
The latest in a line of quite successful 32nd scale releases is the 32nd scale kit of the recon bird famous for its work in not only the Pacific with the US Navy but many other nations, the OS2U Kingfisher will no doubt be popular with modellers who like navy aircraft and objects not typical to the fighter/bomber world we see so much of.
A little about the Kingfisher in real life first…
In the role of “eyes of the fleet” and as a recon and surveillance aircraft the VS-310 Kingfisher was to prove the most useful and the most used. Incorporating some revolutionary structural techniques including spot welding, the Kingfisher was based upon the Vought company's considerable experience of observation aircraft and was designed to replace earlier Vought biplanes in a similar role. Operating from cruisers and battleships, these aircraft observed enemy ship movements, spotted own ships' gunfire, and performed air-sea rescue missions.

Layout of the fuselage was similar to that employed in the biplane scouts, as also was the use of a large single float plus underwing stabilizing floats, users could also add a conventional tail wheel undercarriage if needed.

Chance-Vought's XOS2U-1 was a two place mid-wing monoplane, powered by a 450 hp Pratt & Whitney R-985-4 nine-cylinder Wasp engine. The initial version designated the XOS2U-1 was first designed as a land plane, and the addition of a single main float and wing-tip floats gave it a seaplane capability. Successful catapult trials aboard the USS West Virginia (BB 48) in August 1938 resulted in a production contract with Vought for fifty-four OS2U-1s to be delivered over a seven-month period from May to December 1940.

The OS2U-1, now designated as the "Kingfisher," was armed with a fixed Browning .30-caliber machine gun in the nose, and a flexible .30-caliber gun operated by the radio operator/observer from the rear seat position.
Operationally these birds were very useful to the US fleet in the road back from Pearl Harbour. They sought out enemy fleets, provided information ass the eyes of the fleet and patrolled on the lookout for threats to the navy and located downed airmen and sunken ship’s crewmen. This plane saved a great deal of servicemen’s lives on duty.

And now Nico & Francois' build of the kit...
It seems it takes about the time to build a Kitty Hawk model as it takes for
another one to be released. After the 32nd scale T-6, Bronco and Sabre Dog, we got our
teeth into the recently released OS2U Kingfisher. We have built the kit and made some discoveries along the way - could this might be the best kit to date from the still very young brand? Here is our
story:
Some Kitty Hawk models specifics we got used to: fantastic
surface detail, lots of parts, everything and perfectly moulded with transparent
parts and a wide choice of markings included inside. The instructions with umm not always
accurate steps and ejector pins on some parts. This newest from the Kitty Hawk
stable has all of that, but let me tell you right from the start: this kit
builds into a really-really nice looking 1/32 Kingfisher!
The parts: yep, nicely moulded all - Check! Inside the fuselage,
you’ll find some ejector marks, but most of those won’t be visible in the end product.

Cockpit parts are not bad either. You could detail some
parts and open up some holes when you check reference photos, but it looks like
the KH engineers did some good research for this one!

This kit builds into quite an impressive one, mainly because
it sits on top of the massive float. The surface detail on here is as good as it is on the rest of the kit. Several different sizes of recessed rivets are on show.

Okay then, let’s start building the kit. The idea is to build it in a diorama where a
Kingfisher crew picks up a ditched pilot. In this first part, we’ll do the
aircraft, in the second one, the figures and the water. The crew compartments
get some extra detail to make everything a little more 3D inside. The in-box details aren’t bad, but some wires and bolts
make it stand out just that little extra, right?

That detail will look very nice with some paint on it...

The cockpit gets some wires too. Not too much though. When
we are going to have the pilot in it, nothing much will be seen later-on. The
more obvious ejector marks are filled with some Tamiya Putty. Especially those
on the rudder pedals have to be filled!


Just a day into the
build, we went into the painting stage for the interior.

Bringing some contrast with lighter shades of interior
green, white and yellow. And adding some spots with a sponge.

A wash will bring out
the detail even better!

Next is the hardest part of this kit: the engine. It
consists of some 60 parts and the instructions aren’t always clear where you
have to stick some parts, so test-fit as much as you can. The two main parts of
the engine – the rows of cylinders – are filled with ejector pins. Those have
to be removed one by one. So, it took about two evenings to get the engine done. Here it is after we added just a little wiring harness.

The problem of the engine isn’t just the number of parts;
it’s how you have to connect it to the engine bulkhead right in front of the
cockpit. The instructions aren’t clear here and we had to reposition the engine
exhausts more than once to get them right!

Some putty was needed on top of the fuselage and on the
float. It’s important to make these parts really flush because they will be
very visible in the end result. With a punch and die set, we added some bolts
on the fuselage.

The tail planes fitted perfectly... Well done Kitty Hawk!
See the little photo-etched part on the fuselage-to-float connection? According
to the plan, you need to glue one of those on each side of the plan. Quite
impossible however because only one is provided in the kit! Not so good.

A close-up of the
carefully painted engine. complete with a dark wash to bring out the cylinder ribbing, pushrods and wiring harness.

The wings can be glued in a couple of minutes. Fit is
perfect. Here is a test-fit of the wings to the fuselage. Again: perfect! The
wings won’t be glued to the kit until the very last minute. This will make it
easier to paint the fuselage and float.

Time to get started on painting the kit. Apart from the
engine to fuselage connection, this has been quite a do-able kit! First to be
painted: the inside of the engine covers. Interior green, some scratches, oil
and chipping. You won’t be able to see much of it if you close it up like we did, but hey it’s all there.

The fit of the engine
cowlings was a little tricky, but it went okay. Just a tiny bit of putty was
needed and then came the
masking and painting. Such fun!
In this photo, the rudders aren’t done yet. All painting was
done with Revell Aqua Colours and basically it’s just 3 colours: grey and white
for the fuselage and some black to get a couple of shades. The black areas on
the float were masked and painted, but Kitty Hawk also provides a decal for
those who prefer.

The wings are done in the same way, with a few panels masked
and given a lighter shade, to give it all a little more depth. The walkways
were masked and sprayed.

A test-fit of the wings to the fuselage and ready to get the
masks of from the transparent parts. These will be glued to the kit with Revell
Contacta.

With a flat brush,
some future is brushed on the kit. IT was starting to look the part, huh?

Engine is looking
good in a painted fuselage and we were nearly there...

Decals, often a scary moment with Kitty Hawk models. They’re
nice, don’t get me wrong, but they’re also very fragile. So I went very
carefully. And hey, everything went as good as hoped. Nice and easy with good
result!


Another layer of Future and the weathering can start: a watch,
some chipping, ...

Some clear parts are
painted red. Gives a nice contrast!

Weathering almost done. Next we will be painting the details
and glue everything together.

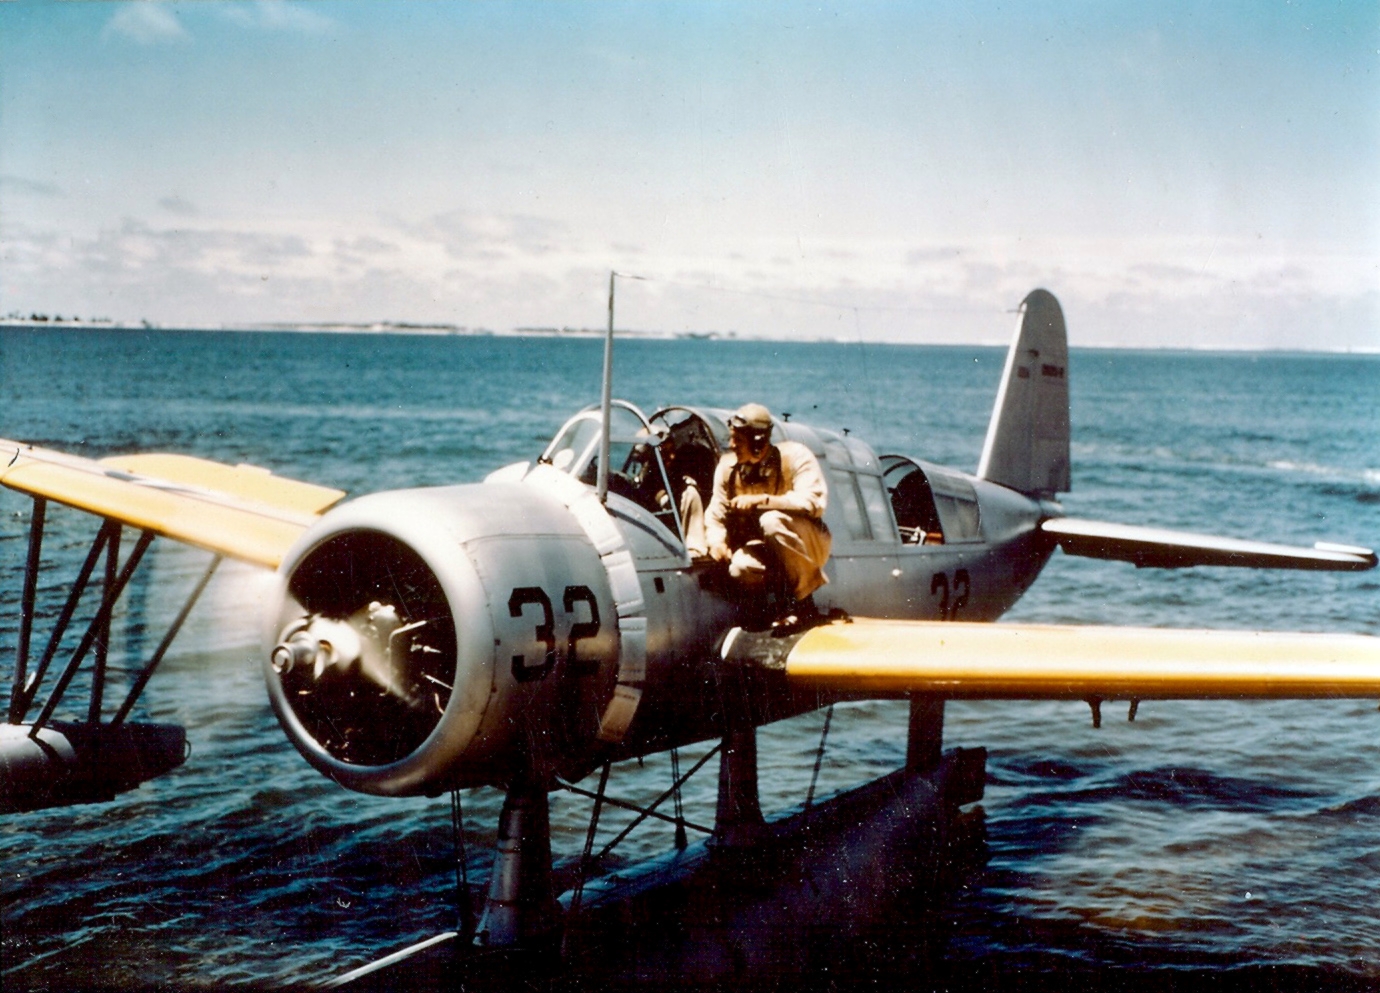
And here she is...with
our US Navy Mrs. motivator member on top - Smile to the camera,
dear!

And here are a few
more shots of this completed kit...


So, is it a good kit? Yep! The best so far from Kitty Hawk,
as far as I’m concerned. Is it an easy one? Mmmm..yes, you just have to take
care with the engine and the float, but apart from that: it builds quite easy.
Will I build another one? Maybe - that Royal Navy one is very tempting!
Gotta go! There’s an T-28 waiting to be built!
Model by Nicolas
Deboeck & François Laloux
Thanks to Kitty
Hawk Models for the Kingfisher kit to build in our review.
