

Nico and François have been busy of late making lots of models, and (as usual) they have teamed up on the 32nd scale T-28 Trojan from Kittyhawk. A popular aircraft, but how would the new tool 32nd version of the Trojan build up? Only one way to find out. See what came out of their combined talents went in their build review...
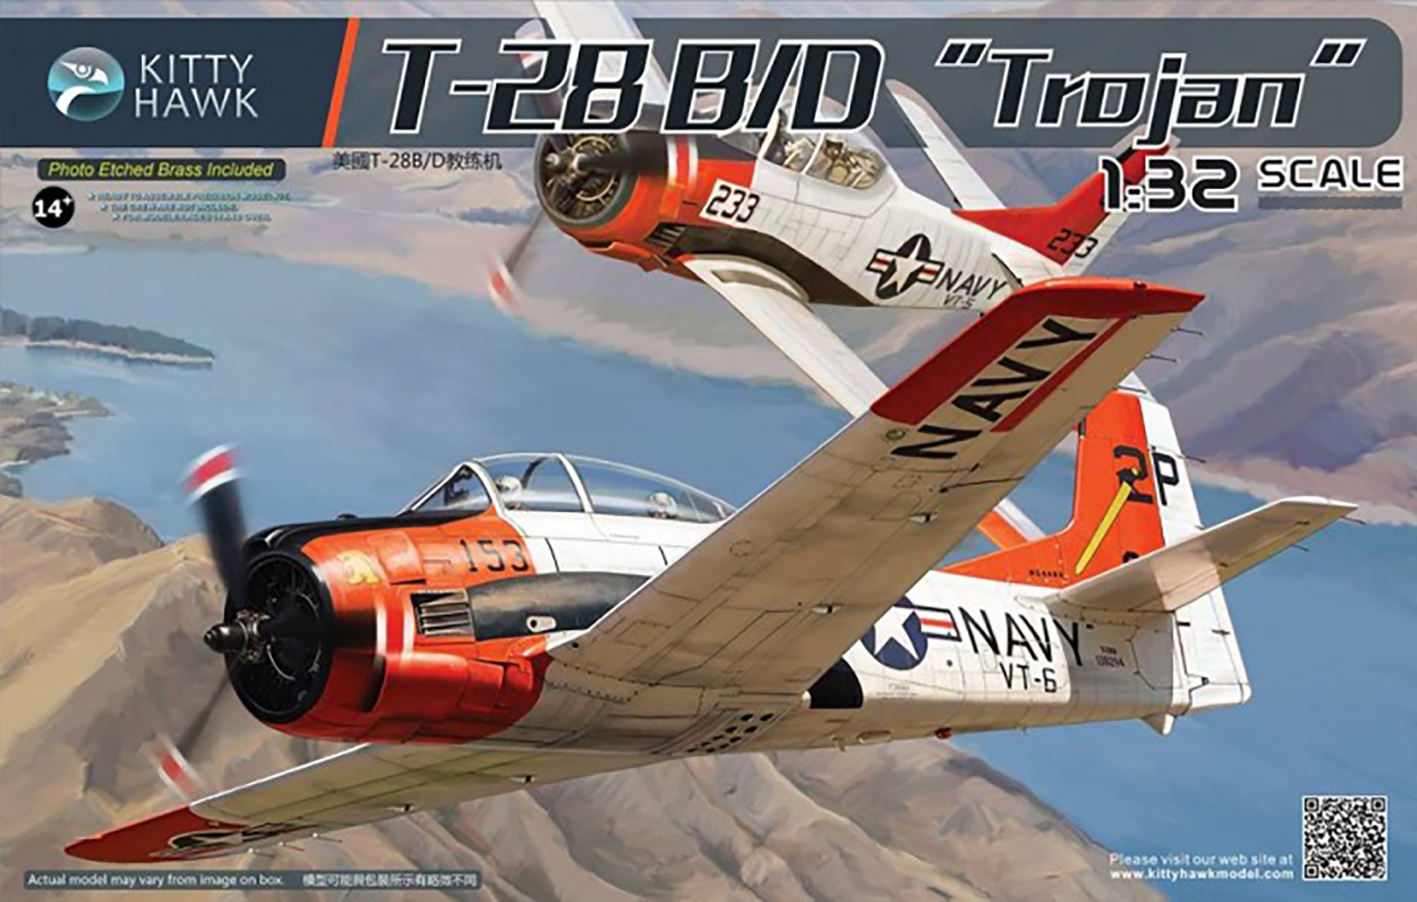
Complete build review: T-28 Trojan B/D
From Kittyhawk models
kit ref.: KH32014
Scale: 1/32nd
Medium: Injected plastic + Photo-etched parts
Number of parts: 352 (including 14 clear parts)
Photo-etched parts: 2 frets
Decals: 7 liveries – 3 U.S., 1 French, 1 JSDF, 1 Philippine Airforce, 1 Royal Thai Airforce
Apart from the P-39, I’ve built all the 1/32 scale kits of Kitty Hawk and before the new ones arrive – some of which I reeeeaaally look forward to - I just had to build the T-28 Trojan. Having built nearly all of them, their T-6 – the first 1/32nd kit released by Kittyhawk - needed quite a bit of work, but I can really see the progress the brand has made through the first kit I made through till the last. Let's see what this kit brought us in our build review.
A look at the parts of this kit shows you what you can expect from a modern day model: lots of details, very nicely engraved panel lines and rivets, a wide choice of liveries. The kit provides a complete engine, which was where I started right away. For this kit, I teamed up again with my friend François, a real all-round modeller with lots of talent.

This is what the engine looks like when you build it from the box. The T-28 has very big engine doors, so you really want to make this area look good if you leave one or both of them open. Kitty Hawk has provided quite a bit of detail, but we wanted to give it a little extra as we will show you in this story...

This is what the major parts of the cockpit look like when test-fitted inside the fuselage. A lot of attention went into this area, as it should because with the large canopy, a lot of it can be seen. Here’s another photo of it:

The back of the instrument panel is quite visible, so this needed some extra detail. A drill and some wiring helped to get to this point:

So, how do the engine, its top cover and the windscreen fit together? Looks pretty good to me so far...

Around this time, we decided to build the T-28 into an AT-28: an aircraft that was used during the secret war in Vietnam (and her neighbouring countries allegedly) by the 606th Air Commando Squadron, flying out of Thailand. Their mission was to attack trucks along the Ho Chi Minh Trail during nighttime operations.

These Trojans flew under the call-sign “Zorro” and carried a wide load of weapons. Fortunately, Kitty Hawk provides some of this ordinance in the kit:

..but it’s not enough for the look we were after, so later on, I might be scavenging some ordnance from a Skyraider from Trumpeter…
Back to the kit: we would open up one side of the engine, but first those ejector marks had to be attended to: some putty and careful sanding were necessary.

Here are a few shots showing the fuselage detail. Just wait until we get a wash into those lines and rivets.


Constructing the main wheel bays and cleaning the speed brake:

So, let’s start with some detailing. These Trojans were on dangerous missions, so the crew got armoured plates behind the seats. These had to be made from plasticard. I started detailing some areas on the kit.as start to the process.


Some sprues, some lead wires and some good reference photos later, details are starting to come together.

A little closer...

Well, maybe just a little more…


With the details added, is was time to get the paint out for the first time. Here you can really see the result of the added detail, being inspected by our favourite G.I.:

Around this time, the idea came to add an extra point of interest to the kit by opening up the radio compartment on the left side of the fuselage. The hatch was cut out and the interior of fuselage built. This would later proof to be a good idea for more than one reason…


During a recent visit to Duxford, I was lucky to see a Fennec, the French version of the T-28. I took these photos of the vertical tail:

You can see that the round structures on the inside are hollow and this was something that we wanted to represent in the model. So, with some Plasticard and our good old punch-and-die set, we rebuilt the kit part.

While I was building that part (and trying to align it with the rudder), François painted the radio compartment:

After this, it was about time to close-up the fuselage – don’t forget the metal weights provided in the kit, but after a little test, I found out that these weights are simply not enough! So, add some more weight to the nose or you will have a tail-sitter for sure. Curious about the end result, we taped the kit together and had a look:

Our G.I. was happy with the result and urged us to continue. In the background is a power/ light cart that I’m scratch-building. The idea is that it actually puts a light on the kit. More on that in a later post when we have more time to complete it.
Putting the kit together was done in a jiffy and even though quite a bit of stuff was added to the kit, no problems were encountered along the way. In just a couple of hours of straight construction the fuselage was ready, the landing gear bays were installed and the wings attached. No putty needed this time. I feel an improvement in their kits with the ease of construction here.
Time to bring out the airbrush!This is the look that we are going for:

These “Zorros” were early on in their career repainted in a 3-tone SEA camouflage, much like the other aircraft in the Vietnam War. The tan colour was replaced with dark green and the entire underside of the aircraft was painted black. I used Gunze paint for the camouflage and Revell Aqua Color Anthracite (colour 09) for the black.

The engine detail looks good inside a painted fuselage. These special 606 Squadron Trojans were completely clean when it comes to markings, except for their “TO” tail markings. This means no decals are needed to be used from the kit, even though it provides 6 very interesting liveries.

I’d probably have to build another one in the future... At this stage, the kit was handed over to François for weathering and chipping, but not after a layer of Future and a little wash with black watercolours.
First, a couple of more photos: the black underside has yet to be painted…

Here’s the radio compartment finished up.

This thing has some pretty large wings, larger than you may think and this photo shows why it was such a good performer aerodynamically.

The flying surfaces and engine cowling interior, ready for a wash:

Canopies all done, inside and out, simple masking with tape for these.

The landing gear doors painted:

One more shot before she goes into weathering:

A wash was made with Windsor & Newton watercolours, followed by sand colour airbrushed on the fuselage to reproduce the engine exhaust.

With the finish line in sight, the small details were painted and glued onto the kit: the propeller, the landing gear and the gear doors. The doors are black on the outside, white on the inside. A wash brought out some of the details of the kit to good effect. Photos showed that the spinner could use some detail – in the kit it is flush.

These Zorros were loaded with a lot of weapons for their nightly raids and Kitty Hawk has quite a few options in the box. We built the Mk.82s, the rocket pods and the guns, but photos showed that they also carried tube rockets – see the photo of the real thing above. For this, a pair were taken from the excellent Skyraider kit from Trumpeter. Some Eduard Remove Before Flight banners gave some colour to the area.

Zorro Trojans never had any markings, except for a tail code and a serial number. So, I dove into my spare box of decals. The cool thing is that I found what I was looking for on a leftover decal from my Kitty Hawk 1/32 Sabre Dog – was the “T” and the “O” as well as the serial, which was recycled from another kit.

Remember the inside of the vertical tail? Here it is painted and in place. The work that went into it was definitely worth it.

Some last minute painting had to be done: the walkways in faded black and the inner part of the flaps in light grey, both only a matter of masking and airbrushing:

Some realistic weathering of the propeller:


Here is a close-up of the engine exhaust, fading softly to the aft of the fuselage. The engine detail from this side looks quite good too!

The finished tail. It fits, even with the modification we made, and we were very pleased it worked out so well.

Now it was time to get all the flying surfaces fixed on the kit. And here we encountered a nasty surprise: even though we put in the right amount of extra weight, the kit dropped on its tail. The problem was: the kit was already completely closed-up and the prospect of opening it up again was not very um... appealing.
The solution was a bit unorthodox: some additional lead weight was placed in the opening we made for the radio compartment and balanced to the front of the kit. The result was that the Trojan finally stood on its 3 wheels. Good news you would think. Hmm, but we weren't out of the jungle yet. Because of all the extra lead, the gear wasn’t strong enough to carry all the weight, and one of the main gear struts broke off! Gd@#*?N£ !!! We fixed it of course, but we recommend you to strengthen the gear as much as possible. If an aftermarket metal gear is available then get that as a more sturdy alternative.
With the last things that needed to be looked at done – landing gear doors, painting the seat belts and a layer of matt varnish – it was time to make a couple of finished photos.


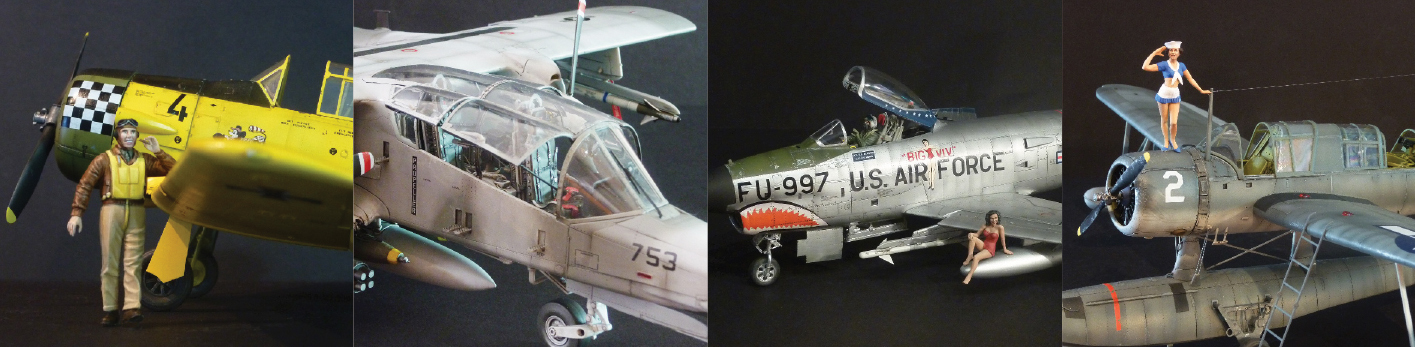
This is the fifth Kitty Hawk kit in 1/32 that I’ve built (see the line-up below ) and the evolution of the brand in this scale is very clear. Where the T-6 suffered from some beginners’ mistakes, their kits have become better and better gradually in each release after that. (I like that each of these kits are of aircraft that never before have been available in this large scale.) This T-28 is the best of them all that we have made and this model won a special prize (best plane in the masters category) at the Hoboken competition

The T-28 of Kitty Hawk has great engineering and hardly needs any putty. It can be made in a wide variety of liveries since it was used in many Air Forces. So, is there no bad news? Just one: the weight that is provided in the kit isn’t enough to prevent it from being a tail-sitter. So when you’re building this kit: don’t forget to add more weight to the nose.
Apart from that, it's a great kit! I hope the F-5, Mirage 2000 and Jaguar that are announced from the brand will continue to improve the quality of their large scale models. Let's hope so...
Nicolas Deboeck & François Laloux
Thanks to Kitty Hawk for sending us this kit to build and review.
