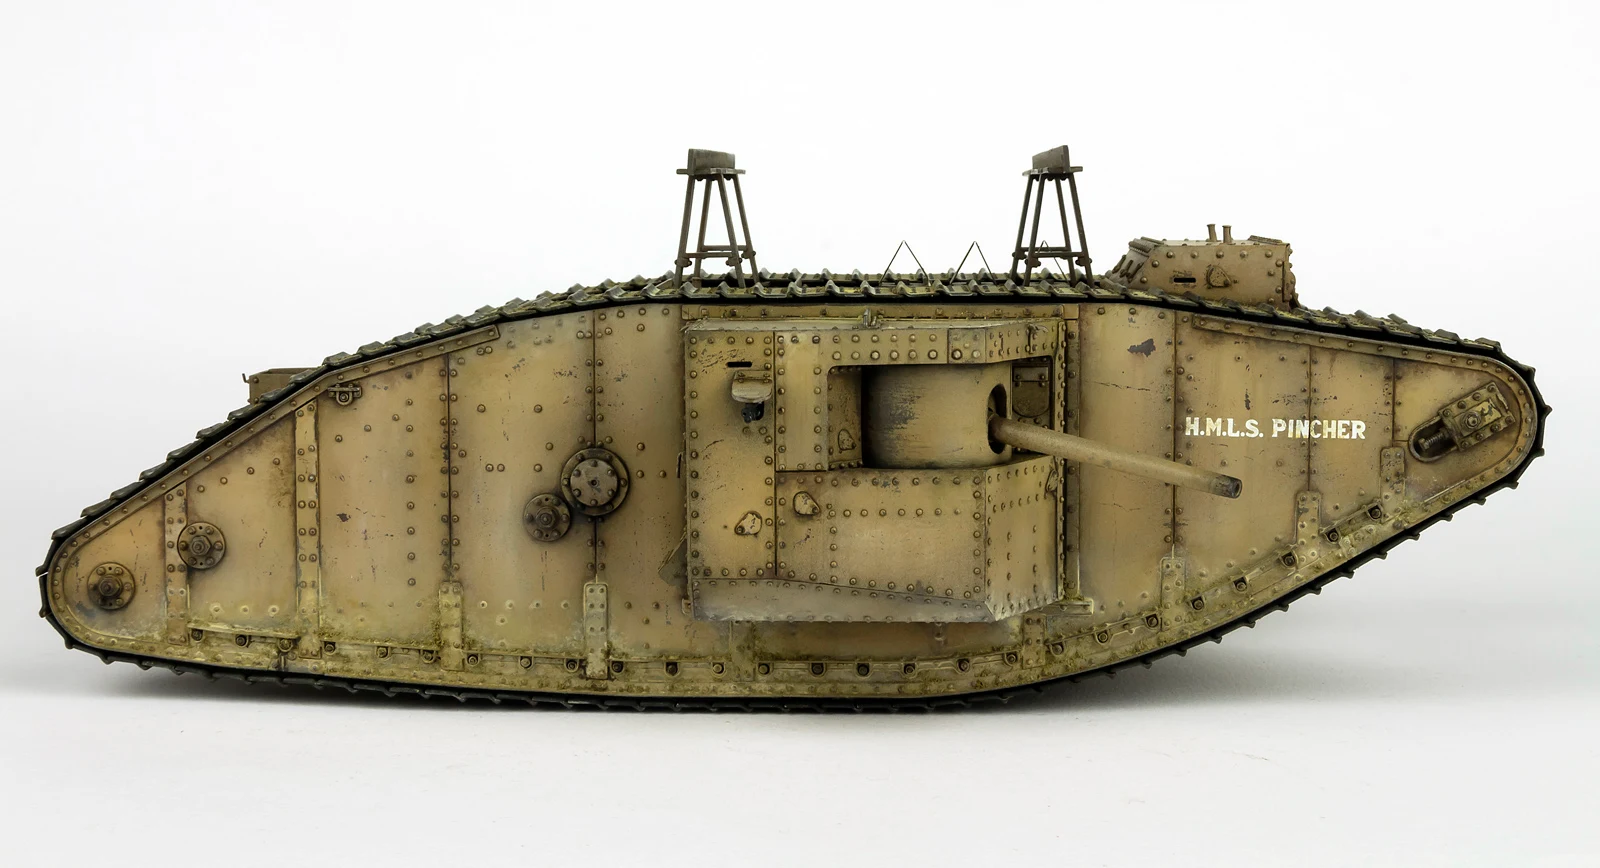
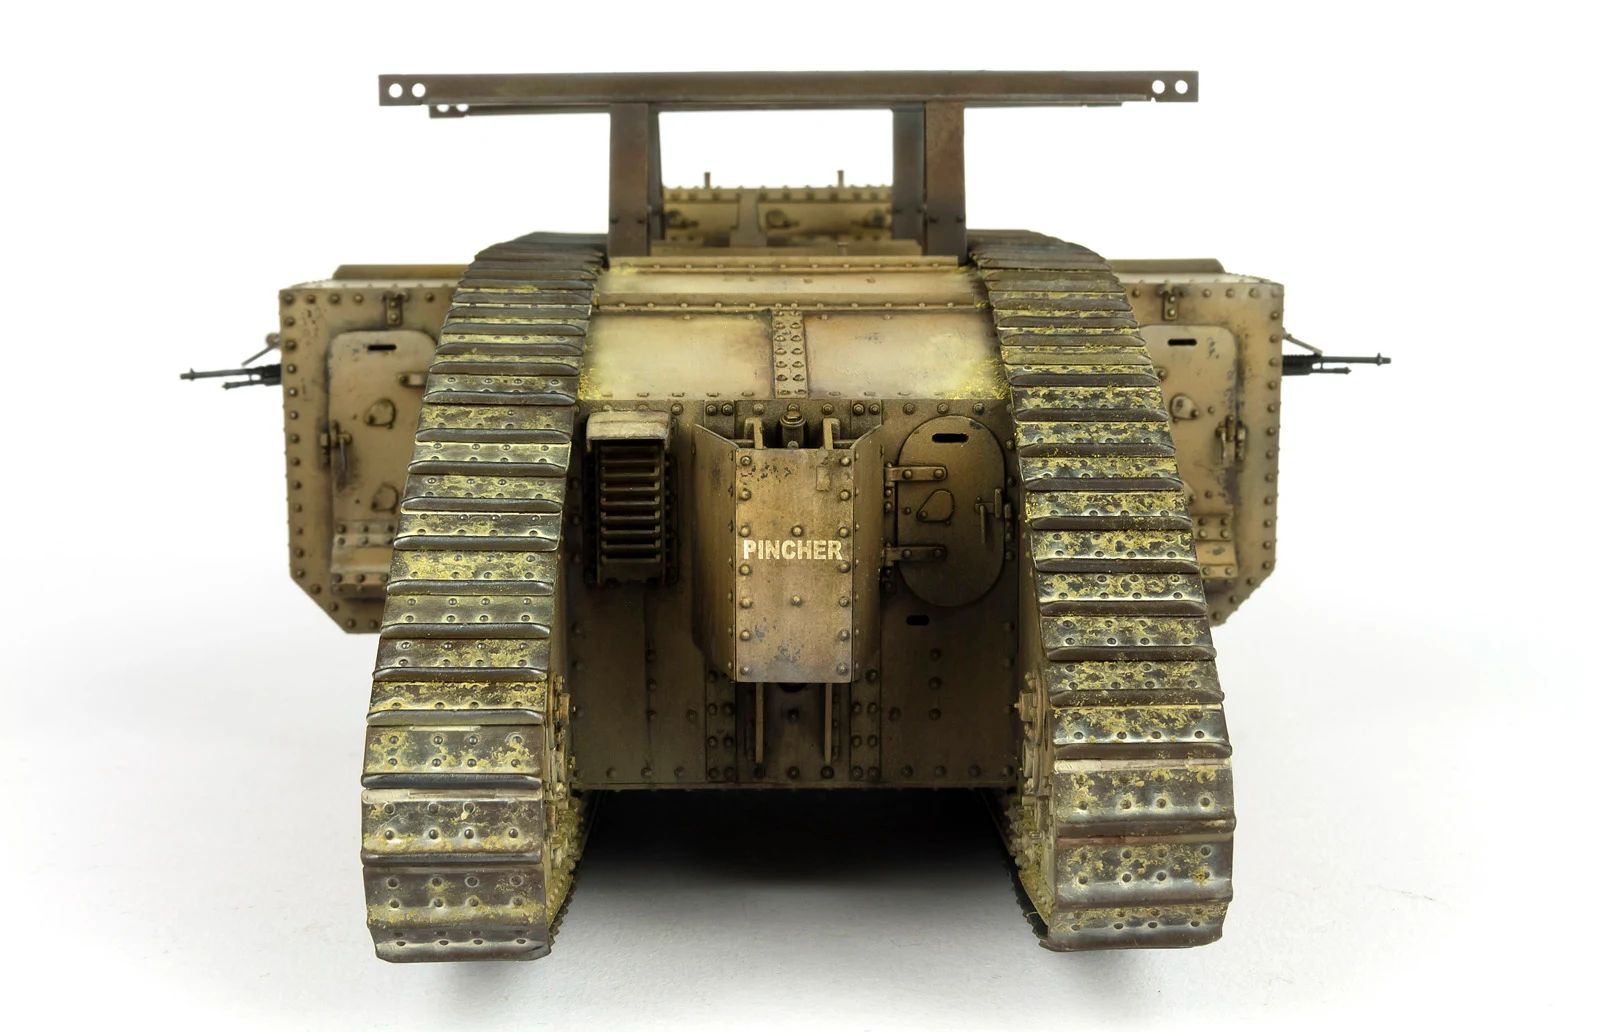
 Andy Moore has finished his new Mk. I Male WWI Heavy Battle Tank in 35th scale from TAKOM. The Palestinian theatre scheme is finished with Mig Jimenez' Ammo paint & Penguin's Decals. This detailed version of the kit includes the extra trailer, pulleys and bars which make this look like no other WWI tank.
Construction
Review:
Mk. I Male WWI Heavy Battle Tank
(Part 3)
From: Takom
Kit Number# 2031
1/35th scale
Price - £48.92, ¥7,740, US$68.85, €62.58 from Hobbylink Japan
Back in part 2 we left the Mk.I built up, sans sponsons, and
ready for paint. Time to get the airbrush out then, but first I had to decide
on the colour scheme. In the box you get markings for two examples in the early
Soloman camo which have the most visual impact, but I like the challenge of
making a single colour scheme interesting, so I decided to go with the option
for one of the Palestine based tanks in overall khaki brown.
In order to break up the monotone colour, I decided to apply
some hairspray chipping over a rust base. Due to the harsh climate in the
Middle East, the finish on the tanks based there would weather rapidly. To get
the ball rolling, I primed the whole model with a 50/50 mix of AMMO Rust and
Black primer.
This would act as the base for the hairspray chipping.
Technically there would have been a grey base coat under the khaki brown on the
real tank, and I did consider applying two-layer chipping using the grey first,
but in the end I decided against it, as I thought a lot of the subtly of the
two colour chips would be lost under the subsequent weathering. So, once the
primer was fully cured (I left it a couple of days), I decanted some hairspray
into a jar, then airbrushed two good coats over the model.
As I don't like to leave hairspray too long before
activating it, I only worked on single sections at a time starting with the
right hand side. The hairspray was applied, left for about 10 minutes to dry,
then the main base coat was sprayed. I used the recommended AMMO 088 Khaki
Brown, but selectively lightened and darkened it with 078 Ochre Earth and 079
Clay Brown respectively, both from the AMMO British and German colours set.
The paint was also allowed to dry for around 10 minutes,
then the surface was dampened and the paint scuffed using a stiff bristle
brush. I also used a needle to add scratches, although you need to be very
gentle with this to avoid going through the primer to the base plastic.
Working in sections like this takes a little longer but is
far easier in the end. With the whole tank painted and chipped the effect may
seem a little stark, but most of this will be knocked back as the weathering
continues.
The aim with the chipping process was to get small areas of
wear rather than large flakes of paint coming off. For the most part this was
successful, although here and there a few larger chips were formed. Again,
these will be toned down with more weathering.
I'd left the sponsons off till now, so I could paint the
main guns and the machine guns separately. With the guns now in place, I test
fitted the sponsons and noticed an issue that I hadn't spotted during
construction. The roof plates on both sponsons were slightly bowed which left a
noticeable gap along the top edge when fitted.
The degree of bow can be seen in the photo below. I'm not
sure if this was a result of my assembly, or if the parts had come that way.
Either way, it wasn't a big issue to fix.
I cut two lengths of square section styrene to the correct height
of the sponson, and simply glued then in place, bracing them between the floor
and roof.
A quick check showed that the sponsons now fitted correctly,
with no gap.
With that last bit of construction finished, the Mk.I was
finally fully assembled, apart from the tracks. It was given a gloss coat to
seal the paint layer ready for the decals and weathering.
Time for the decals and, although these tanks didn't carry
much in the way of markings, the names they bore gave them a lot of
personality. Takom supply markings for one of the Palestine based Mk.Is, “HMLS
Sir Archibald”, but during the build, I was kindly supplied with three new
decal sets designed for the Mk.I by Denis Anikanov of New Penguin Decals.
Of the three sets they've released, one is specifically for
the Palestine based tanks, and features the markings for all eight Mk.Is that
were stationed there (four Males and four Females), and the accompanying
literature covers any differences between the individual tanks.
I chose to do HMLS Pincher and, like the others, there's
only for decals to apply, just the name on each side, and the front and back.
For the most part they went on fine with an application of Micro Sol. The one
on the left track frame did show some fogging and slightly broke up on the “L”
of HMLS. I hadn't applied any Micro Set before the decal was added, and doing
so may have helped remove the fogging. The other decals didn't seem
particularly fragile, so it could have been a one off.
The decals were sealed with another gloss coat and this did
seem to remove a lot of the fogging. I then got the weathering underway with a
pin wash using a couple of AMMO washes. Using different colours of wash across
the model helps give a more natural result than just using a single colour. In
some areas the wash was applied over whole panels as a filter to help further
break up the monotone finish.
I now started to add more discolouration to the finish, this
time with Lifecolor paints. These are very blend-able and can be used almost
like oils. Most of the work was done with a dark brown which I painted around
the panels and in corners, then feathered the edge of the paint with a damp
brush.
The same paint was used
to add staining around the exhaust outlets on the roof.
Further acrylic tones, along with some oils were used to add
more colour variation to the hull, after which the lower areas were given a
misty overspray with a pale dusty sand colour.
To increase the dusty feel to the lower hull, I mixed up a
wash from AMMO paint and pigments and brushed this around the bottom of the
hull, blending the edges as I went, to avoid a hard line.
Once dry, the wash started to give the tank the look of a
machine operating in a dusty, arid environment.
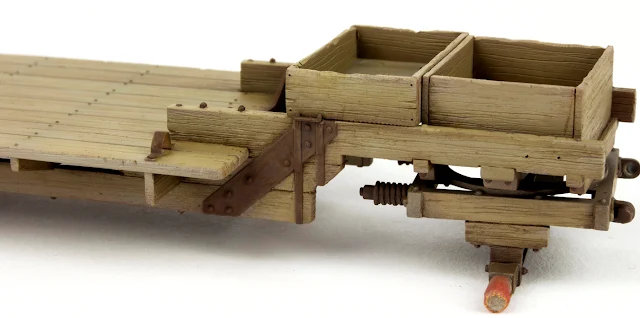
Whilst all this had been going on, I was also working on the
sponson trolley that comes with the kit. After priming, this was base coated in
an aged wood colour, varying the tone slightly from plank to plank.
After which the metal
areas were picked out in a dark rust colour.
With the base coats on, I added a dark brown enamel wash,
which started to bring out the grain texture I'd previously added to the wooden
planks
The trolley wheels were primed in the same dark rust tone as
the tank, and again I used hairspray chipping for the base colour. This time I
added much more chipping to show a heavily worn finish.
I'd originally intended to leave the trolley in the
weathered wood finish, but since I'd added remnants of paint to the wheels, I
thought I should do the same for the trolley. Rather than coat the whole thing,
I restricted the paint to areas where spots of the original colour might still
be found.
The stowage boxes had tarps added from tissue soaked in
watered down white glue, and the pulleys and chain for the sponson crane were
placed on top.
The last things to add to the tank were the tracks. These
too had been primed in a dark rust tone, after which they had a paler rust wash
with acrylic paint.
The same pigment and paint dust wash that I'd used on the
hull was applied to the tracks.
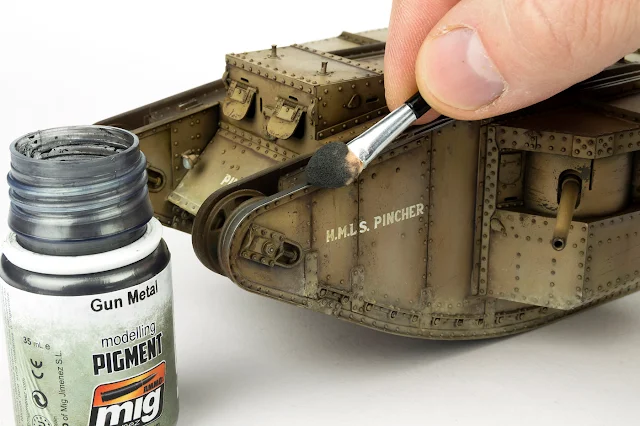
Before the tracks were fitted, I rubbed Gun Metal pigment
around the edges of the track frames to give them more of a metallic feel.
With the tracks in place, I used my finger to rub the same
pigment over the raised areas of the treads. I found the 90 links recommended
in the instructions to be a little too slack, so one link was removed from each
run which gave a much better fit.
As a last step I added some dry pigment to the lower hull
and tracks using AMMO Middle East Dust, securing this in place with pigment
fixer.
And with that done, the Mk.I was finished. This has been one
of the most enjoyable kits I've build in quite a while. Apart from a few tweaks
here and there, the fit was excellent, and those clickable track links turn one
of the more arduous tasks in AFV modelling into one of the simplest. The one criticism that can be placed is the narrow drivers cab but, in truth, once the tracks are in place you can't really tell, and after-market correction kits are now available if you want them.
When you
get right down to it, the design is basically a box with tracks and, as such,
you can breeze through the build, then really get stuck in with the painting
and weathering. . All in all,
this is another winner from Takom. Highly recommended.
Thanks to Takom for sending us this kit to review & build – check their website for full details on the rest of their kits…
...Also thanks to to Dennis from Penguin Decals which Andy will use in the next part of the build...


