

Construction review Pt II: T29 Heavy Tank
From Takom
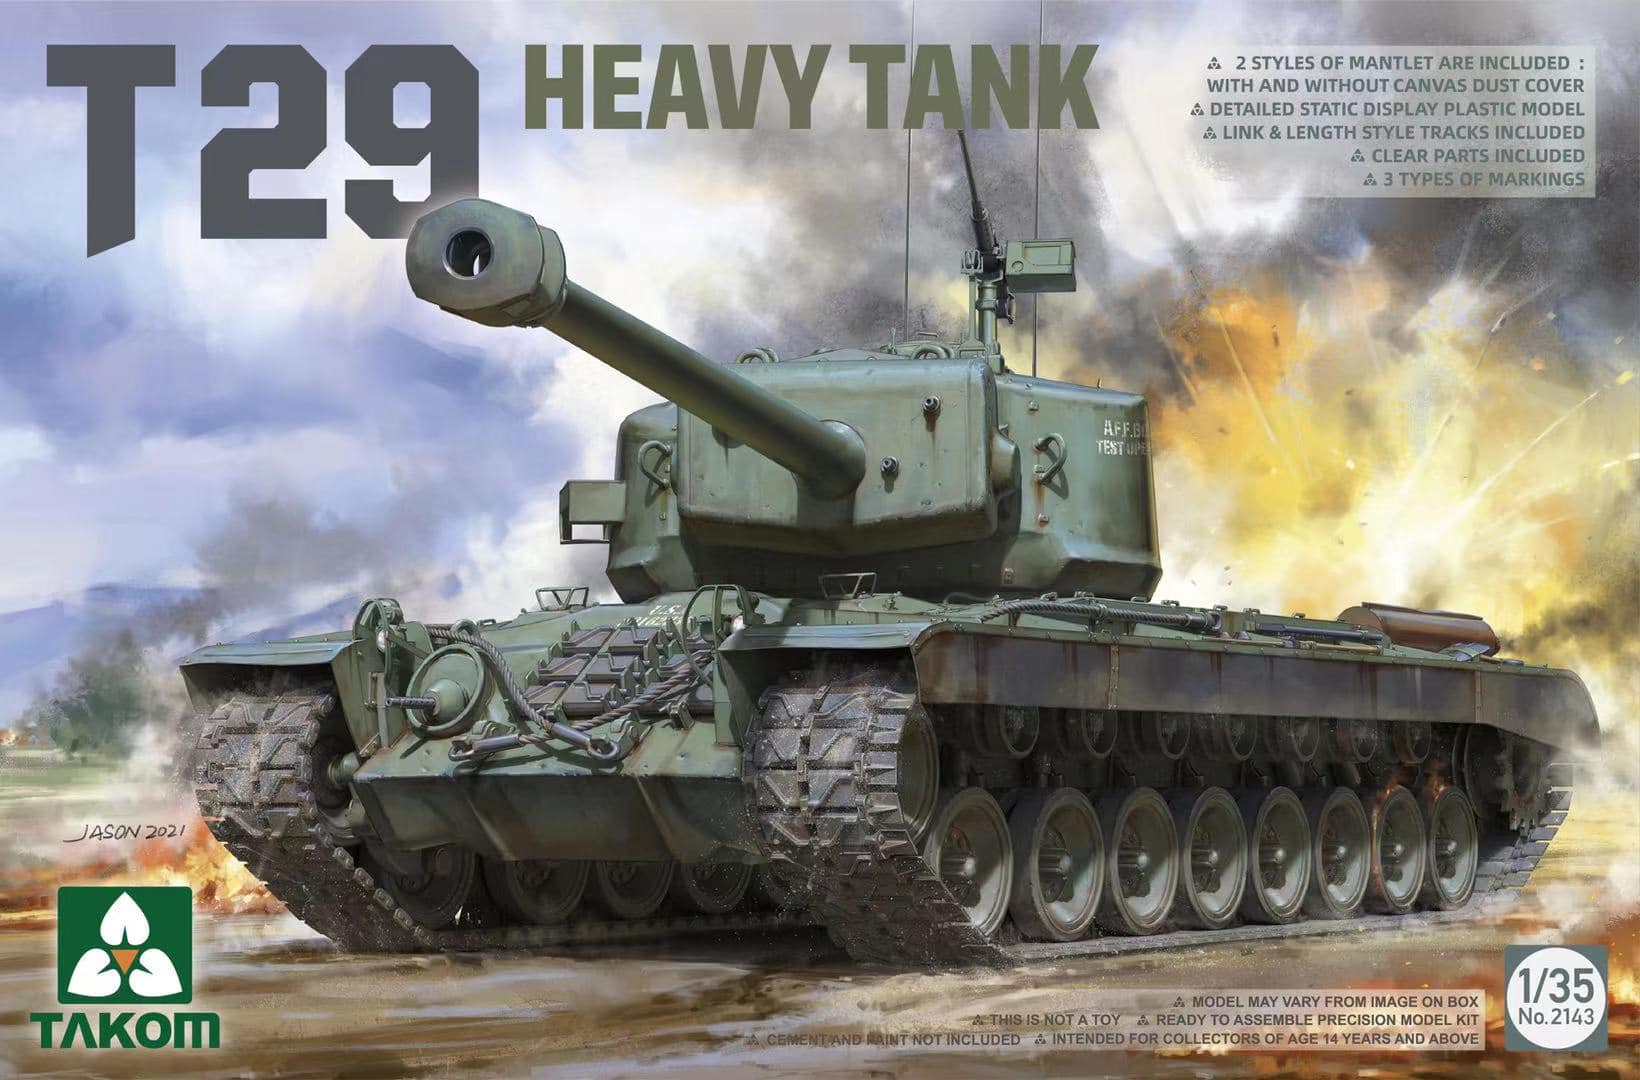
1/35th scale
Kit No #2143
2 styles of mantlet included (canvas dust cover included)
Link & length tracks included
Clear parts & Photo Etch included
Three marking choices are included in the box.
Price – £36 / €43 / US$48 available from Hobbylink Japan
From Takom
1/35th scale
Kit No #2143
2 styles of mantlet included (canvas dust cover included)
Link & length tracks included
Clear parts & Photo Etch included
Three marking choices are included in the box.
Price – £36 / €43 / US$48 available from Hobbylink Japan

Today: T29 Heavy Tank from Takom 1/35th scale - Painting & weathering the beast


Back in part 1, we put together Takom's recent T29 release in what was a fast and enjoyable build. Time now to finish the project off with some paint and a little weathering. The first step, as always, was to clean the various sub-assemblies with isopropyl alcohol to remove any grease or other contaminants that might otherwise affect paint adherence.
The first painting step was to lay down a primer coat. I prefer to use a dark shade for priming as this can help in creating some shading and volume in the subsequent paint layers. In this case, I used a 50/50 mix of AMMO's Rust and Black acrylic primers thinned with Gunze Self Levelling Thinner.
For the main paint finish, I used colours from AMMO's Olive Drab modulation set. Starting off with Dark Base (A.Mig 925), I gave the whole model a fairly solid coat, just leaving some traces of the dark primer around the lower hull and the underside of the turret.
I followed next with Olive Drab Base (A.Mig 926), this time with a looser application, concentrating mainly on the upper surfaces. The tank I'm representing here was a post-war test vehicle, so I didn't want to go too crazy with a faded and worn paint finish. As such, I elected to call the main finish done at this point and not use any of the lighter shades from the modulation set.
In the past, I've sometimes had issues with Takom decals as they often seem overly thick and don't always lay down well. I gloss coated the areas that would be decaled to get the surface as smooth as possible but, despite this, I still ran into problems. Again, the decals were very thick which makes it hard for them to bed down over the cast texture on the turret. They also felt quite dry and papery, and many of them cracked and broke up as they were removed from the backing sheet. Once down, they appeared quite 'cloudy' which appeared to come from the adhesive on them rather than any trapped air bubbles. I would really expect better than this from what is, otherwise, a high quality kit.
The dust cover over the mantlet would also have been olive drab, but the colour would have looked slightly different on the canvas, so this needed spraying in a different shade. The edges of the cover were masked with Silly Putty, which is exactly the same as the various masking putties on the market, but much cheaper.
To spray the cover, I switched to Tamiya paints, as their matte finish is very effective for representing fabric surfaces. A mix of Khaki and Buff was used, and to increase the matte finish further, a few drops of X-21 Flat Base were added to the paint mix. After the masking around the dust cover was removed, the remaining paint was thinned further and lightly misted over the rest of the model, partly to matte down the satin finish of the AMMO paint a little, but also in an attempt to blend in those poor decals. Unfortunately, this only seemed to exacerbate the issues with the fogging, so I decided to leave the decals as they were after this, rather than risk making them look even worse.
There isn't a lot of detail painting required on this build, however, the pioneer tools, tow cable, and spare track links will need picking out on the main hull. These were painted by hand using acrylics. The wooden handles on the tools had a little simulated wood grain added and, later, I rubbed over the metal parts of the tools with graphite powder to give them a metallic sheen.
The track runs were still separate at this point and before fitting them I needed to add some light weathering to the lower hull. This was done with various AMMO earth and mud washes, mixed with pigments, and splattered over the hull sides and suspension. A few darker washes were added around the details on the running gear to give some definition to those areas.
The track runs were painted in the same manner as the hull and turret, except that I left the track links in the dark primer finish, just painting the wheels in olive drab. The tyres were hand-painted in a dark rubber shade, after which the completed track units were glued into place on the hull. With that done, the side skirts were added, completing the construction of the lower hull.
All that remained was a little light weathering to bring the model to life. I began by mixing some light earth-coloured pigment with water, adding a small drop of washing up detergent to help break the surface tension, and brushed this liberally over the wheels and track links.
The same pigment was applied dry to the upper hull, working it into the surface with a soft brush. Once this was done, I lightly sprayed the pigment fixer through the airbrush over the hull and wheels to bond the pigments in place.
The high points on the track links were burnished with graphite powder, which really does help to make these parts look like metal. The same powder was also applied to the edges of any parts that might get some wear and tear, such as the headlight guards and the crew hatches.
An AMMO Fuel Stains Brusher was used to add some fuel stains (surprise, surprise) on the engine deck around the filler caps. You can also see the mottling effect on the olive drab paint work. This was done by thinning various dark coloured enamel washes and speckling the paint over the surface of the model. Don't use unthinned washes for this, as the effect will be too intense, but if done subtly, the technique can really bring the paint finish to life.
The exhausts were given some soot staining around their tips, and some subtle rusty washes over the mufflers. Subtlety, in general, is the watchword when weathering a vehicle like this, which didn't see combat, and was only used as a test mule. Techniques like chipping and rust effects can all be used, but need to be retrained, and only used in appropriate areas.
The final detail to add was the turret-mounted 50 cal machine gun. This is a lovely little moulding, and only needs the barrel end drilling out for a little extra realism. The two Miniart figures that I'd modified to fit the kit were also painted and dropped into place to finish off the build.
As I said at the end of part 1 of the build, Takom has done a great job with this kit. It's well detailed and quite imposing in size, but the build is easy and enjoyable thanks to some good engineering and a fairly low parts count. If there's a negative, it's the rather poor quality decals that do spoil the finished build somewhat. I do wish Takom would invest a little more in their decals, as this isn't the first time I've had issues with them, and the markings are so critical to the look of the finished model.
That said, there are aftermarket options for decals, and the rest of the kit more than makes up for those shortcomings, so don't let that issue put you off what is, otherwise, a very nice kit. If you're into US armour, this is going to look great juxtaposed with a Sherman or Lee, and will show just how big tanks were getting by the end of the war.
A close up of the details of the kit and the figures that were added...
A larger, wider walk around the completed vehicle...
All in all, with the caveat of the decals, highly recommended.