Takom's T29 has finally ended up in Andy Moore's hands. He has already built this best, and painting has begun. He has paused to show us the build process of the kit in part I of his review...
Construction review: T29 Heavy Tank
From Takom
1/35th scale
Kit No #2143
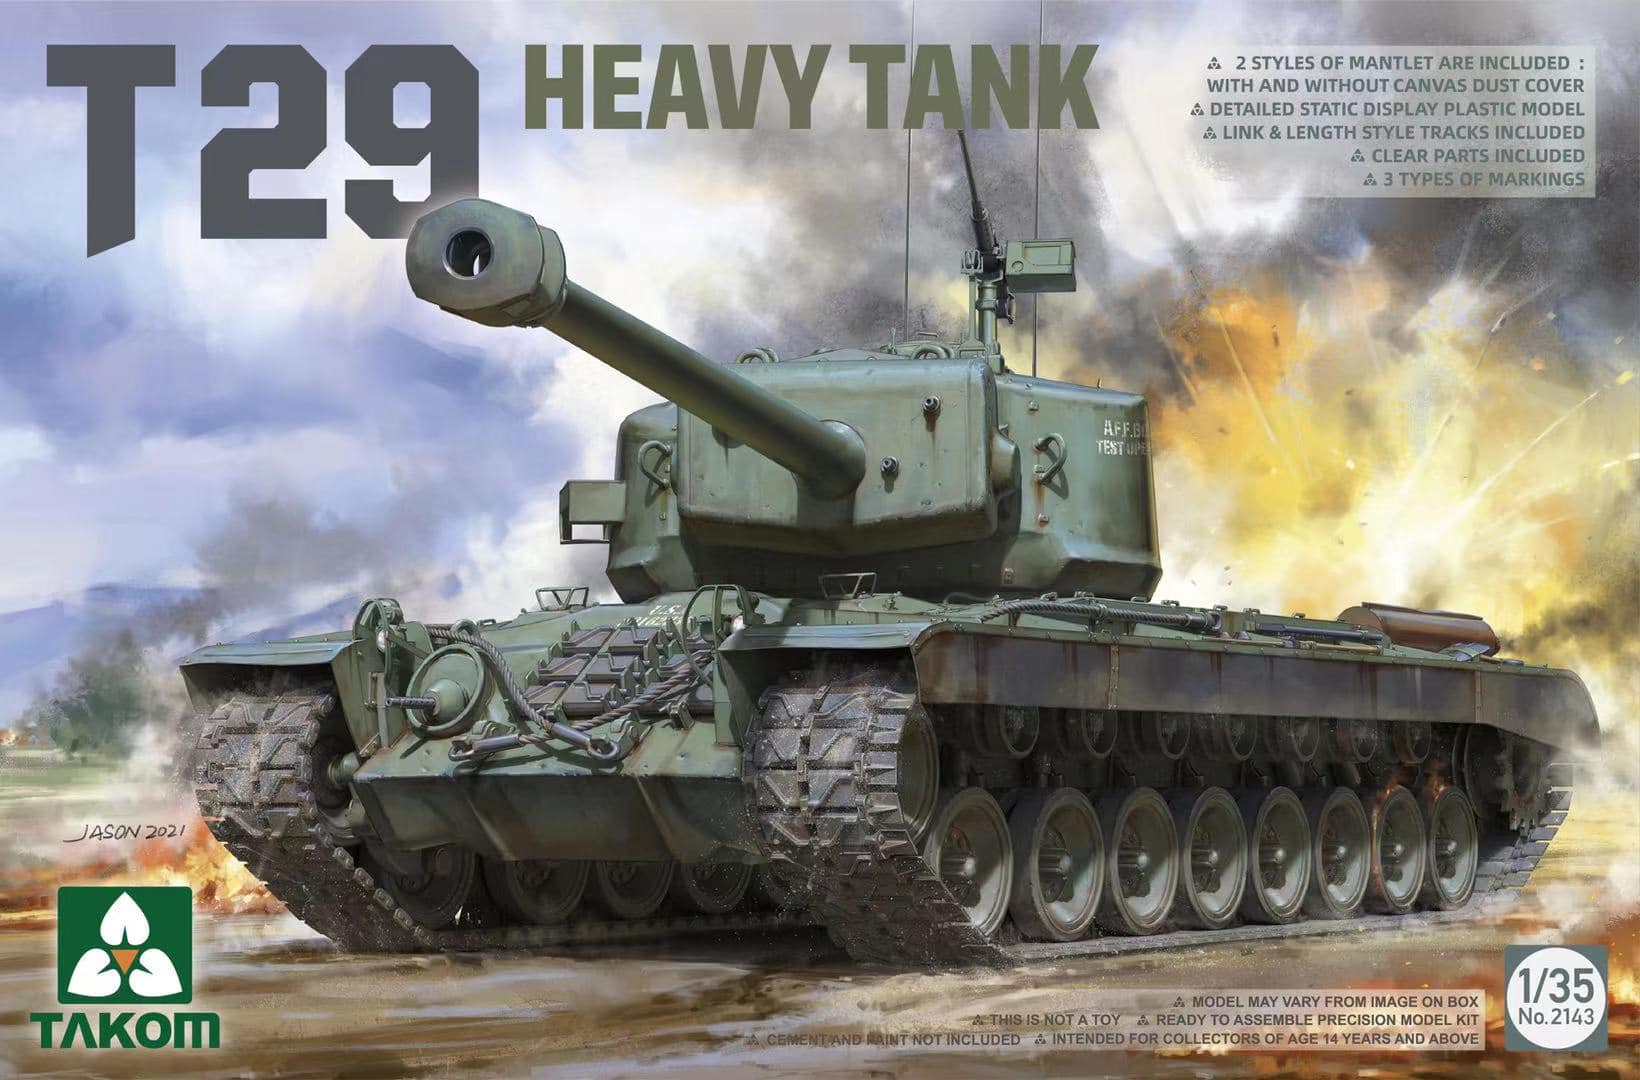
2 styles of mantlet included (canvas dust cover included)
Link & length tracks included
Clear parts & Photo Etch included
Three marking choices are included in the box.
Price – £36 / €43 / US$48 available from Hobbylink Japan
Takom released their T-29E3 US Heavy Tank a few years ago, and quickly followed it up with the T30/34 based on the same moulds. Now they've come full circle with this new release of the initial T29 version to complete the set. We'll check out the box contents and get the build underway in a moment, but first a little background on the T29.
The subject: The T29 Heavy Tank
During the later stages of WWII, the Allies found themselves facing increasingly heavier tanks on the battlefields in Europe. The introduction of the 50-ton Tiger and Panther tanks resulted in the US developing their own heavy tank, the T26 Pershing. However, by the time the Pershing arrived in service, the Germans had already introduced the near 70 ton King Tiger and Jagdtiger. In response, the US Army began the development of a series of pilot vehicles for a new heavy tank. Before the design could reach the production stage, the war ended and the US Army cancelled the project. Despite this, several pilot vehicles were constructed, and were used extensively after the war for testing.


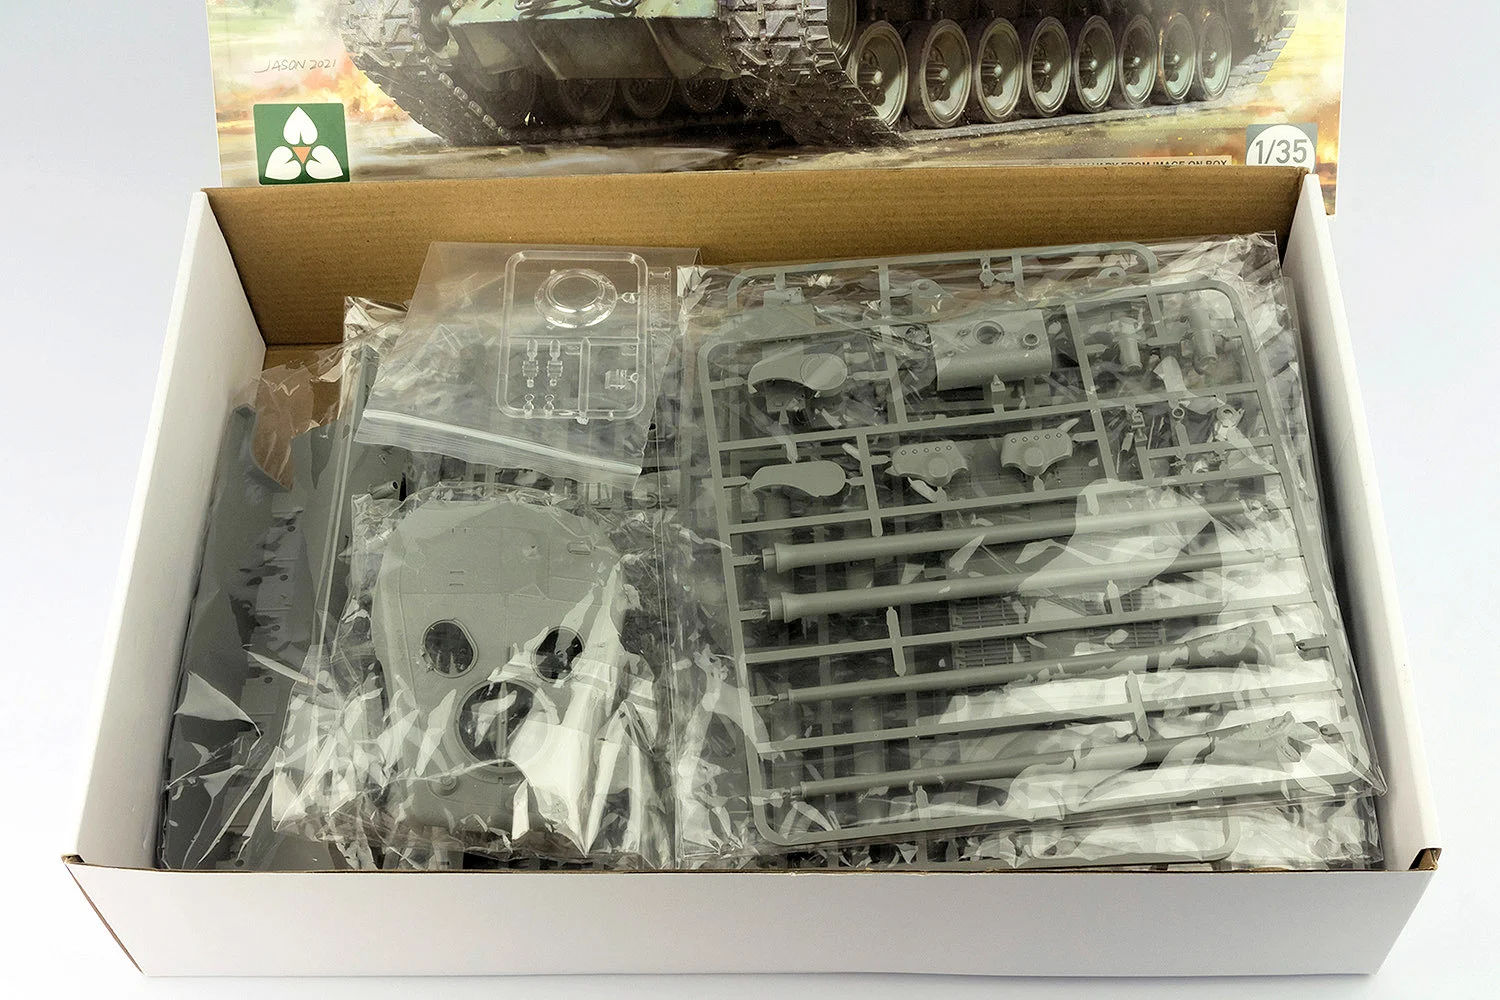
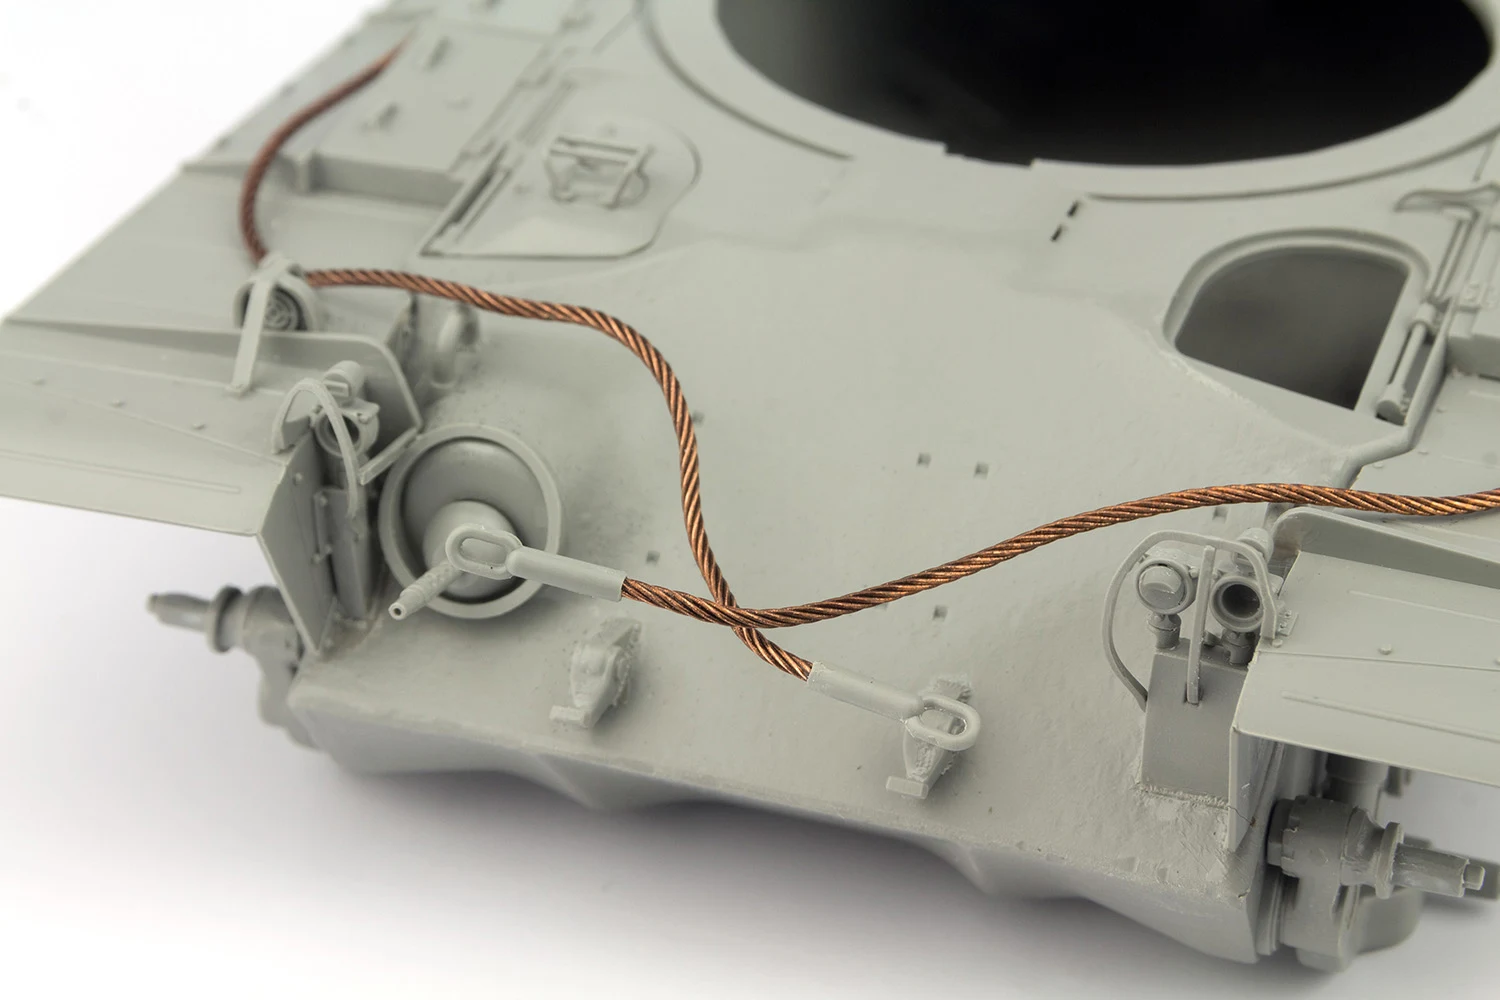
As you'd expect with a Takom release, you're first greeted by some lovely Jason Wong artwork adorning the box top. Inside, you'll find nine individually bagged sprues, eight in grey styrene and one in clear. The upper turret and lower hull are supplied as single-part mouldings. In addition, you get a length of braided wire, a decal sheet, and lastly the instruction manual which incorporates the paint and marking guide. There's no photo-etch included with this release.
The bulk of the sprues are shared with the previous releases, with just one new sprue (M) included for the 105mm main gun. The tracks are supplied as link and length sections, and all the hull and turret hatches are separate and can be posed open, although no interior is included.
The separate mouldings for the hull and turret are both nicely detailed, with cast textures and weld beads where appropriate. The lower hull has the suspension mounts already in place which will speed up assembly. Although this release doesn't carry the 'Blitz' branding that Takom use for some of their lower parts-count kits, it does share some aspects with those kits – fewer parts and simpler construction, but still packed with detail. It's an approach I really appreciate in these days of 1000 part kits.
The clear sprue provides the periscopes and headlight lenses, together with a nicely moulded cupola ring that incorporates the individually glazed panels. The decal sheets is branded as Takom with no other hint as to who printed them. The quality is good though with sharp printing and no registration issues. My copy did have a slight smudge on the two olive drab stars, although that's probably limited to this one sheet.
The instructions are in a landscape format with clear CAD-style illustrations spread over 24 build steps. The final fold-out page shows the four painting options in five-view illustrations provided, as per usual for Takom kits, by AMMO. Also as per usual, the painting guide is far too small, making it difficult to read the paint call-outs and decal placement.
Of the four marking options, two are presumably based on real T29 test vehicles, while the other two would appear to be hypothetical “What If” operational schemes.
Marking Option 1
First production pilot, Aberdeen proving ground, 1947
Marking Option 2
Vehicle '162' Armor Field Forces Test Board 2, Fort Knox, 1948

Marking Option 3
B Company, 70th Tank Battalion, Germany, 1948
Marking Option 4
C Company, 191st Tank Battalion, Germany, 1948
The Build
Things get going in the normal fashion with the lower hull. This requires the rear panel and a few small details adding, after which the suspension arms can be attached. These are added using keyed connections to ensure they all line up correctly. There are two versions of the swing arms on each side of the hull, and I pencilled the part numbers on the underside of the hull to make sure I mounted the parts in the correct order.
The wheels are up next, and these are very straight forward two-part assemblies. I used a coarse sanding stick to roughen up the tread of the tyres, then used a knife to add gouges to the rubber sections to leave a worn, used appearance.
With the wheels finished, I got to work on the tracks. This is never my favourite part of an armour build, but the link and length tracks supplied here made the job quicker and less irksome than it often is. I decided the best option here was to glue the tracks sections directly to the wheels, sprockets, and return rollers, so the whole track assemblies could be removed and painted as single sections. To start by gluing the individual links to the sprockets to form the curved sections. The sprockets feature a small pin on their rear face that aligns with a hole on the hull to ensure they sit in the correct position to line up with the longer track lengths.

To ease fitting the tracks after painting, I left the front end of the lower track length unglued which will make dropping the separate road wheel into place a little easier. If you look carefully, you'll see where the extra trimmed down track link was added to fill the gap on the upper run. It's just above the first return roller.


The exhausts were finished off with some additional weld beads, again created from stretched sprue. Various other areas of the hull had weld detail added, but I didn't go crazy trying to replicate every weld on the real tank, instead just adding the more visible ones.
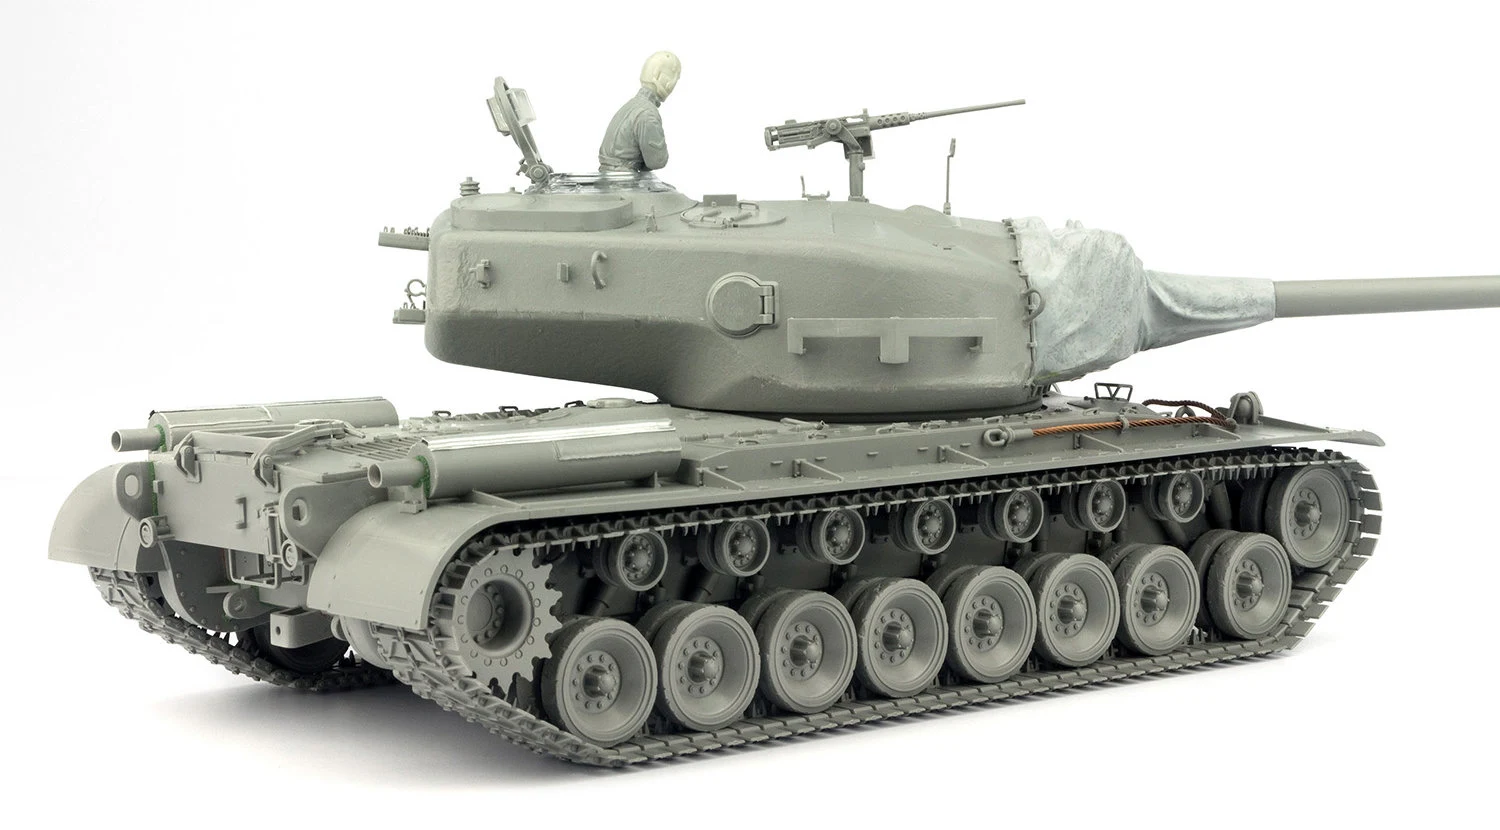
The turret is formed from the main upper section and a lower base plate. Before joining the two parts, I added a styrene platform to the base to allow me to add a figure to the cupola. The platform will provide a level surface for the figure to stand on.
Once the turret is assembled, the next step is to construct the main gun and mantlet. Here you get a choice between a plain mantlet and one fitted with a canvas dust cover, and two barrels are provided, one for each option. I decided to go with the covered mantlet, purely because I preferred the look. This option is constructed from five separate parts that form the canvas cover, and the instructions show these being built up before being attached to the turret as a single unit. I was a little concerned that building the mantlet up separately may cause fitment issues when I came to attach it to the turret, so instead, I decided to add each section one by one directly to the turret and adjust them for best fit as I went along.

The barrel features a section of the canvas cover moulded to its end, and when attached to the mantlet leaves a noticeable joint that doesn't look very realistic. I used Green Stuff epoxy putty to blend in the joint and make the canvas cover look like a single piece. Once the putty was dry, I coated the whole cover with Mr Surfacer 500 to check that the blended area was smooth, and also to add a little extra texture to the cover.
The turret is finished off with various small external details and the clear moulded commander's cupola. The final addition is the 50 cal. machine gun, which is a very nice moulding, and packed with detail. The only modification to it was to drill out the barrel.
That wrapped up was was a fast and very enjoyable build. To me, Takom's approach with this kit is just about perfect. The relatively low parts count keeps the build running along at a good pace, and prevents you from getting bogged down with one repetitive task that seems to drag on for ages. The engineering is excellent, with good parts fit and a high level of detail. It also builds into a fairly imposing model due to the T29's long hull and large turret. It should look even better with a splash of paint, and that will be coming up in part two of the review.
The second part of this build is here at this link...
Andy Moore