


Build review Pt 2: M114 A1 CRV
From: Takom
Kit Number: #2145
1/35th scale
Price: $28USD from Hobbylink Japan
From: Takom
Kit Number: #2145
1/35th scale
Price: $28USD from Hobbylink Japan

A couple of months have passed since I last shared the progress on the Takom M114 A1. For those of you who missed it or would like a refresher, the article can be found here.
Part I of the build of this kit soon followed (link here), but for those of you who would like to get straight to it, this is where I left off last time. The model was fully built and primed and ready for painting.
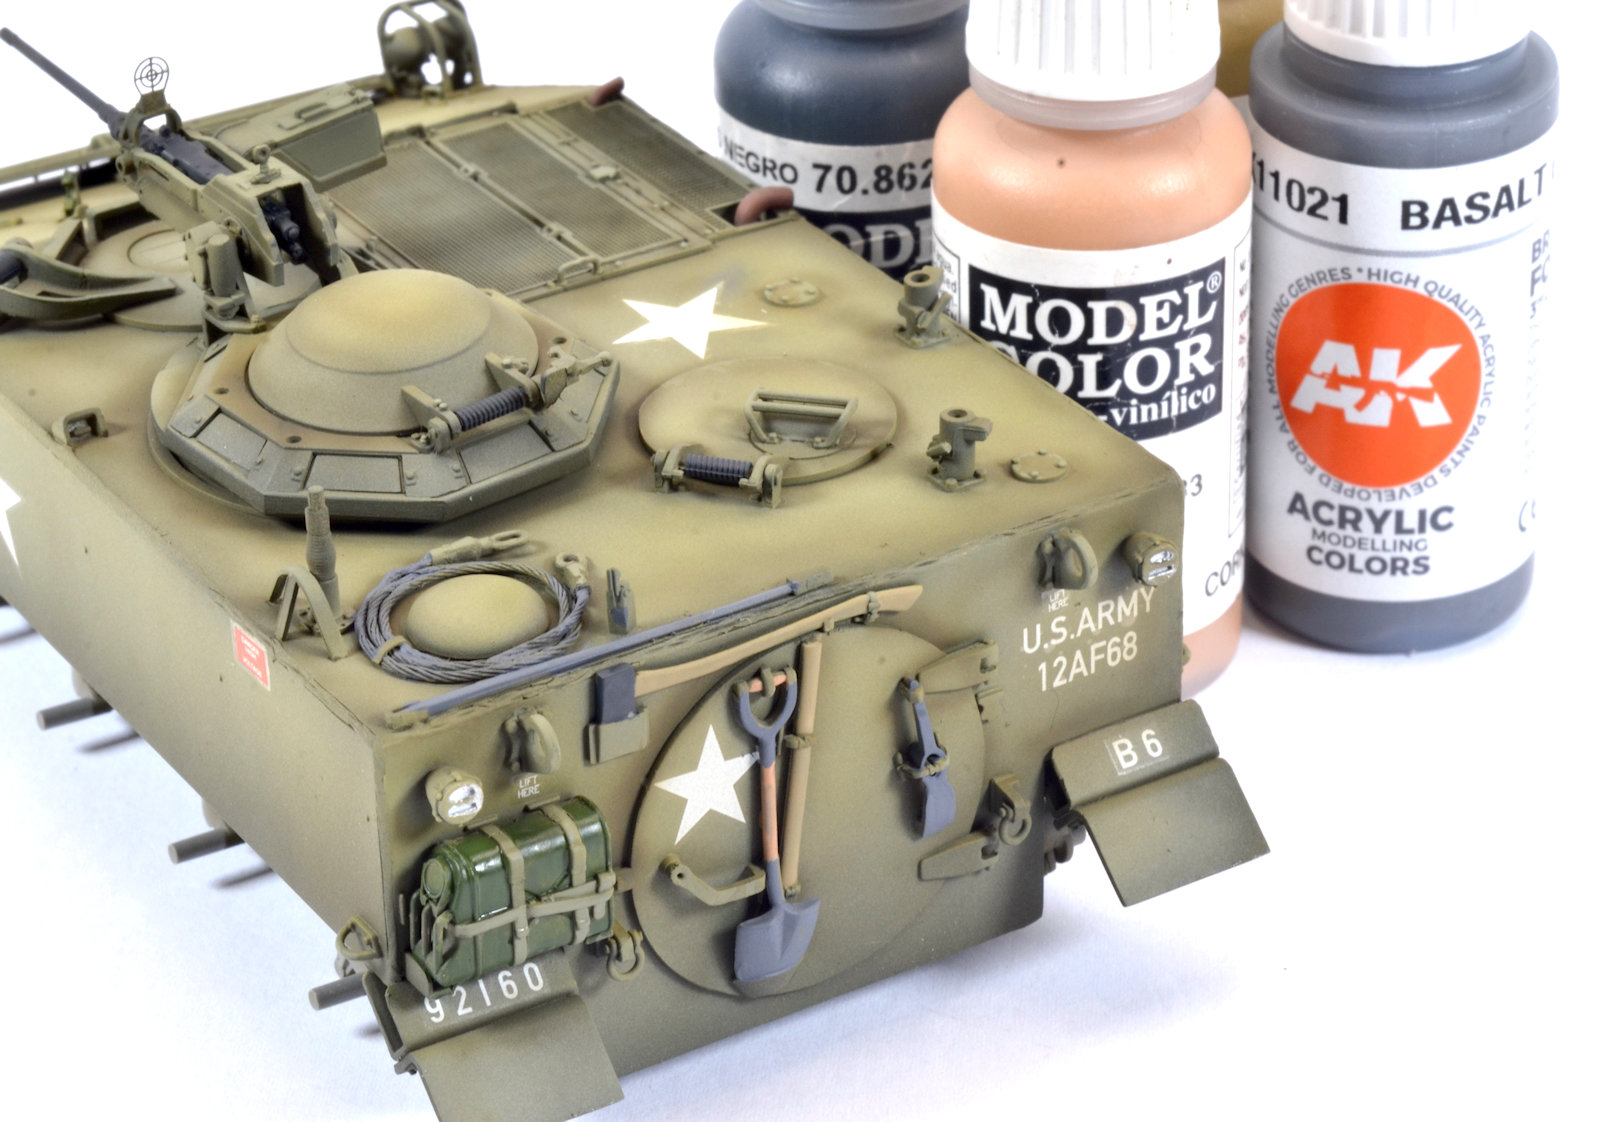
 Painting began with an all-over coat of XF-62 Olive Drab thinned with Tamiya lacquer thinner – the retarder type. The retarder thinner gives the coat a cleaner and smoother finish. It’s also worth noting the vision ports around the cupola were masked however the sections for the drivers’ hatch were not. The cupola is a prominent feature of the model, so I felt it was a good idea to try and preserve the clear pieces here.
 Lighter shades were then applied to horizontal surfaces and some of the leading edges using a thinned mix of AK Real Colour Olive Drab.
 Lighter tones were again built up using a mix of the Olive Drab and Grey Green Tamiya XF-76. I was mindful to try and keep the deep green essence of the paintwork and not desaturate the finish too much. I knew weathering and washes would darken the overall look, so I held my nerve and focused on tone.
 I felt the colour was looking a little too dull so a trick with greens is to use yellow as a highlight colour to make it look a little richer. It seemed to do the trick.
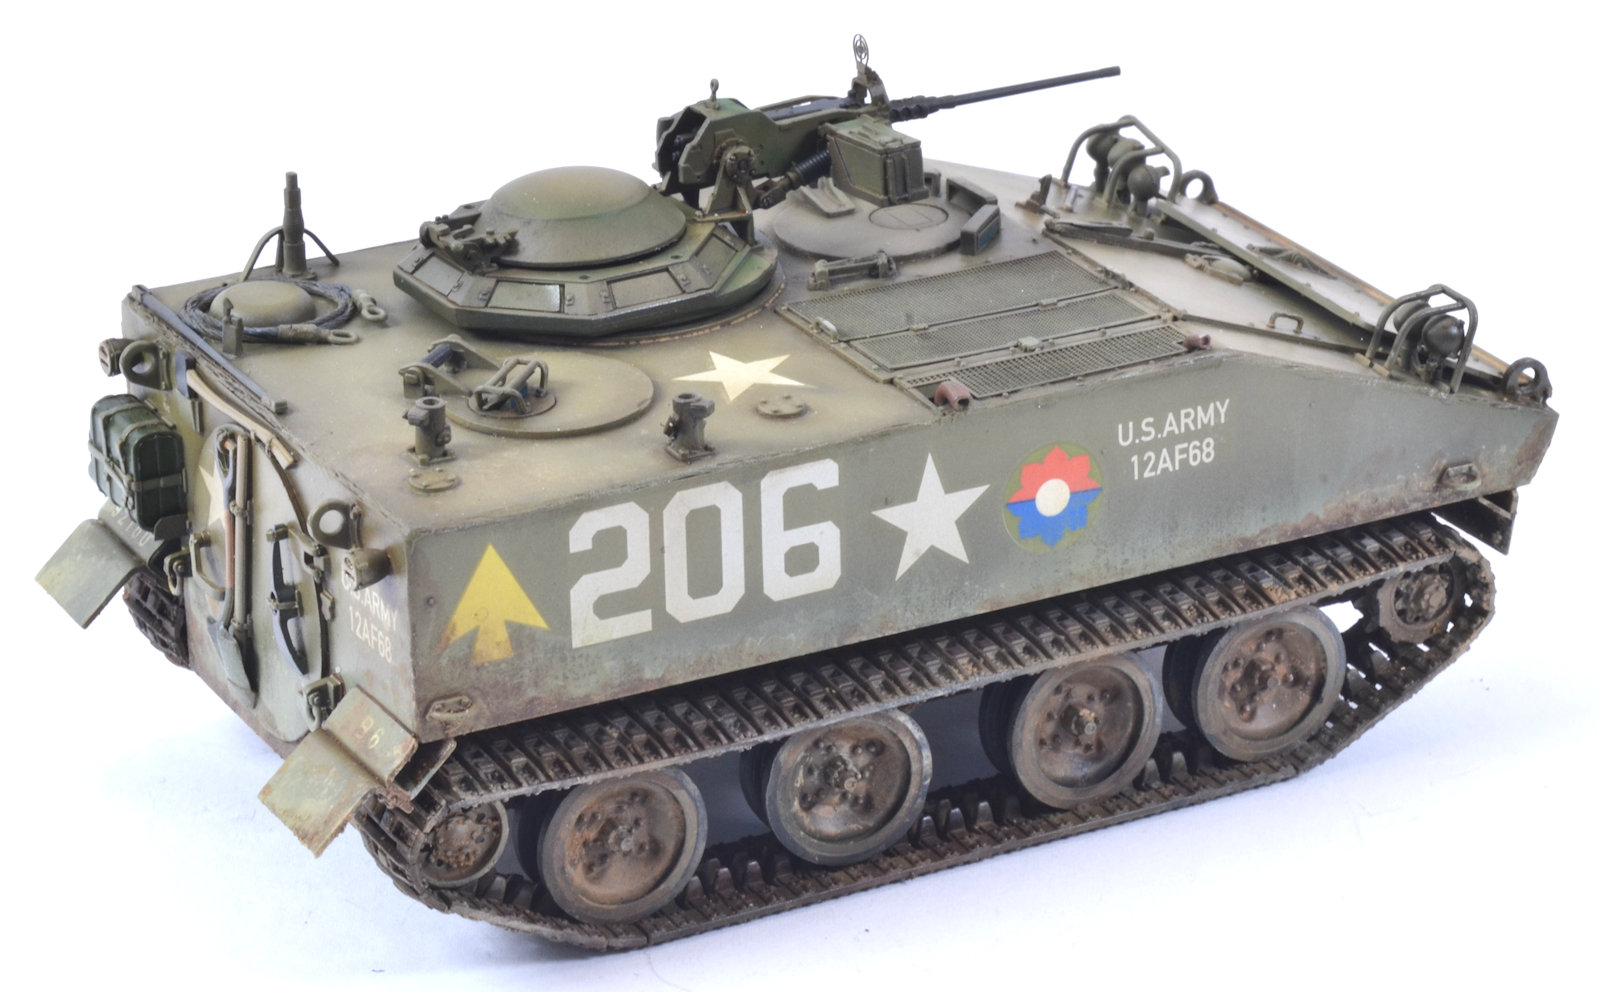
 Now time for the decals - I chose the loudest and most ugly markings in the kit. The huge numbers on the sides just seemed so obscure I felt compelled to use them. I did have a few issues with silvering though. Maybe it was a lack of a clear coat? Not sure. Not usually an issue. It was just going to be something I would clean up in the later stages with some careful touch-ups and weathering.
 With the decals in place, the overall colour wasn’t deep enough to my eye, so I used a thinned mix of Dark Green and applied it as a post shade. You can see the tone in the colour is deepened as well as adding some variation in the finish.
 The model had been made with the ability to remove the track and wheel section for painting. The tracks were painted using a mix of Red Brown, German Grey, and a touch of black.

 A light pin wash using a thinned mix of Shadow Brown and enamel thinner was applied around the details and recesses around the model. Dark browns tend to work well with greens.
 Time to get muddy! Dry Ground from AK is a water-based acrylic textured paste. The paste is stippled around the lower edges of the model using an old brush and then a sponge to feather the edges. Being acrylic, it does tend to dry quickly, so it is important to work quickly.
 Once the paste is dry the model received two coats of hairspray. A dusting of Tamiya Flat Earth is then applied to simulate a dusty layer. Almost immediately after spraying the dust layer is chipped using an old brush moistened with water. Working in a downward motion creates realistic marks in the layer.
 The AK paste and the dusted layer helped to create textures and the effect of dust, but now the effect is enhanced using enamel washes. Dark Mud and Browns are concentrated on the deeper recesses and around wheel hugs and the Kursk soil helps soften the effect through the centres of the sections.


Details around the model were now brush painted using a mix of AK and Vallejo acrylics.


The muddy enamels are dabbed along the edges of the hull using a sponge creating interesting layers effects.

The same dusting and weathering effects are used on the wheels and track sections. Once dry they are reattached to the model.


Gun barrels and other metallic surfaces were buffed with Gun Metal pigment and a silicone brush.


With the commander in place, the model was now complete.
.jpeg)
As I mentioned in Part 1 of this review, I was completely naive to the M114’s existence, let alone ever saw myself building one. When I saw this announced for release I was intrigued. It was one of those situations where the hobby opens our eyes and gives us a chance to learn about something about history and the evolution of the armoured vehicles of today.
The kit in a walk around gallery...
.jpeg)
.jpeg)
.jpeg)
.jpeg)
.jpeg)
.jpeg)
.jpeg)
.jpeg)
.jpeg)
.jpeg)
.jpeg)
.jpeg)
.jpeg)
.jpeg)
.jpeg)
I had only ever intended to review the kit, but when I received it, I was compelled to build it. Once I had built it, I was drawn to paint it…and I’m glad I did.
Some closer-in details of this kit...
.jpeg)
.jpeg)
.jpeg)
.jpeg)
I had thought that it was a real shame there is no interior to match this kit, as the model would benefit from it. Subsequently, Takom HAS made a full interior kit with all of the internals, it for sale from HLJ for $35.01 USD. The kit covers both the early and the late model of the tank as well as the internals, so it is a great kit for those undecided on which one to get!
The new kit with full interior in early and late models

The Commanders’ hatch is quite large, so when open you do get a reasonable look inside. The driver’s hatch is the same and the access hatch at the rear of the vehicle is a completely different story again. I think this would suit this newer, full-interior release.
But in saying that, the model is very reasonably priced (at least here in Australia) and builds up to be a nice representation of an interesting subject.
.JPG)
Clayton Ockerby
Thanks to Takom for sending this kit to Clayton to build and review
See more of Clayton's amazing works on his modelling website "Workbench Hobbies" or his FB page
