
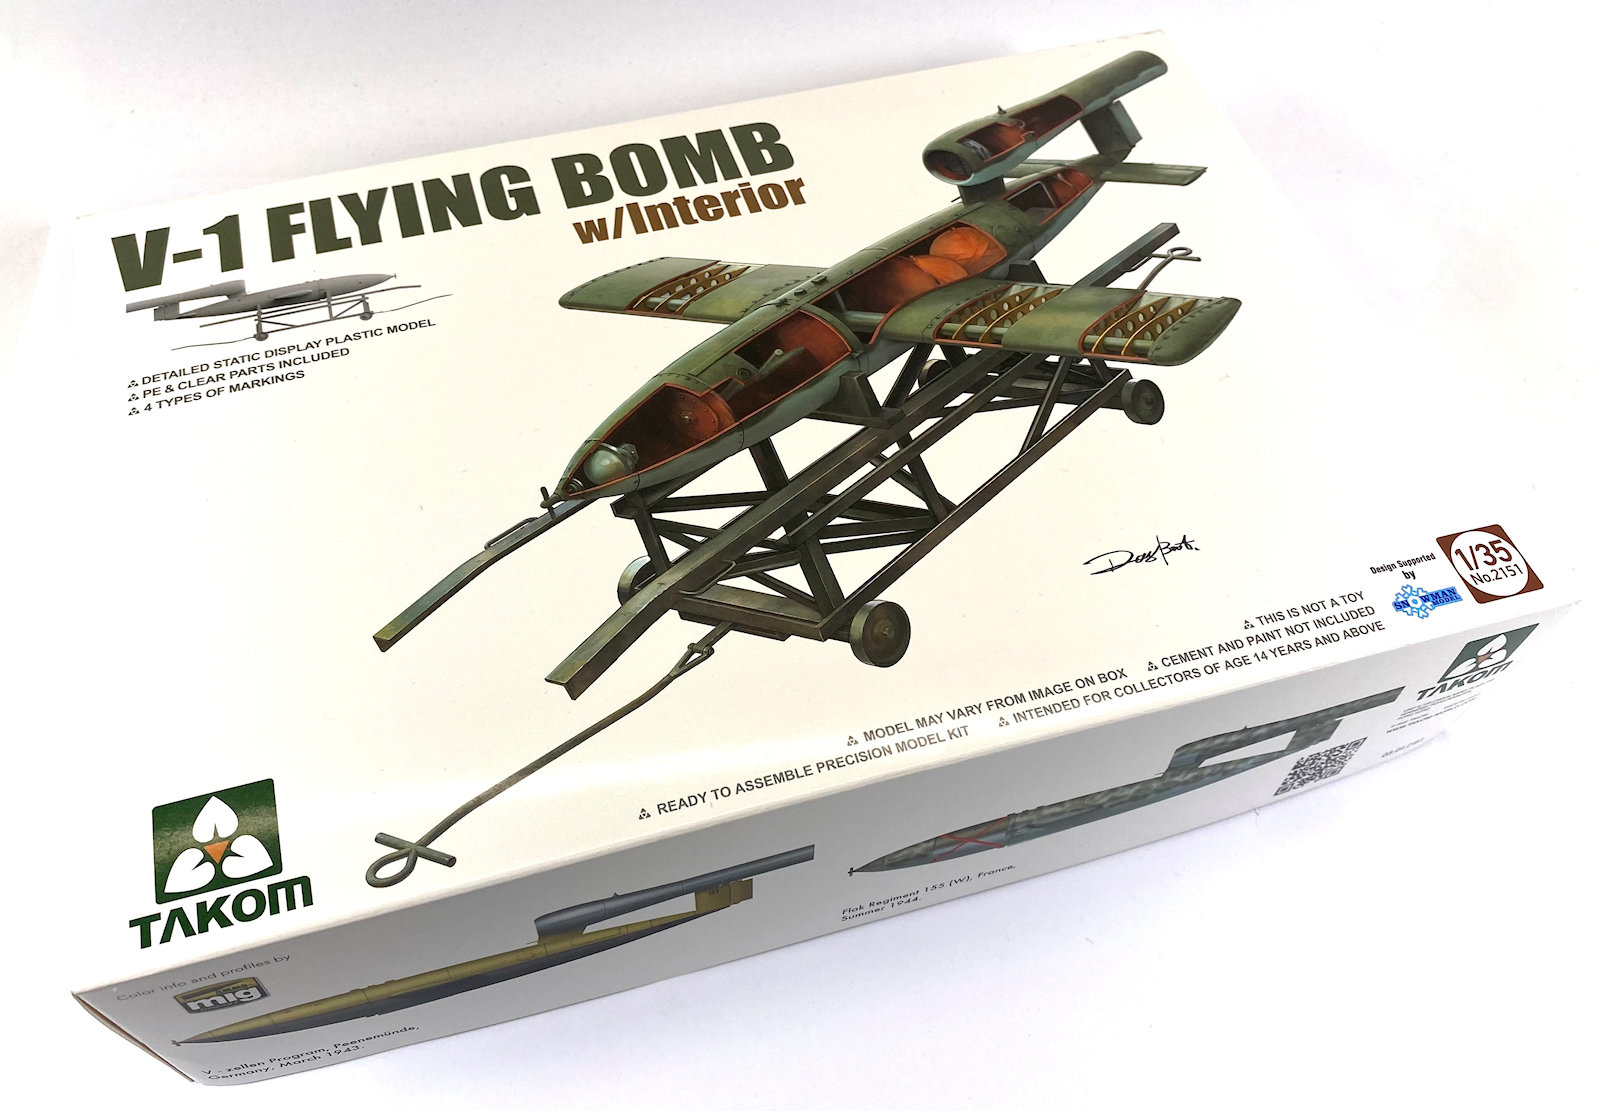
In-boxed: V-1 Flying Bomb w/ Interior
From Takom
1/35th scale
Kit #2151
Designed in collaboration with Snowman Studio.
4 marking choices are included in the kit

V-1 Flying Bomb
Casting aside the terror these things caused, although I guess you could make that case for just about everything I model, I have always liked the lines of the V-1. I’ve had the Tamiya 48th scale kit in the stash for some time but never got around to putting it together. But now my V-1 dream was about to become a reality with the release of the 1/35 scale interior version from Takom. Takom's V-2 kits are the perfect and logical accompaniment of this kit.


From the Australian War Memorial, shows the V-1 on a makeshift scaffold trolley (not the proper one in this kit).

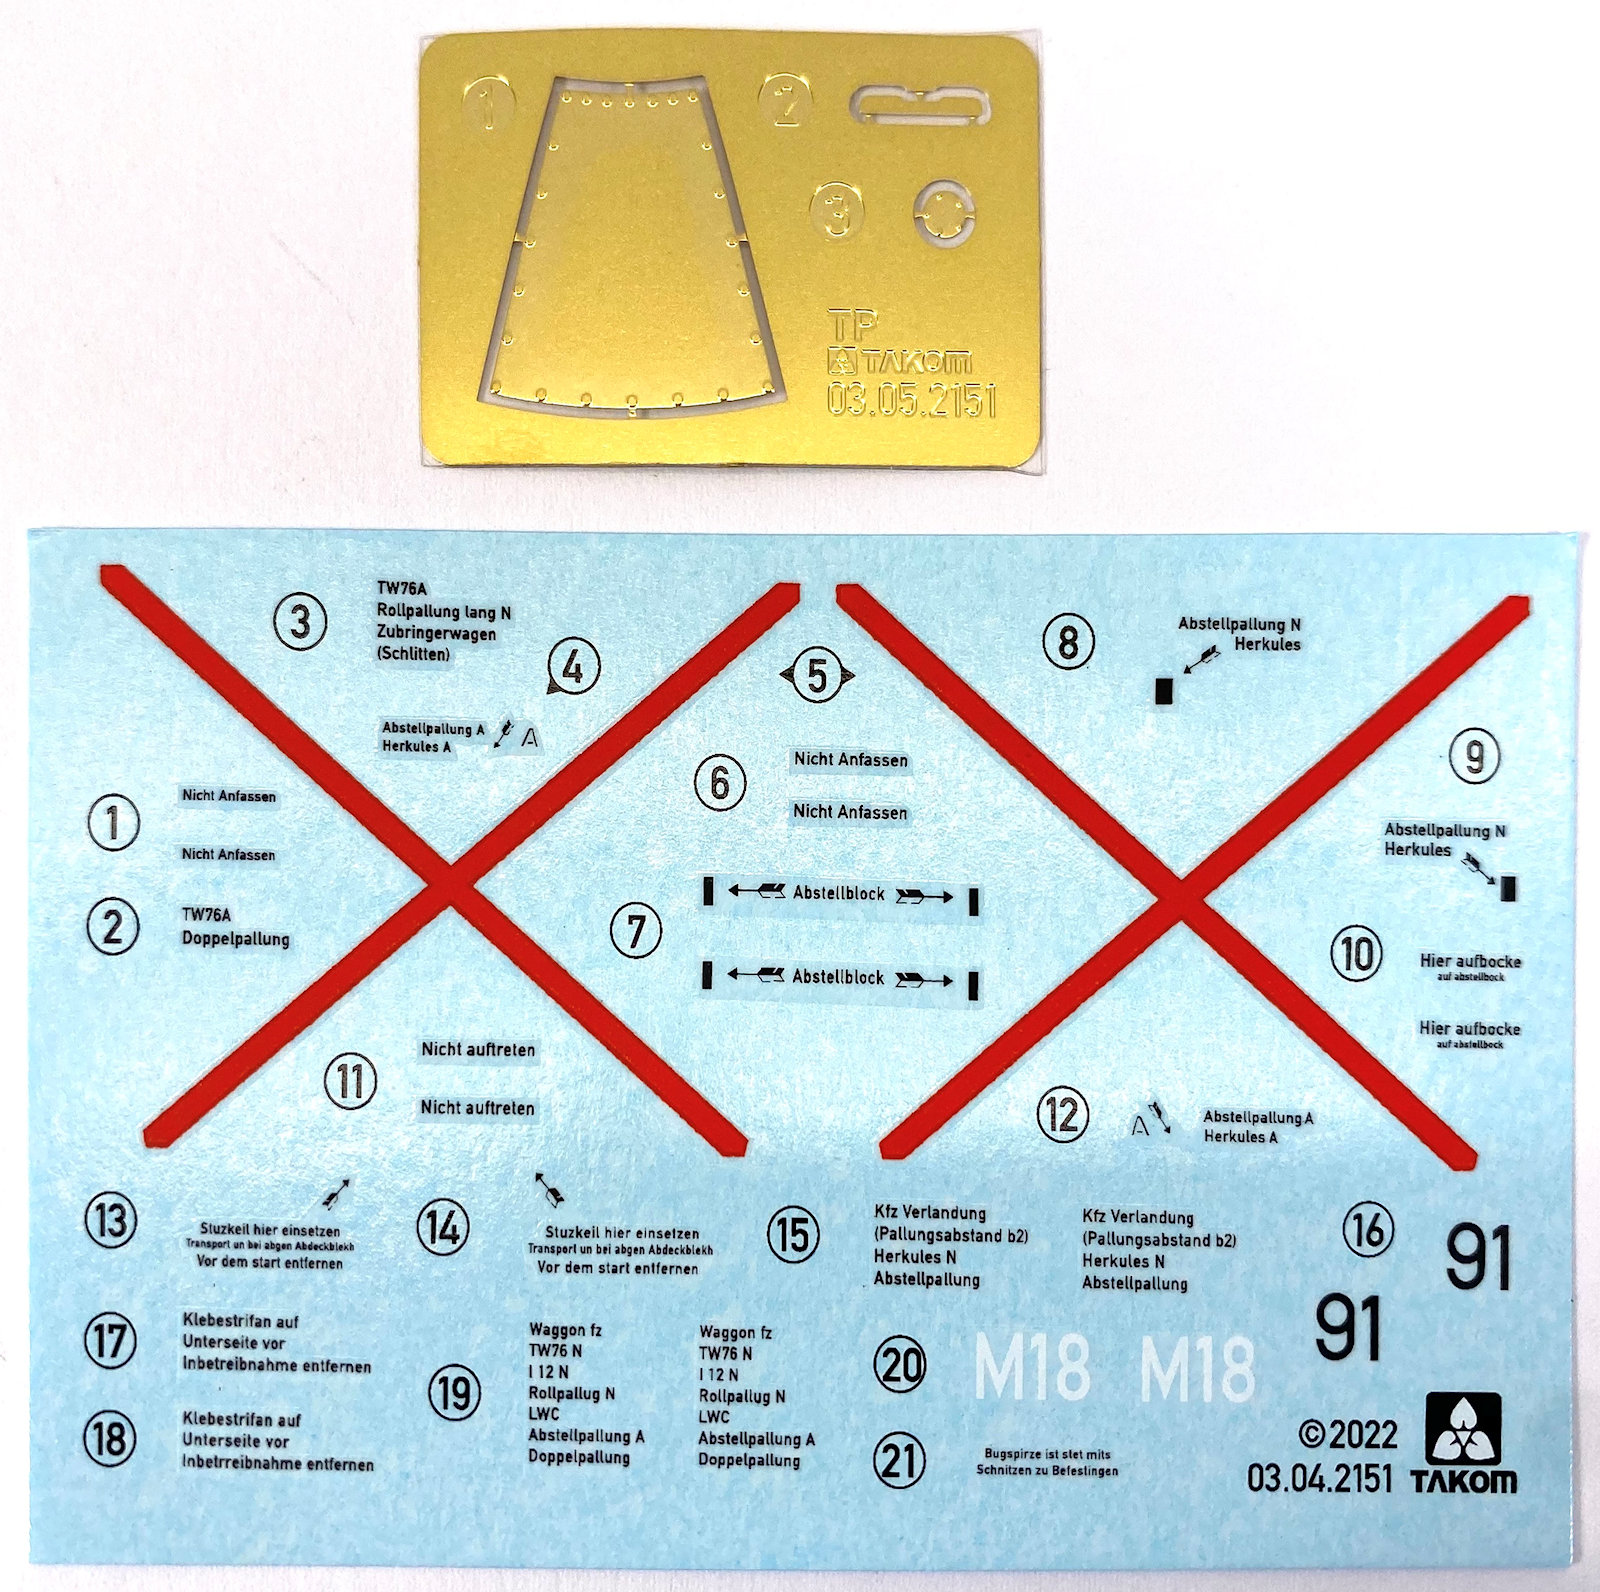
Takom's kit comprises 9 sprues, a small sheet of etch and a sheet of decals as well as the instruction sheet and colour call outs.
 Like the V-2, it was clear this would be a simple build. The kit does come with an interior however, although at first glance I’m not certain how it should be posed. There is an option for a clear half to show the innards, but if feel that limits the ability to use the model in a vignette or diorama. This is something I’d need to consider before I begin the build.
Nevertheless, less I press on.
 The instructions

Nevertheless, less I press on.
The instruction booklet is presented in the typical Takom style booklet we are growing accustomed to.

The construction steps are only over eight pages and appear to be straight forward. You get the option to build the model complete (and hide all the interior detail) or assemble with the left-hand side as a clear section to display the interior.
 The marking choices
There is a transport dolly included in the boxing which will be a nice touch when displaying the model.

This kit comes with 4 schemes to choose from. One in Yellow, one in the recognisable Dunkelgrun on Hellblau (both examples from Germany).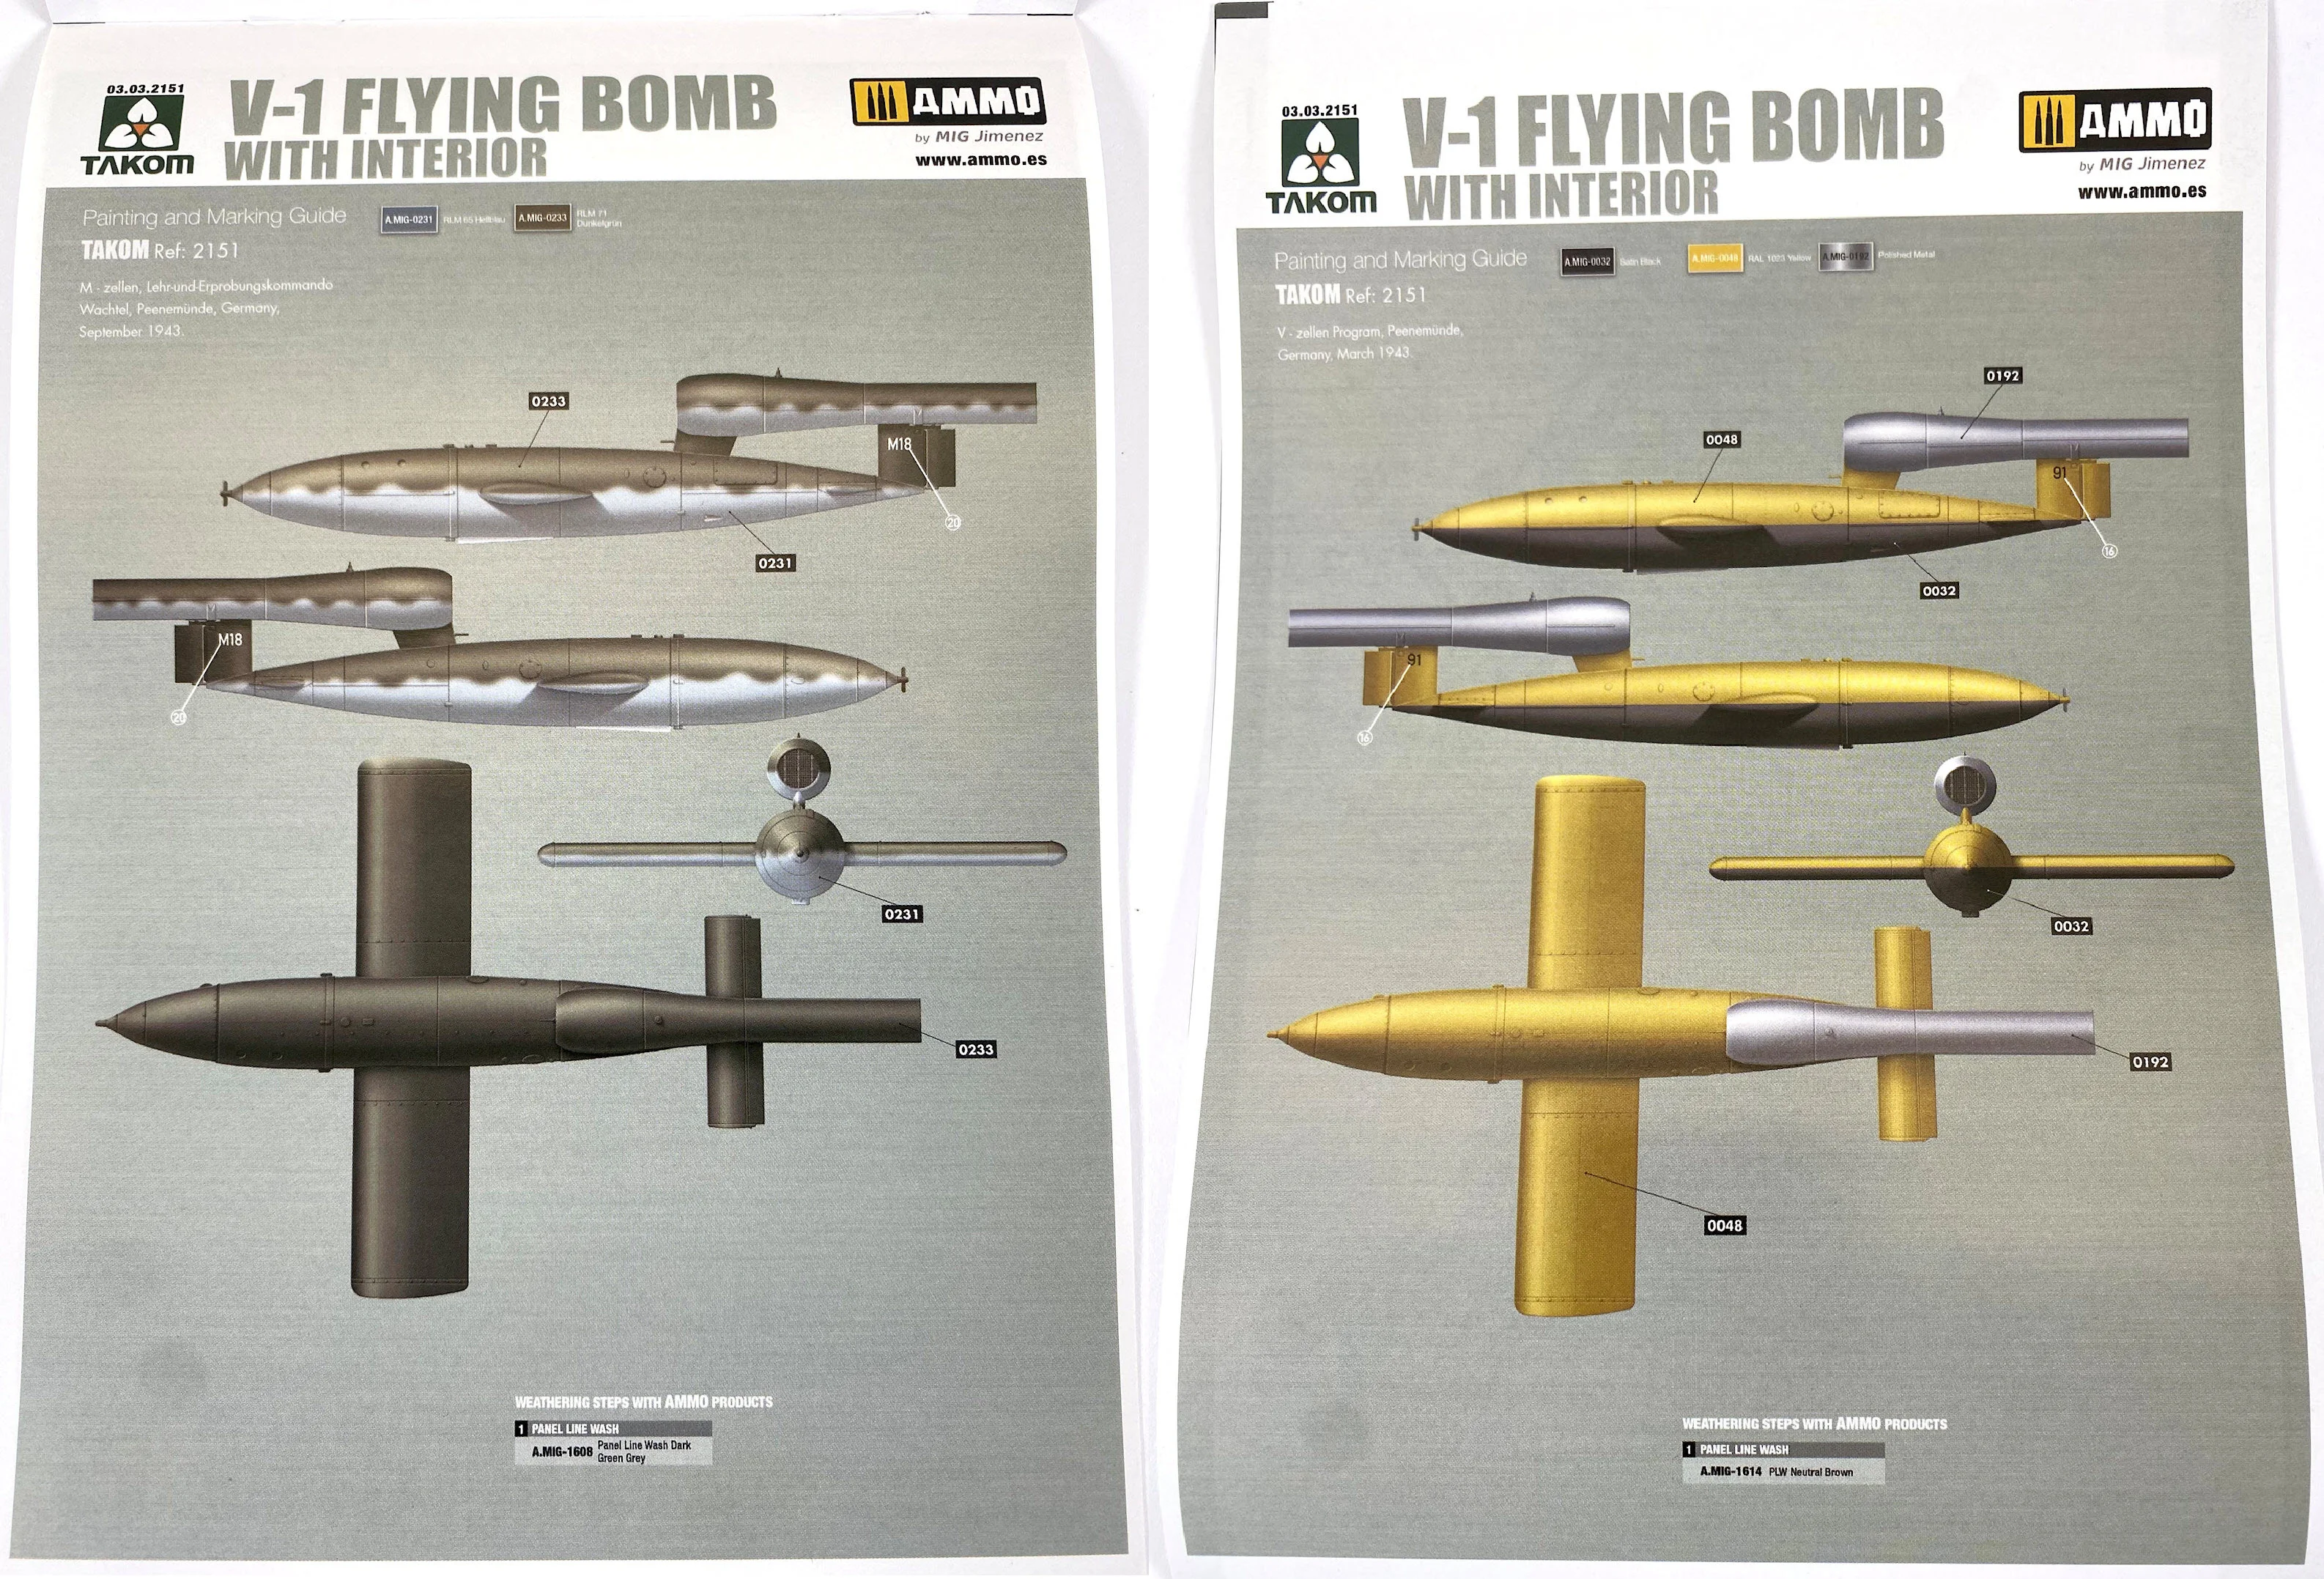
 Given the sheer numbers of these rockets that were deployed, I’m sure with a little research you could find some interesting variations, but the kit supplied suggestions offer a nice variation and will serve me just fine.
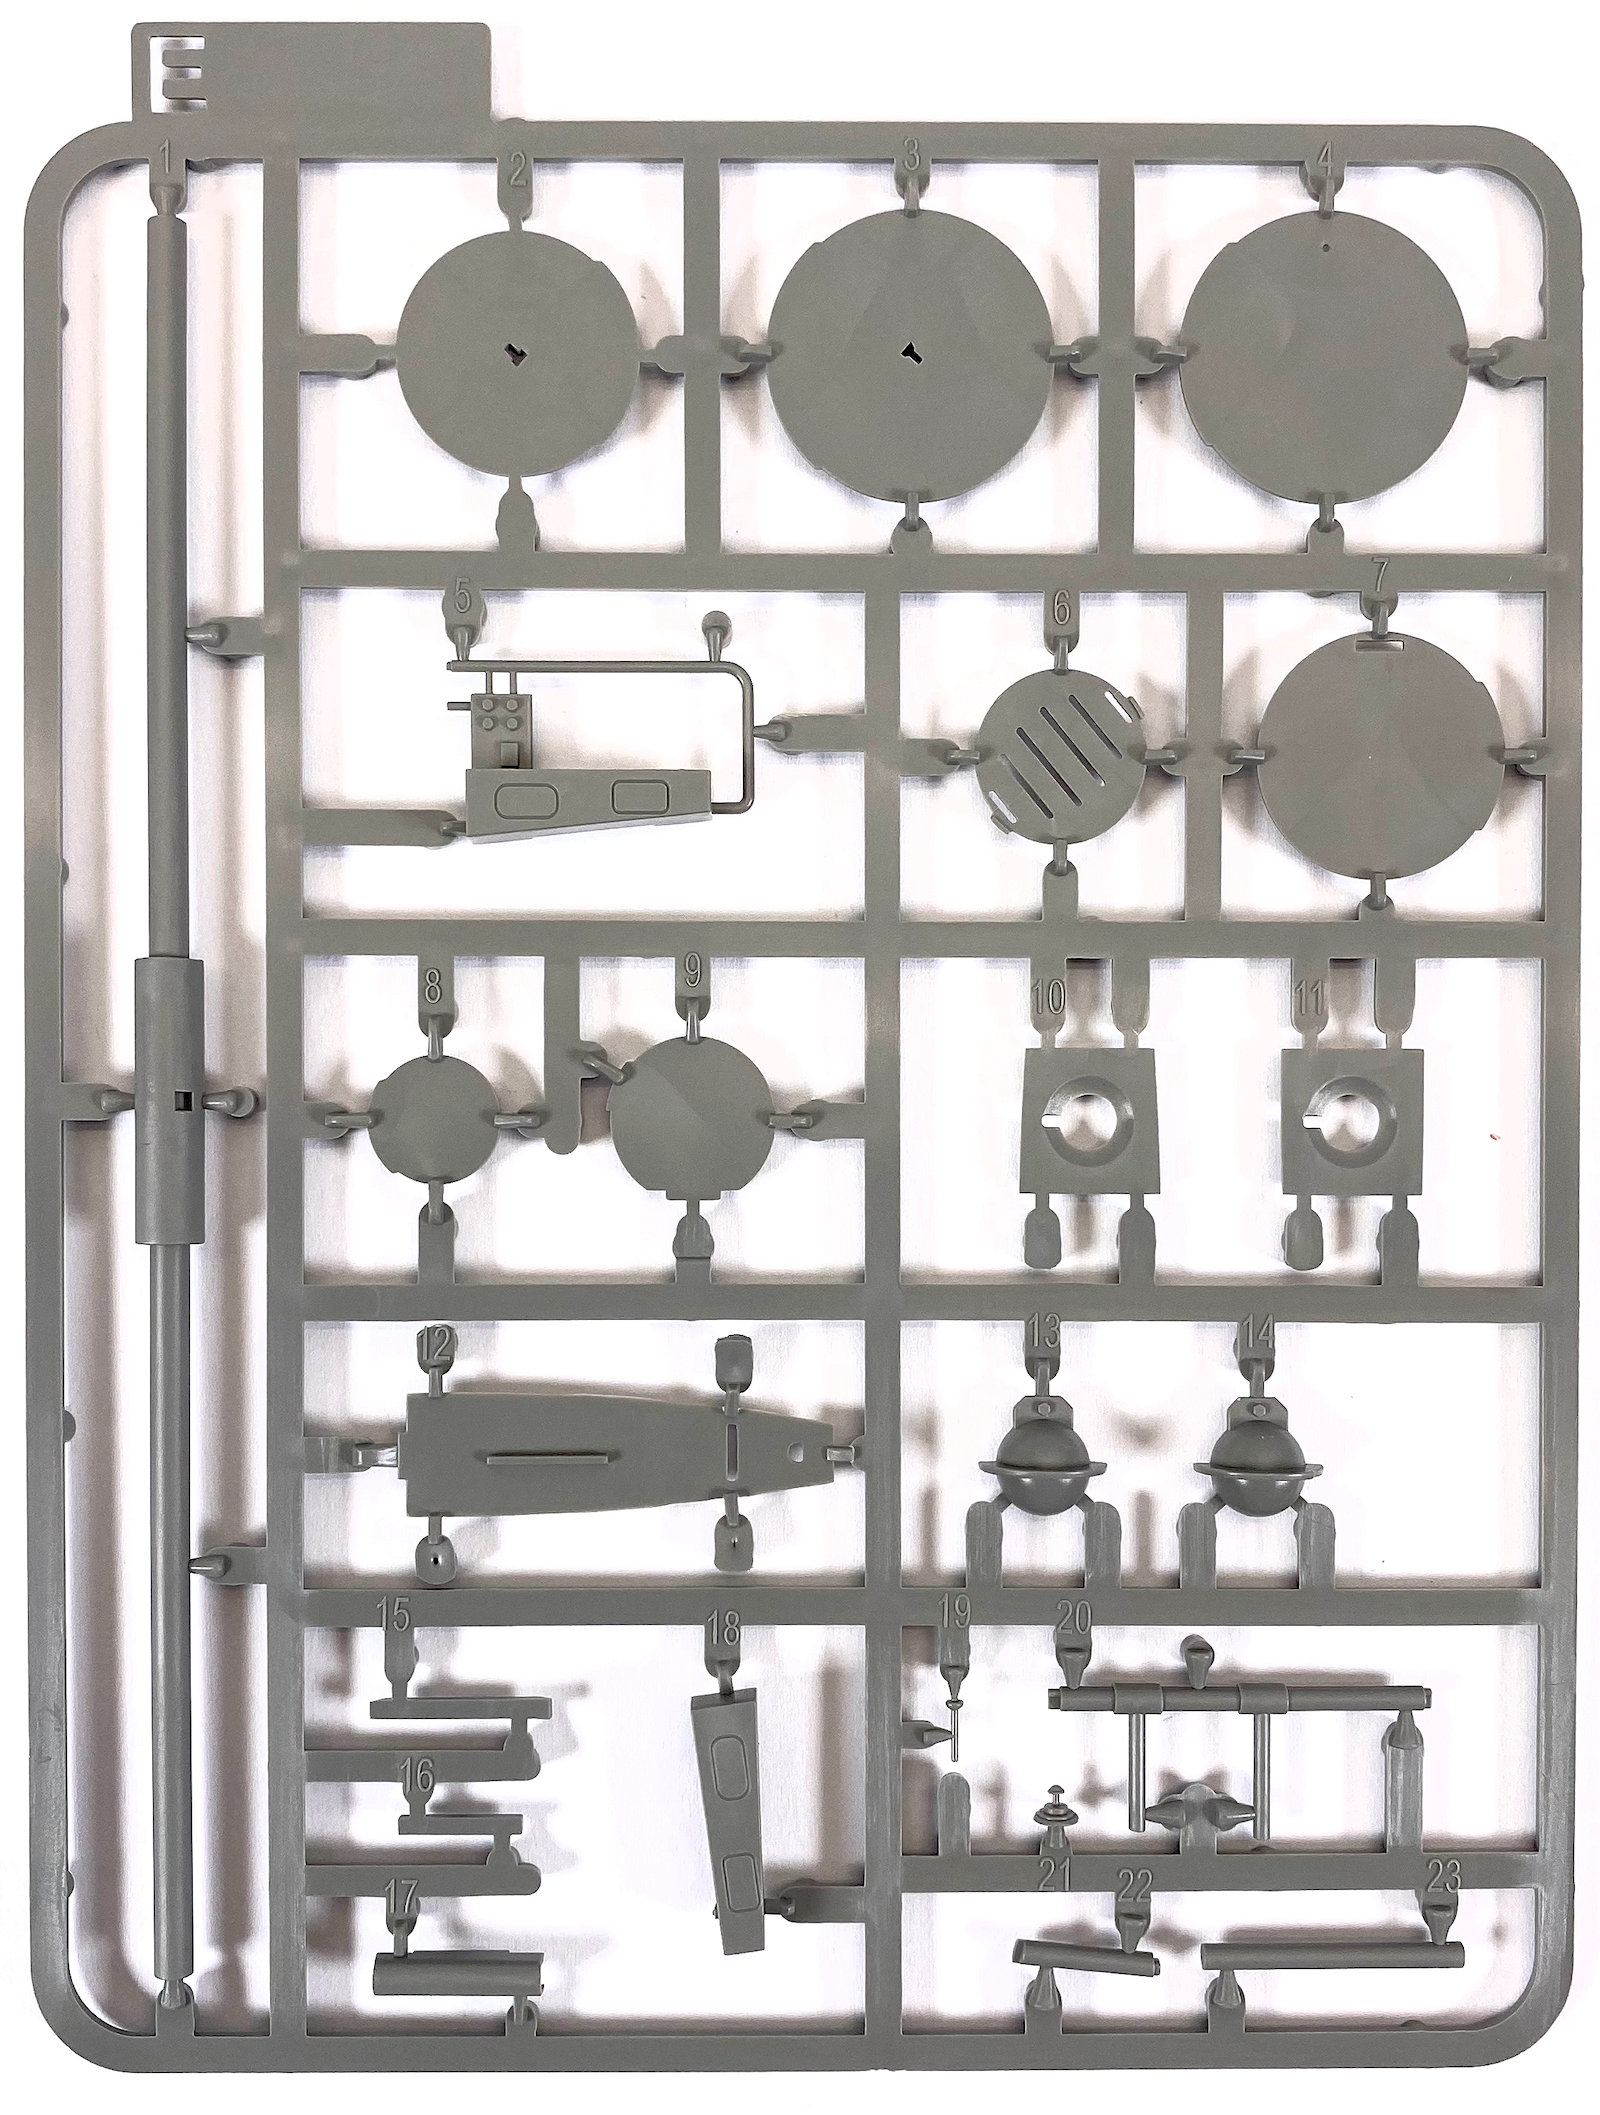
The trolly components come across 3 sprues. Construction appears to be basic, and the pieces are unremarkable… but in fairness it’s a trolly.

 Sprue D is doubled up in the kit and contains the pieces for the timber frame supports in the wings as well as the assemblies that represent the wire bound spherical air bottles for the interior. From references I have seen, it is becoming apparent that some of these interior sections are missing details that you may have expected to have seen.


 Sprue E includes the Auto Pilot and compass assemblies as well as the stem for the wings and pieces for the engine intake. Again, the detail on the internal componentry is scarce at best. As I look through references, it’s obvious that the parts are a simplified version of the real thing, and anyone wanting to pose this model displaying the internals (with any degree of accuracy) is going to have to do some serious research and scratch building.
 Sprue G houses the two halves of the V-1 with the body and the engine section included in one section. The parts will have seams through the top and bottom once attached and will no doubt require some degree of filling and sanding. Something most aircraft modellers will be familiar with.
 A closer look at the fuselage sections. It’s a little surprising, given there is an interior (of sorts) in the kit, that these sections wouldn’t have the option of opening a maintenance hatch to at least give the viewer a glimpse of the interior.
 The kit supplied option to show off your handywork in the interior is the clear sections for the top edges of the wings and a left-hand half section for the body. The parts have no rivet or panel line detail. One positive though is the clarity of the clear. It is some of the cleanest and clearest clear sections I’ve seen in a kit. Big tick for this option should you choose it.
 A small etch set gives us the maintenance cover for the servo mechanism that drives the rudder and elevators however it is purely cosmetic as the styrene pieces of the fuselage don’t have an opening where that part will sit. It will literally sit directly over the styrene parts.
 Some problems:
Going through the instructions, it becomes blindingly apparent that there are no colour suggestions for the interior parts. I appreciate that the detail around accurate colours may be difficult to confirm. However, some suggestions would have been welcomed, especially given the box art is displayed showing colours. I suppose that could be used as some for form of reference to base your colour selections on.
 Whilst we are talking about the interior, I must be brutally honest. It isn’t great. As with every build, I do a little research before I start, and it became glaringly obvious that the detail of the interior parts just doesn’t stack up and is missing key elements (at least if you wanted to present the V-1 with any level of accuracy).

The other two from France in a mottled Dunkelgrun pattern.

The trolly components come across 3 sprues. Construction appears to be basic, and the pieces are unremarkable… but in fairness it’s a trolly.


Sprue F includes the solid sections for the wings. Detail is basic but adequate based on references.

A close up to the stub-wings of the V-1 kit


The decal set provides all the stencils and markings seen over the missile.
Going through the instructions, it becomes blindingly apparent that there are no colour suggestions for the interior parts. I appreciate that the detail around accurate colours may be difficult to confirm. However, some suggestions would have been welcomed, especially given the box art is displayed showing colours. I suppose that could be used as some for form of reference to base your colour selections on.

Some Solutions:
For those of you looking for an exercise in scratch building, then this may be the kit for you. One of the best resources I found was this site. The site has a wealth of technical drawings, images, and information that will quickly confirm my concerns regarding the interior sections.
I mentioned in the introduction that I was uncertain how I was going to pose the model to show the interior, but now, due to the concerns I have raised around the interior accuracy, it’s made the decision easy for me. I’ll build the interior for the sake of the review, but I will close it up and just paint it as a complete, exterior only model.
I’ve always wanted to add a V-1 to the collection, and despite the shortcomings of the interior I’m looking forward to starting the build and getting some paintwork down on this one.
Clayton Ockerby
Thanks to Takom for sending this kit to Clayton to build and review
See more of Clayton's amazing works on his modelling website "Workbench Hobbies" or his FB page
