After a big postal diversion, Andy King finally has MiniArt Models 1/35th scale "Tow Truck AA type" in his possession. He has put the kit together in the first part of his review before he paints & weathers it in the second instalment. See how it goes together in Pt I of his story.

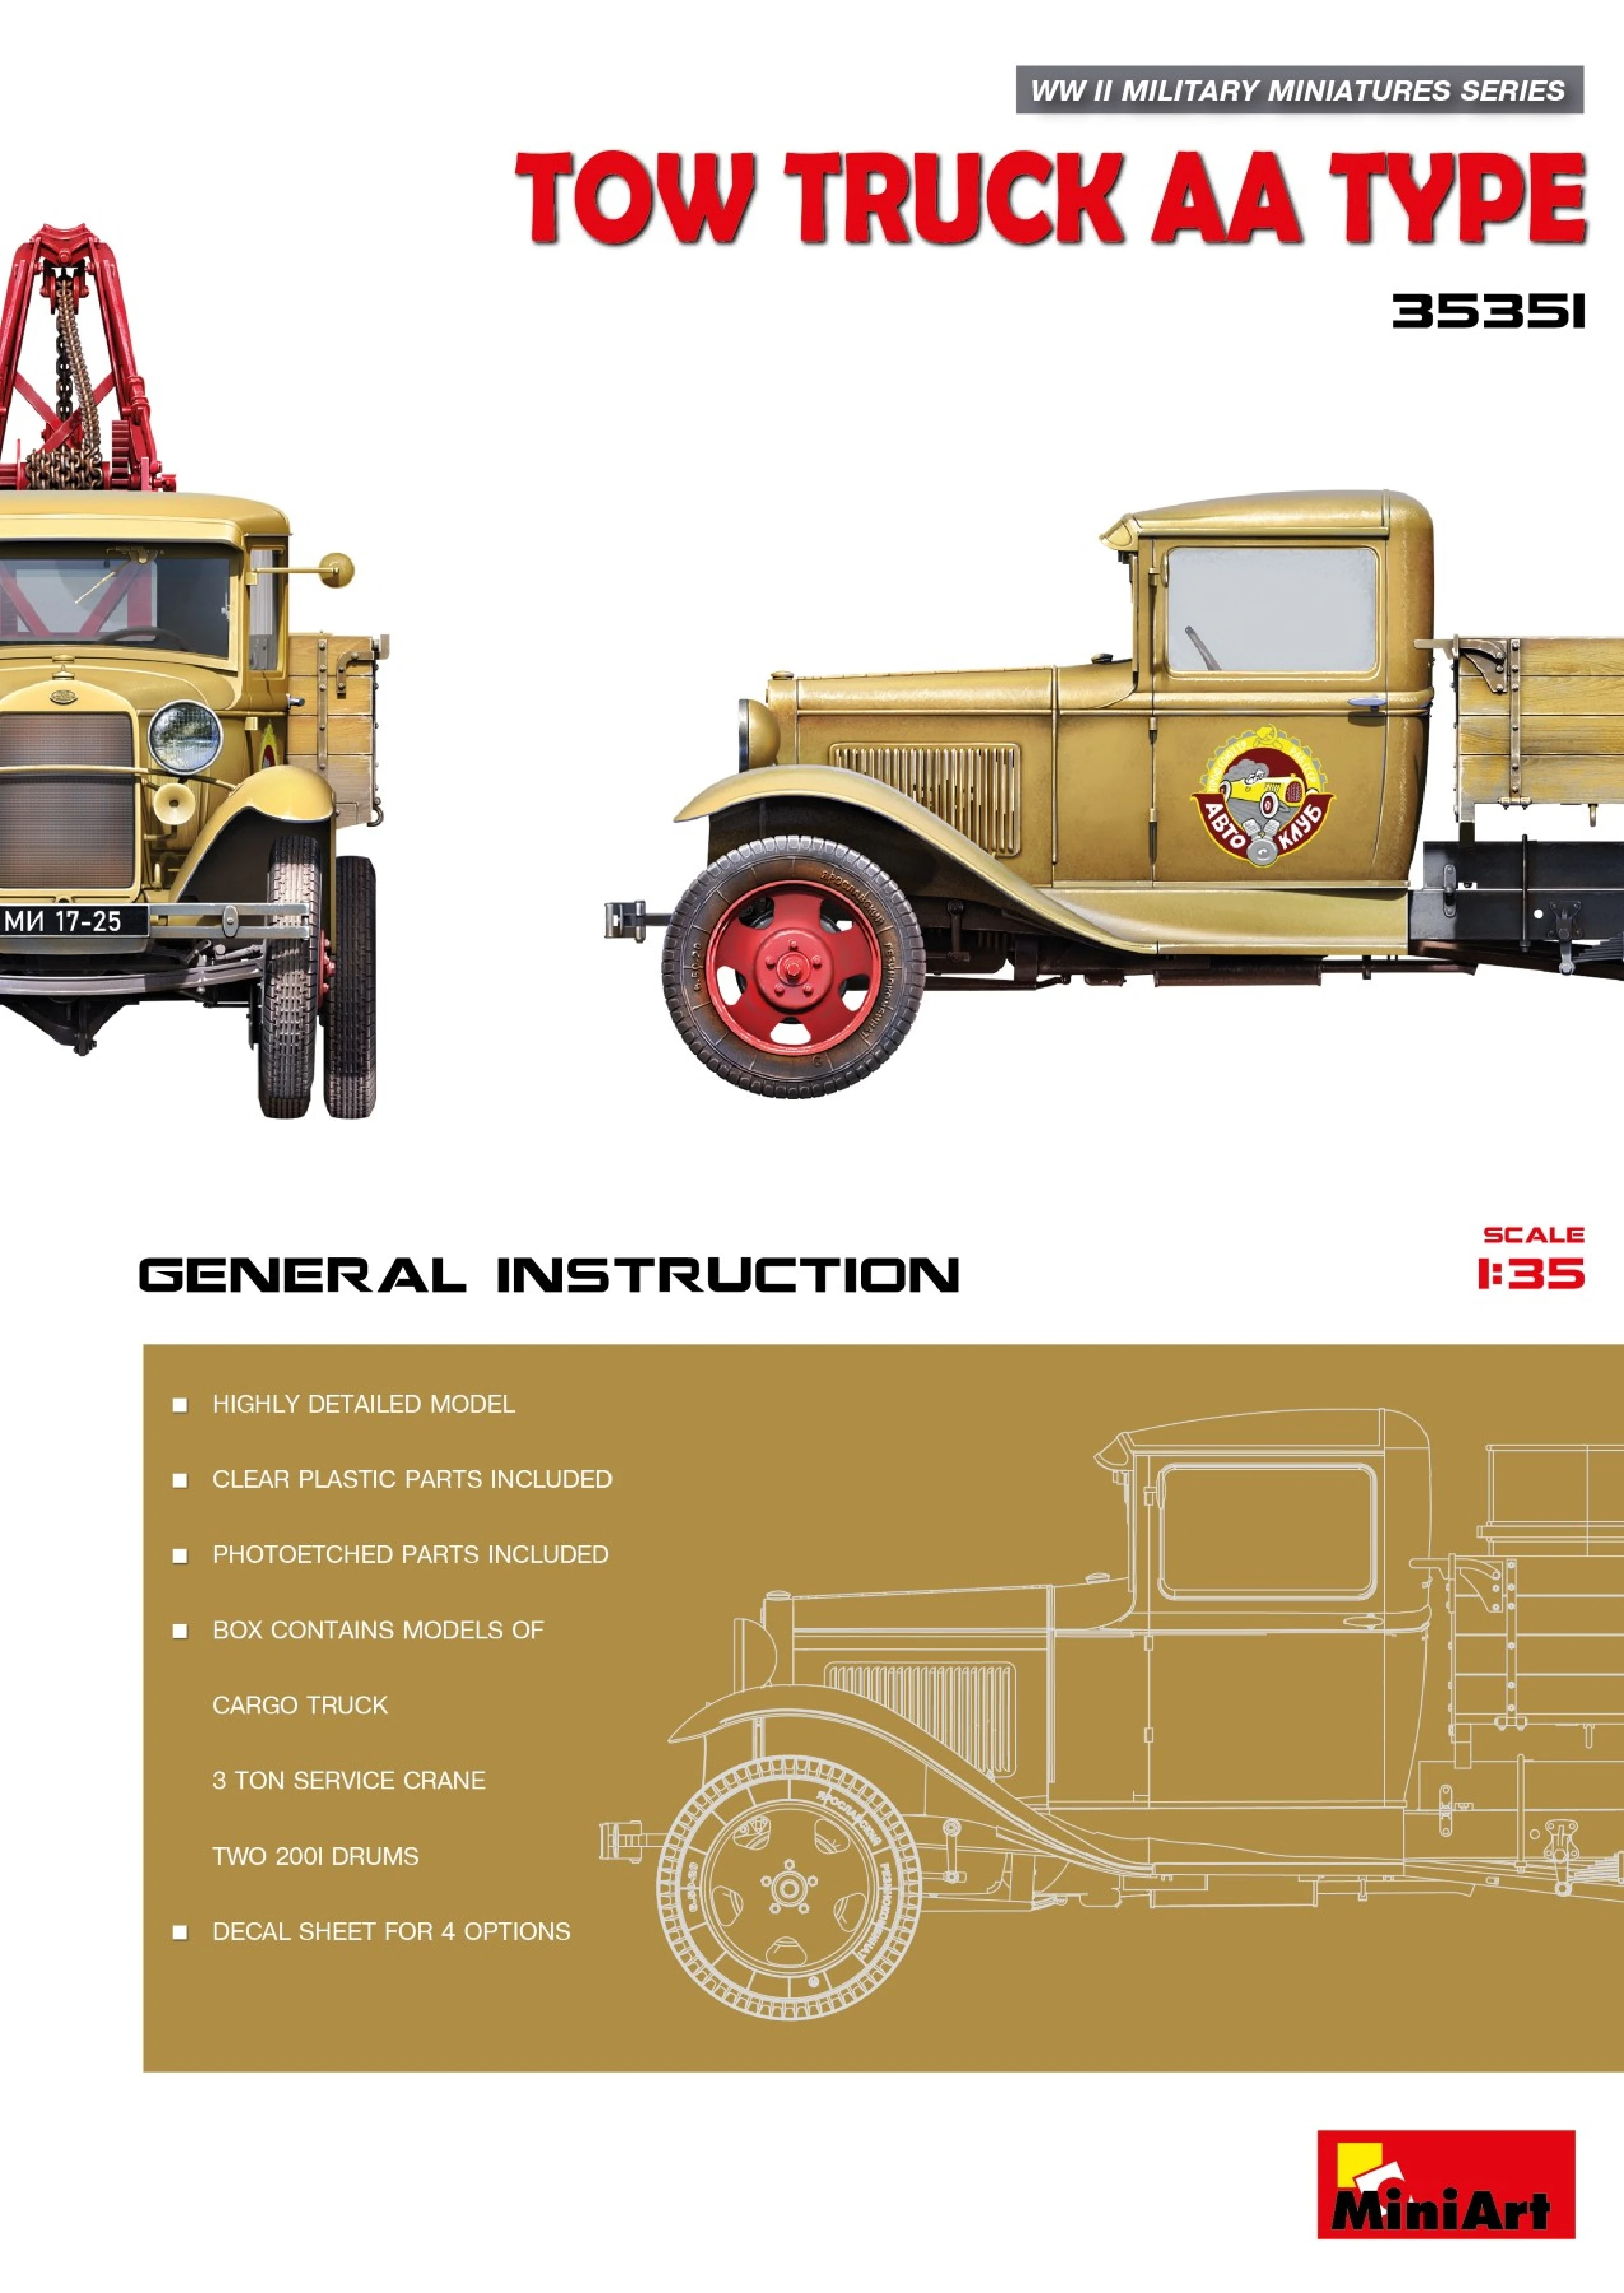
"Tow Truck AA type"
from MiniArt
Kit No #35351
1/35th scale

One likely scenario...
Backgrounding...
Of course, February saw the tragic events unfold in Ukraine with the Russian invasion and the modelling community wasn't sure if the various Ukrainian kit manufacturers and their products would ever be seen again. Unbelievably and to my great surprise and delight, about a month or so after the invasion the model world got word that the Ukrainians were going back to work. Not only were they continuing production despite the war, some manufacturers were planning new releases.
With the invasion, myself and some other modellers just didn't feel like doing anything model-related at all but knowing the Ukrainian manufacturers were back in business it seemed appropriate to build the review samples, and of course it might inspire other modellers to buy the kits and help out the Ukraine economy in a small way.
Other GAZ trucks in this range...
The kit:Moving onto the build and the base kit (AA type truck) is one of MiniArt's older ones as it has been around since 2012 in various guises. This particular boxing is for a tow truck and features a Weaver Autocrane winch (which dates from 2019) and this is either mounted on a cargo flat bed or directly to the rear chassis depending on which option you choose.
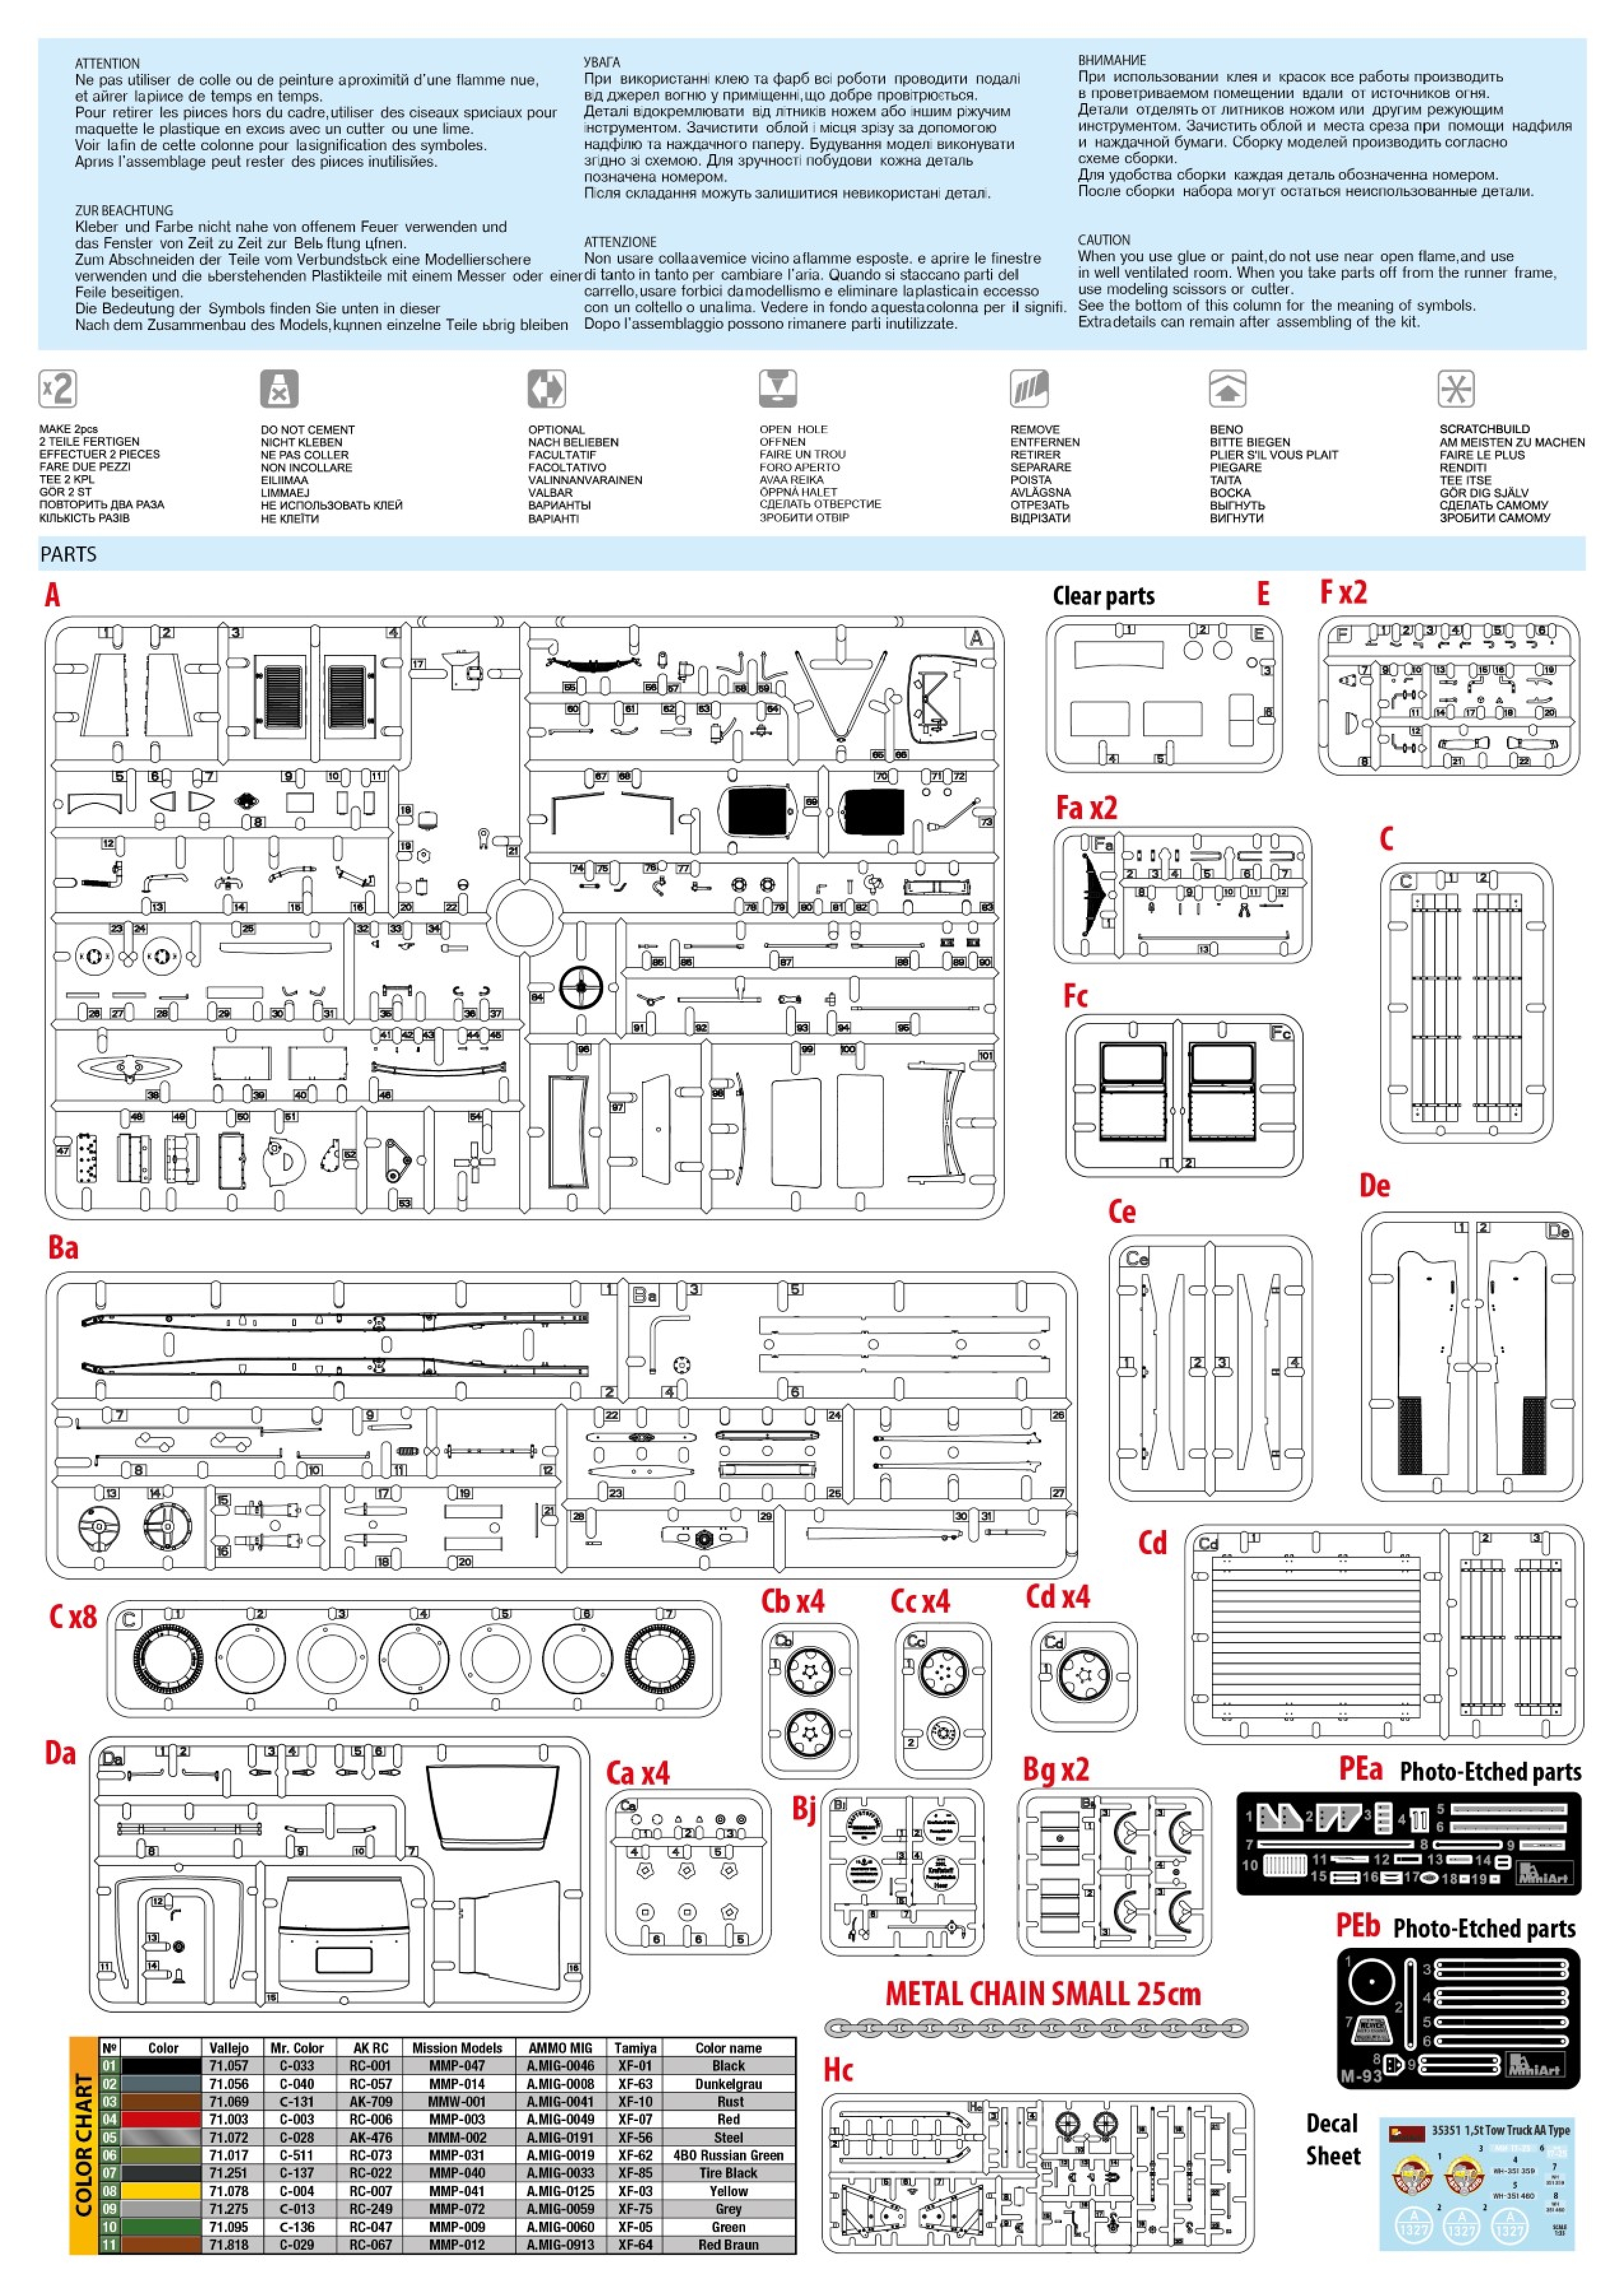
Moulding quality is pretty good with a little flash here and there, but some mould-pin marks can be found on some parts (such as the cab interior and underside of the front fenders). Typically, for MiniArt the plastic is quite soft, which can be good and bad; good in that parts are flexible enough to fit but bad in that small parts are very easily broken or difficult to remove from the sprues, especially with some of the sprue attachment points. The kit is supplied with a length of chain for the winch, etched metal parts and a small decal sheet that is nicely printed by Decagraph.
The construction begins....Going straight into the build then and although the assembly sequence starts with the engine, I chose to build the chassis first.
The chassis is a multi-part one and I'm not kidding as in the picture above there are fifteen parts already and I had barely started! You also have to choose at this point which version you are building as three of them have a flat-bed on the back and additional parts are required on the chassis. When both sides of the chassis were glued, I left the assembly to set for a bit and carried on with the engine, and this is quite a highly detailed item. The only things missing were spark plug leads and fuel pipes;
Due to the flexibility of the soft plastic, I used superglue as well as liquid cement to give all the joints some strength, as the various locating pins are tiny. The front axle was next and the steering mechanism is even MORE delicate than the chassis and I had to be very careful removing the parts from the sprue, in fact I used a slicing action rather than trying to cut the parts in one go as they are very easily broken and unfortunately one of the bad points of soft plastic. I usually like to turn the front wheels to the left or right on my models, but due to the delicate nature of the assembly, I left the steering rods as they were moulded. Again, superglue was used to strengthen the joints. Just to illustrate how difficult it was to remove some parts, the following image shows how many sprue attachment points there are on part A65 alone. Although the attachment points are needed to support the piece, it does make removal tricky and the part can be easily broken. Inevitably, some parts did break, and these had to be replaced such as the the brake rods to the rear axle as it was easier to do this than try to repair them; Fitting the radiator to the chassis proved to be a problem, as the cooling fan was too far forward;
My solution was to carefully remove the fan and cut off the rear - Now it fits!
The assembly of the wheels was next and these can be tricky as the instructions are a bit vague. It is essential that all sprue attachment points are removed as well as any flash around the mould-pin marks otherwise the wheels will NOT fit properly. The tyres themselves are made up of seven parts, three of which are for the front of the wheel and four for the back and after gluing them all together and to get the tyres to actually fit the rim, I had to remove a fair bit of plastic from the inner tyre pieces (C4 and C5), in effect putting a chamfer on them, also the locating pins were cut flush as these didn't help with the fit of parts either so care was needed to align the tread pattern either side of the wheels. .jpg)
Another problem with the wheels is they are butt-fitted to the ends of the axles, which makes assembly after painting difficult. To overcome this, I drilled 0.5mm holes into the rear wheels and axles and 1.6mm holes into the front wheels and axles.
When doing this, be so careful not to drill through the wheel hubs as I came close to doing just that. You also have to make sure the holes are central, as it is very easy to go off to one side.It took longer that I originally expected (some two weeks) but the chassis was finally built. The cab was built next and the front of it was all glued together while the back and the roof were left separate to aid painting later on. I was going to have one of the bonnet (or hood) sides open to display the engine but decided against it as it would have made fitting the cab to the floor 'interesting' I think. I was going to have one of the cab doors open too, so I filled in the mould-pin marks with a combination of superglue and accelerator, as this is now my filler of choice. I did say I 'was' going to have one of the doors open, but the fit of them isn't particularly good, so they were glued shut.
Another problem was that the doors would just not sit properly, and it's because the corners of the seat stick out too much on either side, so these were cut back until the doors DID fit.
As I said before, the bonnet (hood) sides were glued shut too;
It's a shame really as the engine is nicely detailed, but maybe next time. Another annoying thing and the butt-fit of parts involved the headlights, as these are just glued to the side of the radiator. These would be virtually impossible to fix in place after painting, so the headlight mounts were replaced with 0.5mm brass rod and holes drilled into the headlights and radiator. As I was building option four, the final assembly in the instructions was the Weaver Autocrane and being a much later addition to the MiniArt catalogue it was a bit easier to assemble although again due to the sprue attachment points, some of the parts were tricky to remove without breaking them. The definition on the back of the gear wheels (parts Hc10) was a bit soft, so using a triangular needle file these were sharpened to match the profile on the front. Liquid glue was then run over them to clean off any swarf and debris. I found it easier to glue one of the winch sides to the bases (parts Hc3 and Hc4) rather than try to glue the two sides and watch them fall apart.
The rest of the winch went together pretty easily after that.
The jib was a bit tricky to assemble due to the tiny mating surfaces at the end. Also, the etched brass cross member (partPEb2) was slightly too long and had to be shortened and reshaped at one end. The central rod that goes through either side of the winch assembly (made up of two parts, Hc21 and Hc22) was broken, so rather than fix it I made a new one from 0.64mm rod. This was cut to a length of 42mm and after opening up the locating holes it was inserted and glued into place. Small pieces of heat-stretched sprue were then glued to the top and bottom of either end of the rod to replicate the detail found on the original pieces. Attaching the chain was fiddly and after some head-scratching I cut the hook (part Hc20) rather than try and separate a chain link and glued it in place as shown in the instructions. Fitting the chain into the block (part Hc17) wasn't easy, but after pinging part Hc15 into the ether and having to make a new piece from thinner rod, it was much easier after that. A length of chain was then inserted into the block, superglued into place, and the rest fed through the jib to await fixing to the winch drum. That was that for the winch...
...and indeed for the model (including those two oil drums).
The cabin glazing, side mirror and headlights have been left off to make painting easier, but that's pretty much it for the build.Not an easy model to build, so if you are looking for something quick to put together over a weekend, then look elsewhere, however if you take your time you will be rewarded with a lovely little model with excellent detail. Like I said earlier all that is missing from the engine is the wiring, pipework, brake lines etc. and if I had more time, I would have added it and had the side panels open to show it off. It really is good to know that MiniArt (and other Ukrainian manufacturers) are back into production and I certainly look forward to seeing their stuff on the shelves of model shops and to any future projects. The next stage is painting, so keep an eye out here on The Modelling News for part two, coming soon.
Andy King
Thanks to MiniArt for sending this kit to Andy to make and review for you. See more about all of MiniArt's kits on their website...
Addendum: Kit Instructions

.JPG)


.png)
.jpg)
.jpg)
.jpg)
.jpg)
.jpg)
.jpg)
.jpg)
.jpg)
.jpg)
.jpg)
.jpg)
.jpg)
.jpg)
.jpg)
.jpg)
.jpg)
.jpg)
.jpg)
.jpg)
.jpg)
.jpg)
.jpg)
.jpg)
.jpg)
.JPG)
.JPG)
.JPG)
.jpg)