
.jpg)
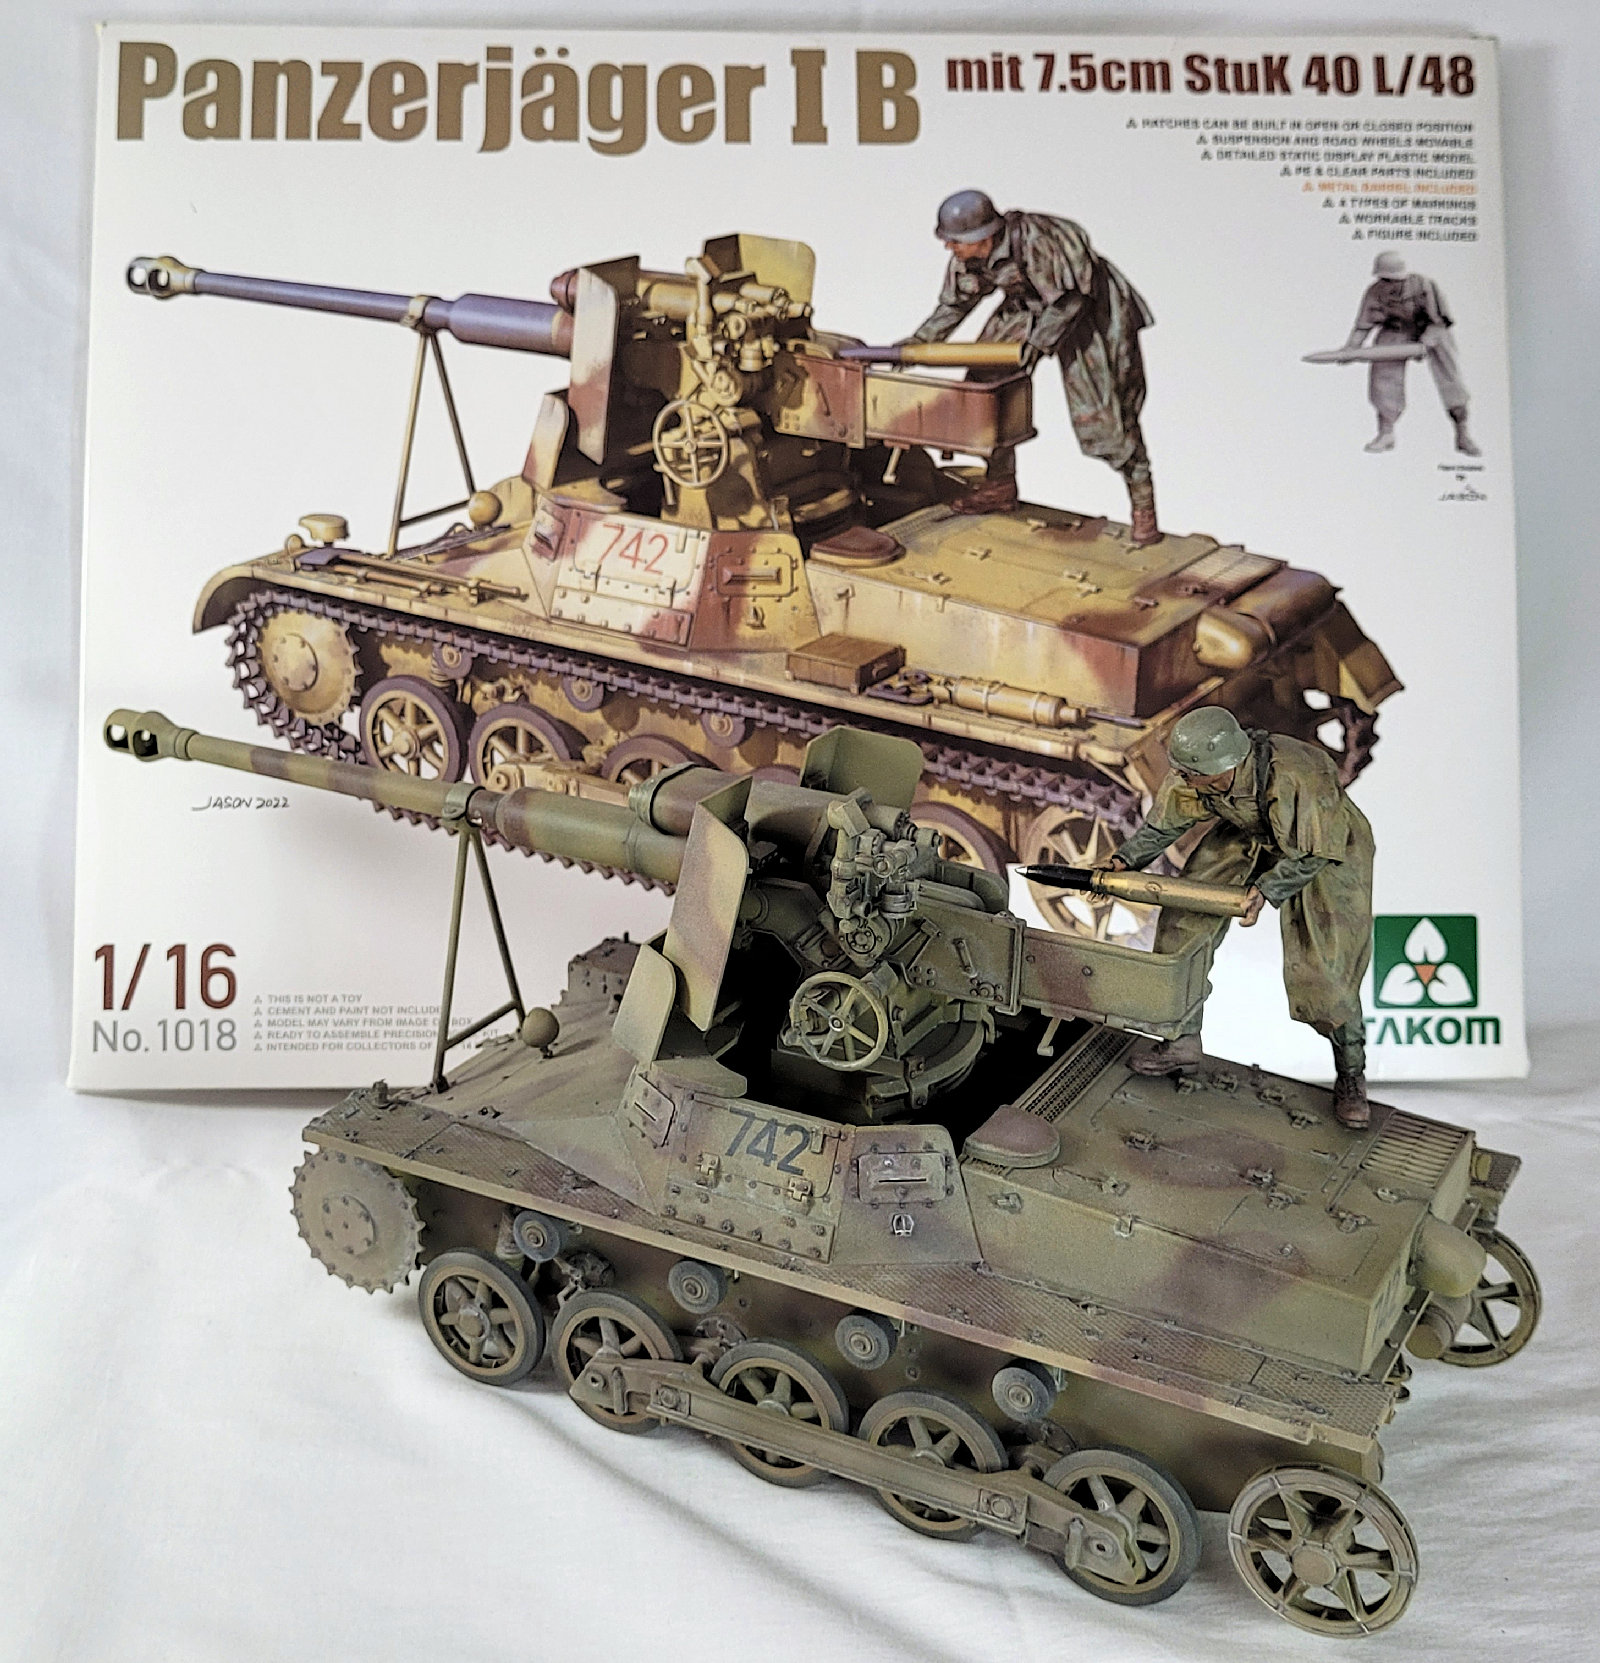
Manufacturer: Takom
1/16th scale
Type: Polystyrene, photo-etch, and waterslide decals multimedia Kit
1/16th scale
Type: Polystyrene, photo-etch, and waterslide decals multimedia Kit
Price: $87.38 USD at Hobbylink Japan
Available from Takom distributors worldwide
.jpg)


 Now while figure painting is something that I would like to aspire to for my models, painting in 1/16 is really different as everything is magnified compared to 1/35 and I will be the first to raise my hand and say that I would like to improve here, although this is not necessarily an area in this hobby that I am ultra interested in either. Being larger parts than usual in 1/16 scale, I sprayed the field grey pants and dark yellow Zeltbahn smock before hand painting the splinter pattern. The face was hand painted with a few different flesh shades, but I found the size of the figure made him look too old to be a “boy”, but the smooth skin and blank expression looked too young for an “old man” so I tried to add a 5 o’clock shadow which helped to age him and give him a somewhat grizzled veteran look.


.png)


 We can be a demanding bunch at times, expecting model companies to give us everything we want to complete our kits. While I do genuinely think that a gunner figure would have been a perfect addition to this kit, it’s a bit unfair to lay this on Takom even if they did provide one figure in the kit. Overall, I can’t fault this kit as it went together very well, and was actually quite refreshing to work with pieces that aren’t minute (yes old man problems but it’s something that affects us all), especially since this is a Pz I. While I didn’t end up using them, the tracks would have been the best example of this. Definitely a fun kit to put together, but definitely one to put your skills to the test due to everything being a much larger scale.
Paul Lee
Available from Takom distributors worldwide
.jpg)
Today: Pt.II
So with construction of the lower hull complete, it is time to get the interior painted up. Going off my theory that this lash-up was used as a static gun, I decided that it would be most likely that the salvaged StuK 40 mount would be given a new coat of paint at least, so I gave the mount a quick pre-shade before painting it in dark yellow with some modulation and a wash to bring out the details, although not a lot will be visible.
So with construction of the lower hull complete, it is time to get the interior painted up. Going off my theory that this lash-up was used as a static gun, I decided that it would be most likely that the salvaged StuK 40 mount would be given a new coat of paint at least, so I gave the mount a quick pre-shade before painting it in dark yellow with some modulation and a wash to bring out the details, although not a lot will be visible.

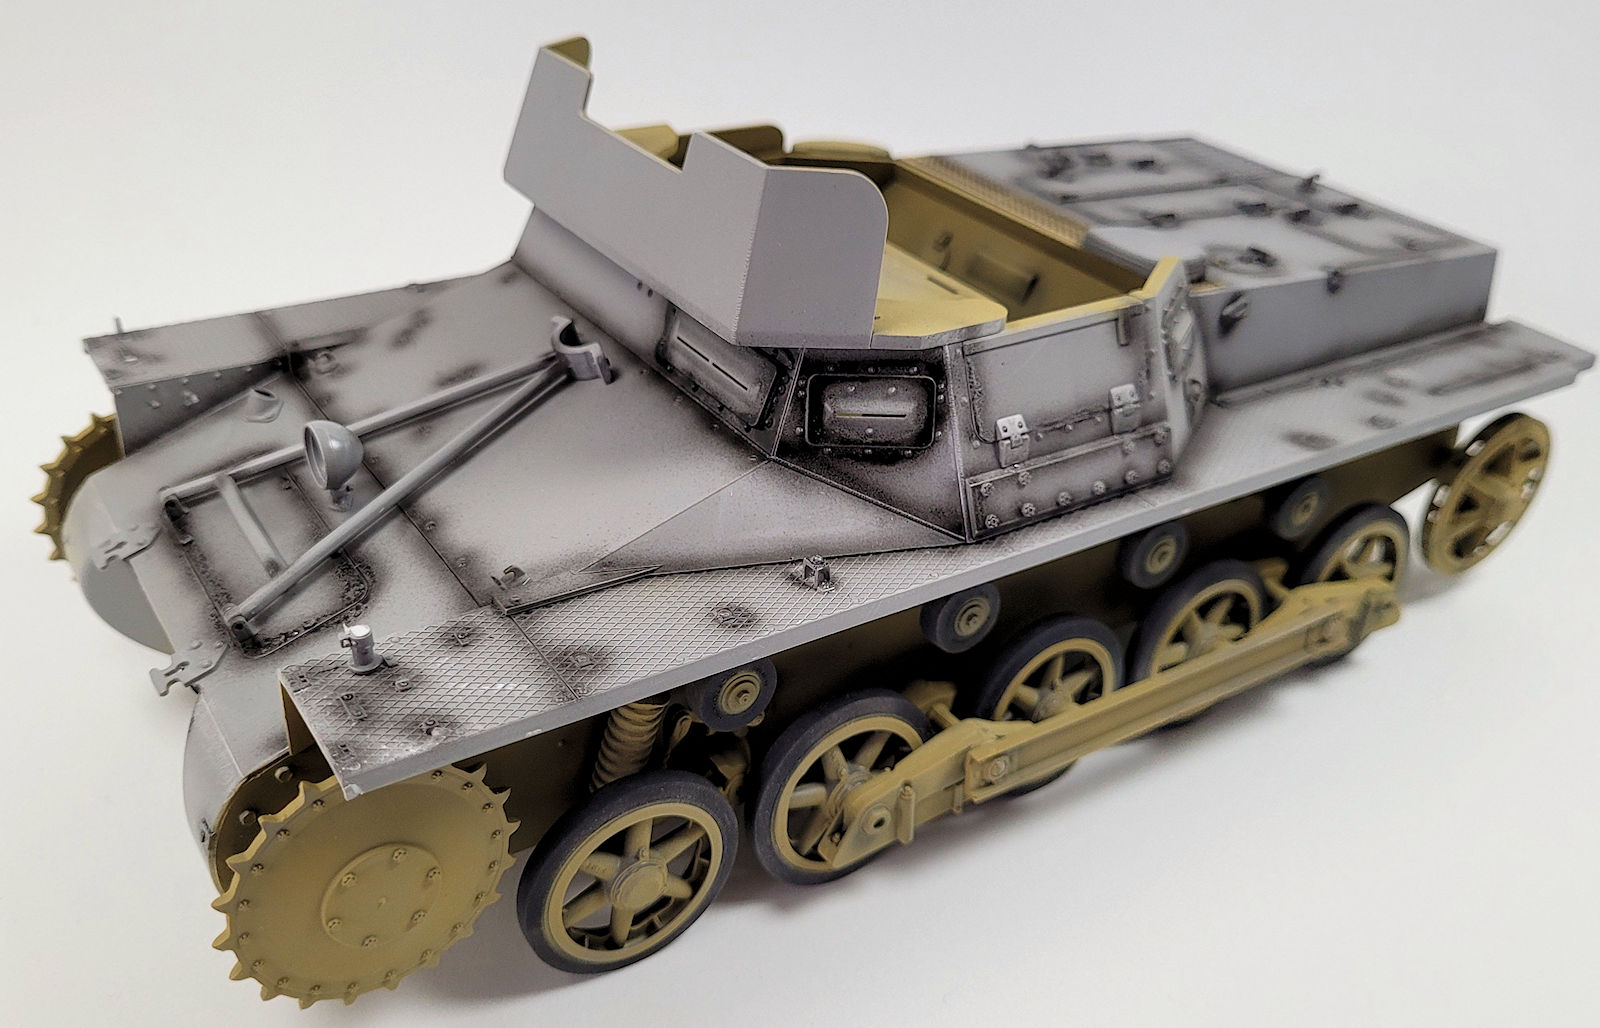
Once the insert was fixed in place inside the hull, I am now able to complete construction of the hull. To make life easier with the suspension, I painted up the lower hull and bogies before attaching, and painting it all in dark yellow, and gave the upper surfaces a pre-shade.
Construction of the main gun is fairly straight forward, especially with the supplied aluminium barrel which eliminates the need to deal with a long seam. Surprisingly, Takom has chosen to put four locating tabs underneath the base so the gun’s position is fixed when attached to the mount, but the operation to attach a pin and drill a hole isn’t too complicated if you wish, but the gun shields will limit the ability of the gun to pivot a great deal anyway. The gunner’s sight is the only part that gave me some trouble as it is attached at an angle and trying to get it to stay at the correct angle while waiting for the glue to set was a bit of a challenge.

Of the four schemes provided in the kit, some of the dark yellow and grey schemes were quite eye catching and tempting, but I felt the dark yellow and brown combination to be the most likely so that is the scheme I went with. The decals only have the numbers 742 in either black or red so I went with black, so once again I went with what I thought was the more likely option of black.

The figure Takom provides in the kit portrays a late war soldier with his Zeltbahn tent that could double as a camouflage smock. At 1/16, the face will probably be the biggest feature, and is fairly well moulded, except for the relatively blank expression, which doesn’t really go with the pose of loading a sizable 75mm shell into the breech of the gun. While the general construction of the figure is fairly straight-forward, there are two small pieces which form the lower section of the figure’s sleeves, which the instructions do not really give a good indication of how they are to be attached. I was tempted to leave them off, but found the correct orientation after a while after playing Tetris with the pieces, but I can confirm that they definitely do fit.


Once you add the figure on, you get a good idea of how much of a mismatch this lash up really was with the giant 75mm gun on top of the Pz I hull, although I think it also shows how much of real shame that you didn’t get a second gunner figure as that really would have helped complete the model where this just looks a bit odd with a loader loading the gun, but no one aiming the gun itself.

The original vehicle without its tracks
.png)
The Takom kit...


Highly recommended.
Thanks to Takom for sending this kit to Paul to build and review. You can see more about Takom's kits on their website or on their Facebook page