

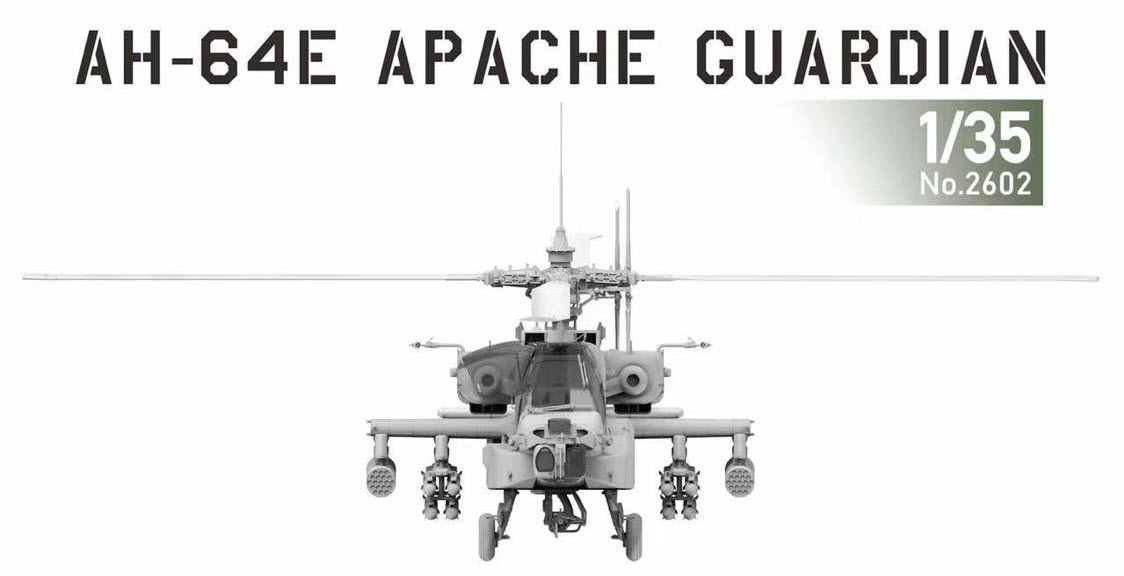
Build guide pt. I: Takom's 1/35th scale AH-64E Guardian
From Takom
Kit No #2602
1/35th scale
Photo-etched parts
3D-printed parts included
3D-printed parts included
Designed with Snowman Model
Decals for 2 versions included
Price: $86 USD from Hobbylink Japan
The Subject: The AH-64E Apache Guardian.
The AH-64E program is the most current evolution of the Apache. It is designed and equipped with an open systems architecture to incorporate the latest communications, navigation, sensor, and weapon systems. The E-model has multiple upgrades from its predecessors, such as the improved Modernized Target Acquisition Designation Sight/Pilot Night Vision System (MTADS/PNVS). This system includes a new integrated infrared laser that allows for easier target designation and enhanced infrared imagery that blends infrared and night vision capabilities. The E-model also has an updated Small Tactical Terminal radio that includes the LINK 16 capability required to communicate in a joint environment. The updated Fire Control Radar can operate in a maritime mode, enabling the Apache to be an integral asset in most environments. The E-model fleet’s Manned-Unmanned Teaming ability provides Level of Interoperability 4 to Apache crews, providing the ability to receive Unmanned Aerial Systems (UAS) video in the Apache cockpit, control UAS sensors, and direct the flight path of the UAS.
.webp)
The aircraft is also undergoing further modernization modifications such as the Modernized Day Sensor Assembly. This upgrade eliminates obsolescence issues while enhancing day-sight capabilities equivalent to the changes made with MTADS/PNVS. Other modifications include Manned-Unmanned Teaming that provides non-line-of-sight communications, video transmission/reception, and maintenance cost reductions.
Indonesian Army Boeing AH-64E Apache Guardian

The Apache is provided to U.S. allies through a robust Foreign Military Sales program with more than 500 Apache currently in operation or development across 16 partner nations. The current acquisition objective is 812 aircraft.
An Indian Air Force AH-64E in 2019
.jpg)
Build guide pt. I: Takom's 1/35th scale AH-64E Guardian
After dipping my toe into the world of 1/16 with Takom’s Panzerjaeger kit, I was looking forward to going back to something more in my comfort zone. While 1/35th scale was part of my thinking into what I wanted to do next, a 1/35th Apache was not exactly what I had in mind. Not that I’m complaining, because I know my eyes certainly lit up when I saw Takom’s announcement of this kit..jpg)
Instructions..... What can I say?
While we’re often told to study the instruction booklet before we begin construction, potential issues in the instructions aren’t necessarily obvious until actual construction, and this instruction booklet definitely could do with a bit of help in its design. Forests of arrows pointing vaguely to areas where parts are supposed to go and illustrations of tiny parts that don’t give a good view of how they’re supposed to be aligned is not a new phenomenon to Takom instruction booklets, the extra complexity of this kit compared to Takom’s usual armour kits really did add an unnecessary level of frustration at times to what should’ve been quite an enjoyable model to put together, as the engineering and fit of this kit is actually quite good. I will not go into specifics here, but will cover them as I come across them throughout the build, but this is a general observation of the instructions.Construction starts with the cockpit which comes as a tub with the back and some side panels to be added. The details are very nicely moulded although no colour callouts are given for the interior at all. After doing a big of digging, it appears that Apache cockpits are painted black to avoid any potential reflections with the night vision equipment, so I went for a few different shades of black including NATO black, Matt black and German Grey, and dry brushed the raised details with white. Decals are provided for the instrument displays, however they are provided “on” with data being displayed on the screens which looks good but not necessarily accurate for a vehicle sitting on the tarmac so I just painted the screens with Black Green.

The real thing below...
.webp)
A length of wire is provided in the kit, although the instructions do not make it apparent that it should be attached to the upper panel of the canopy with an arrow and 180mm pointing to an illustration of the panel with the wire attached.


.webp)


Paul Lee
Thanks to Takom for sending this kit to build and review. You can see more about Takom's kits on their website or on their Facebook page.