Today we see the conclusion of Andy King built, paint, decal & weathering of AK Interactive's 35th scale FJ43 SUV hard top. See how he finishes the kit to this high standard in Pt II...
Construction Review Pt.II: FJ43 SUV with hard top.
From AK Interactive
SKU: AK35001
1/35th scale
Price: 38,95€ From the AK Interactive Website
We have already looked at Andy's build of this kit - (click above link if you haven't) how me not only put it together, but added those Mac One wheels to improve the sit and feel f the project. You can see yourself how he improves it in today's part II
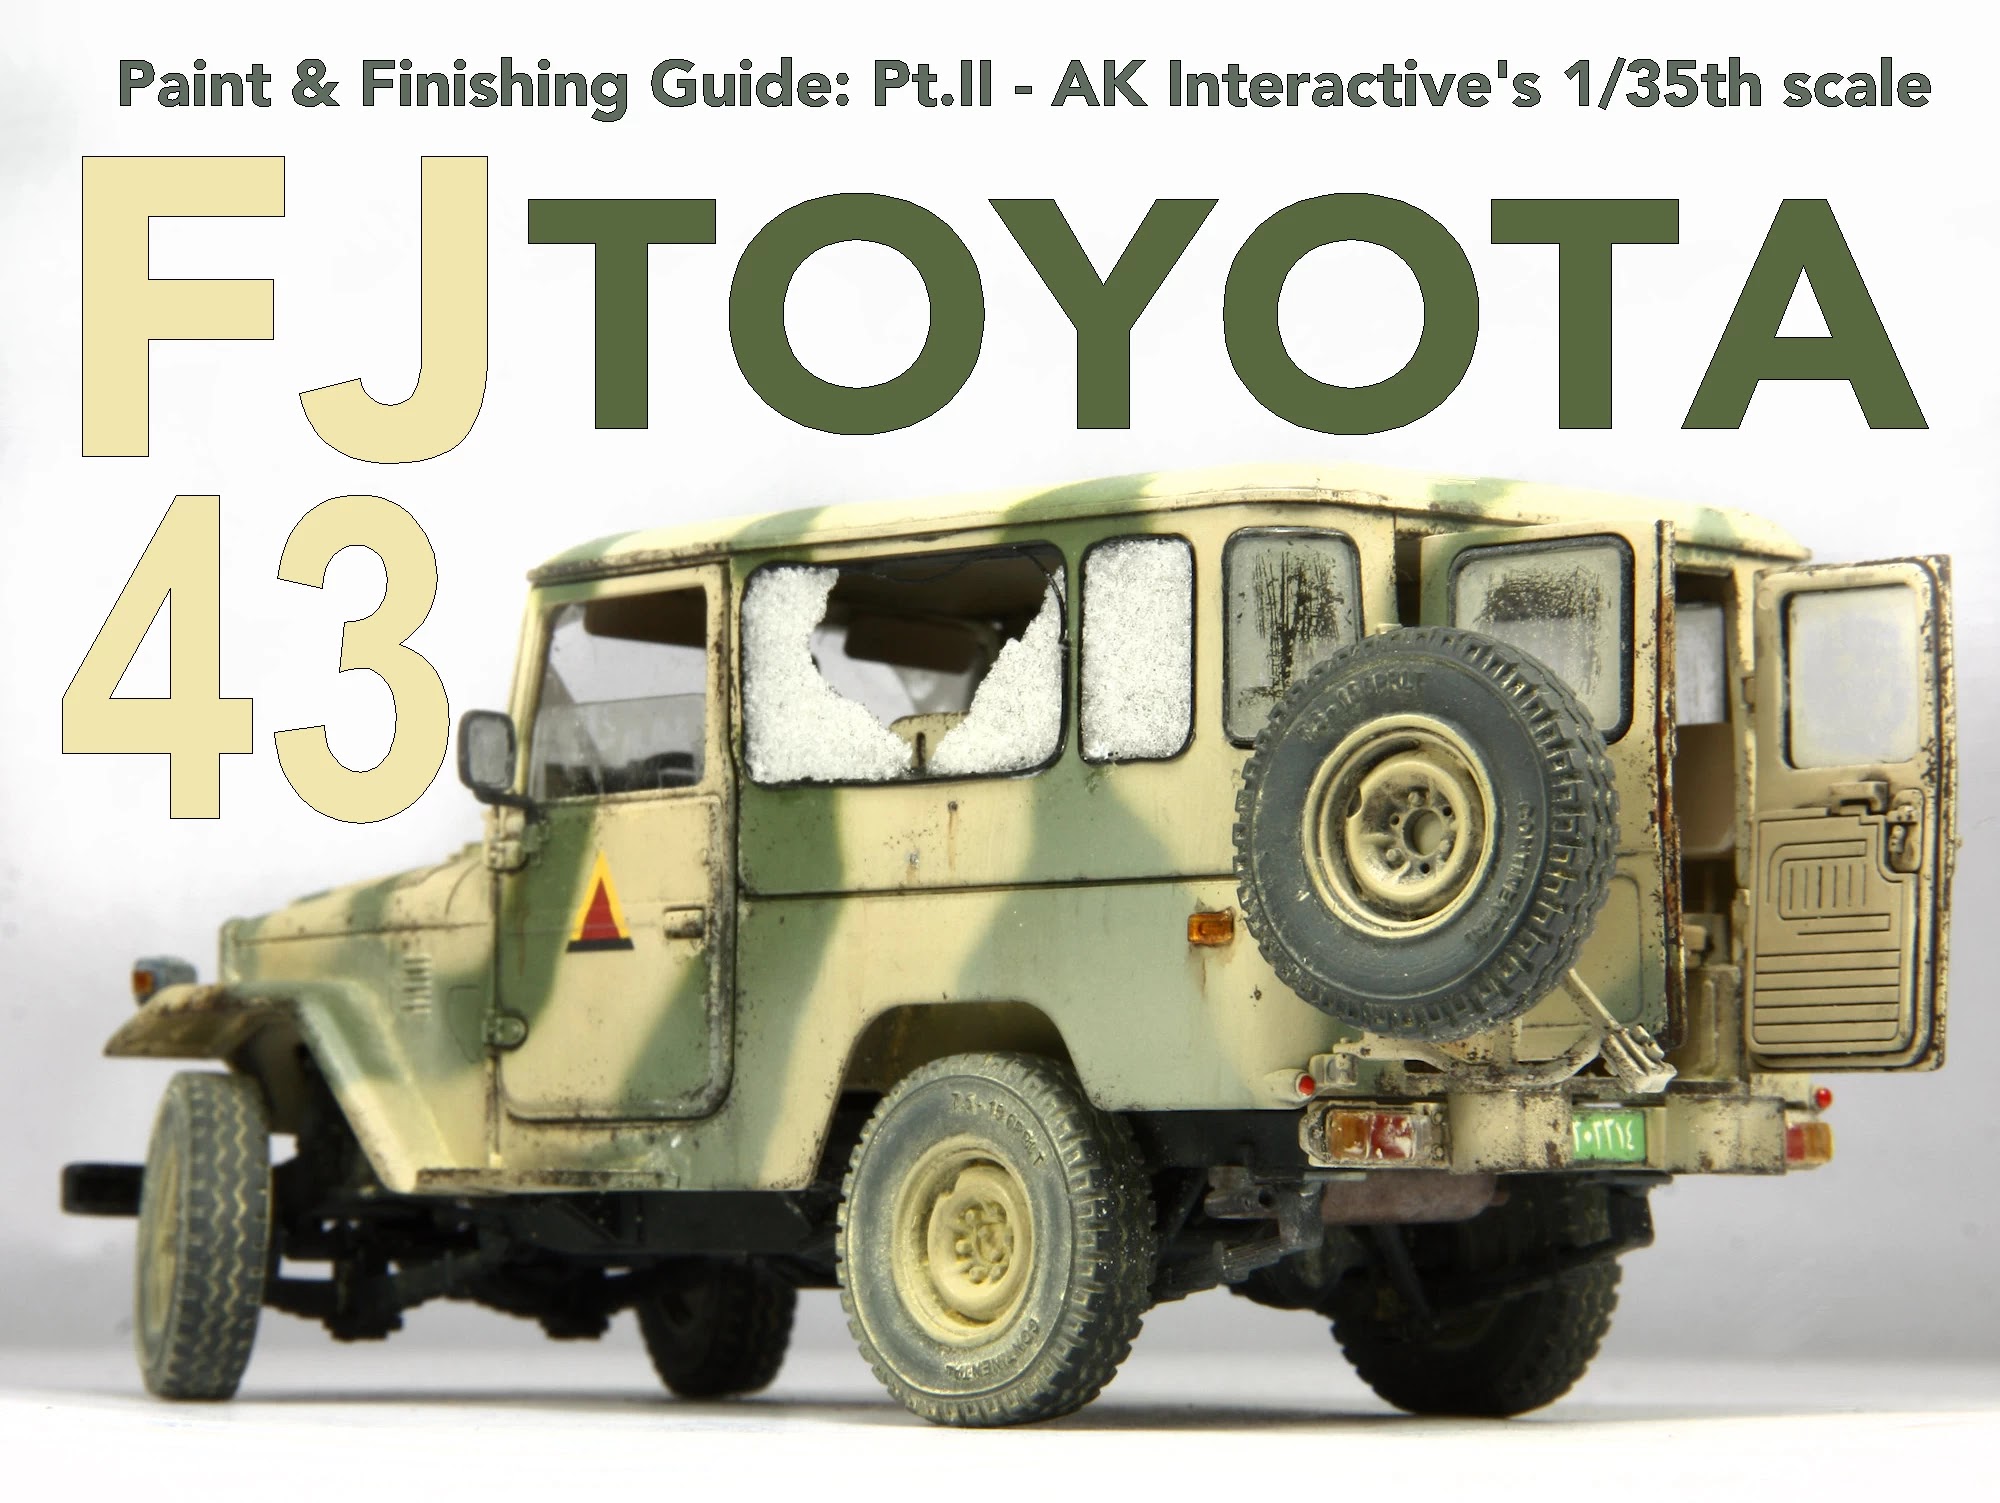
Today - Pt. II: Andy finishes AK Interactive's 35th scale FJ43 SUV hard top Part one showed how this particular kit went together and this article covers the painting and finishing. To start, I airbrushed the model with Tamiya LP-3 Flat Black from their lacquer range.
The model was then sprayed overall including the interior with AK Real Color RC104 Iraqi Army Desert Sand then after masking off the interior, the green camo pattern was airbrushed using Real Color RC231 Field Green. The model was then sprayed with Tamiya X-22 Clear because in my experience as well as helping the decals to settle down it helps the weathering washes flow better too. Opinions vary as to whether gloss coats are really necessary but it's what I'm used to doing.
With the gloss coat on and licence plates made from thin plastic sheet as recommended in the instruction, the decals were applied (which took about 30 minutes as there are not many of them) and the edges of the licence plates were painted with Vallejo matched to the green of the decals. The decals bedded down quite nicely with the aid of the Microsol decal setting system too. I also painted the details on the instrument panel before putting a drop of gloss varnish onto the dials to represent the glass.
Even though the tyres were painted black, the Iraqi Sand colour had drifted over the them so masks were made for the wheels using a micrometer to find the diameter then cut out of masking tape using a compass cutter, after which the tyres were re-sprayed with Tamiya LP-3 Flat Black. Finally the weathering could begin and the first thing that went on was Mig Productions Dark Brown Wash inside and out as it would make the details pop plus I wanted to show a well-used vehicle. After spraying the model over all with VMS Satin varnish the next job was to paint the rubber surrounds for the glass panels and windscreen and I found the best tool for this was a fine black paint pen that had a 0.8mm nib as it was much easier to run around the edges where the rubber seals were.
The windscreen was masked where the wipers would go, the roof was temporarily fixed in place using masking tape on the inside then the model received a light over spray of Tamiya XF-55 Deck Tan (including the rest of the windows) to give it a dusty look. To represent some heavy paint chipping around the doors, bodywork, the interior floor etc, Vallejo Buff was applied with a brush in places then Vallejo German Camouflage Black Brown was dabbed on using a piece of sponge. A look inside the rear well used tray of the vehicle...
To further enhance the wear and tear graphite powder was rubbed onto the areas where the most wear would take place. The steering wheel, hand brake and gear lever plus the base were painted black, the seats painted with Vallejo Buff and the instrument panel glued into place prior to adding the sand coloured pigments. The side windows for the doors were cut down and glued into place and the side mirrors also painted black as these are generally made of black plastic plus all the windows were rubbed with a cotton bud to remove some of the dust.Various sand coloured pigments were then liberally brushed all over the model inside, outside and underneath to enhance the dusty look. Before gluing the roof on, I added some bits and pieces from the spares box to the interior just for some interest. The suitcase on the front seat came from a 1970s 1/35 Tamiya Staff Officer figure set, the two packs were from the Tamiya Sd.Kfz. 233 of a similar vintage, the greatcoat was from a Dragon German WW2 Sd.Kfz. 251 and modified to look like one issued to an Iraqi Republican Guard unit. The AK-47 and Tokarev pistol was from an Italeri modern weapons set. All the side lights, headlights and spot lights were painted and for this I used a Molokov chrome paint pen for the backs and interiors before painting the various colours with Tamiya clear red and orange acrylics, these then had pigments applied when dry. The spotlights on the front fenders were painted blue as per the instructions using a mix of Vallejo colours. The biggest thing that attracted me to the model (yeah I'm weird like that) were the broken side windows on the box art and with not having a clue as to how to achieve this, I did a Google search and found a few tutorials. Basically it involves spreading PVA glue thinly onto a piece of plastic food wrap (Clingfilm for example) then pouring some Deluxe Icy Sparkles onto the glue and letting it set. The glue has to be thin as on my first attempt the crystals completely disappeared. I thought it was all going to be very fragile but once set the glue and Icy Sparkles were pretty resilient so using the kit windows as a template, these were cut around, the broken glass removed from the plastic wrap and fixed into place using superglue. Pretty effective I must say! To simulate the rubber seal on the outside I used lengths of sprue that you get attached to the rubber band tracks you find in some armour kits and stretched them after applying heat from a lighter, these were then cut to length and superglued into place leaving some hanging down where the glass had once been. Some Icy Sparkles were added to the interior and set in place with pigment fixer. With the side windows added the roof was glued into place along with the doors and wheels, fuel stains around the filler cap and some rust streaks were added and that was another one for the collection.
I have to say I thoroughly enjoyed this build and although I could have gone wild super detailing the model, my intention from the outset was for it to be a pure painting and weathering exercise which in my very humble opinion I think I achieved. If you want to build something slightly different I can really recommend this kit as it's not overly complicated, it goes together pretty well and makes a great base for weathering. I liked it a lot!

.jpg)
.jpg)
 Today - Pt. II: Andy finishes AK Interactive's 35th scale FJ43 SUV hard top