Lukas' build of the HK Models new E/F version of the Flying Fortress in 32nd scale continues apace. His latest part shows us how he detailed up the turrets that bristled the machine guns that made this thing a true "fortress". Here is the latest part of his step-by-step build guide to show you how he has got it to this stage.
B-17 E/F Flying Fortress Build Guide: The teeth of the turrets...
Today: B-17 E/F Flying Fortress Build Guide Pt IV - Turrets of the Fortress.
Welcome back to what is now becoming a building miniseries with few additional episodes to follow. After the build of the nose section, it has been time to move on turrets and rear gunner position in order to finish fuselage before I carry on with “wings sections” episode.
Top and low gunners first
I have started these sub-sections of the build quite early into the build but was waiting for the arrival of Eduard’s masks so I can cover all clear parts right after I attach them to “full plastic” parts.
These masks sheet became somewhat compulsory for scale models in recent years and in case of this aircraft compulsory gets one step higher - MUST. Let's see how they fit.
Top turret is rather straightforward and only things you will need to know is version/serial number that you are intending to build as you get two different glass housings and therefore two different “cages”.
Here you see the layout of parts before final assembly.
dry fitting before moving onto weathering and testing the turret on its future home - fuselage
I did recover some rivets on the cage and painted it before gluing clear part to it. After that was done I could apply masks. Not 100% fit here but only required little fixing using small strips of masking tape.
For easier alignment, I replaced small pin at the end of crew platform with little piece of metal tube - mainly because I have lost that plastic part to not paying attention while cutting that part out of sprue
weathered guts of top turret ready to receive gun barrels and cage with the clear part. This part will be weathered alongside with entire aircraft so now I move onto bottom turret…
two parts to be finished… and with added gun barrels
Here It became little more challenging mainly with the need to align gun’s bodies correctly so I could paint gun barrels and gun separately. This is a dry fit of what needs to be done in my case.
Taken apart I applied Eduard’s masks accordingly. Must say that here the fit was flawless.
The interior of bottom turret only required a piece of plastic card to make sure there aren’t any hollow instruments. Possibly one of those things you don’t need to do as only partial parts of this will be visible in the future
With the guns painted separately and other parts as well to keep it nice and easy for painting and weathering
Once gluing plastic part to clear part make sure to be very gentle with the amount of the glue used. Too much CA glue will create nice “fogged up” look, too much plastic glue might create textures that you wouldn’t rather see.
Where I used the Tamiya thin to attach the gun to clear part I had to use CA glue to attach ammo belt. The most difficult part was to read instructions around this area. It was quite unclear in what position that ammo belt(s) should be attached.
partial assembly - possibly the most difficult part of them to get it all correct before closing it forever…once again…
Airbrushed with Tamiya dull dark green mix (instruction mix) to reproduce the colour of internal framing and followed with Mr.Paint black before applying underside colour for my B-17 Neutral Grey 43. Not much of this process will be visible on this part but will become more obvious on other clear parts during the build. Or at least that’s the idea.
Airbrush and gently shaded with Mr.Paint’s neutral grey 43. While taking these pictures I wasn’t aware of the new line of their odourless acrylics and was “only” using their lacquer acrylics. Still, quality of these is brilliant and application straight out of the bottle makes the job so simple. Note: I don’t mind the smell of them, my wife does.
weathered support for frame and not so weathered clear part waiting to receive some “dirt” alongside with weathering underside of this beast.
And now all the way to the loner of the aircraft - rear gunner. Lots of dry fitting has been done in this area and yet I still didn’t manage to get out of it that well.
All parts painted separately with same fate of the other parts - not really to be ever seen ever again. It is a shame but I know they are there.
So I took some pictures before I closed it all off - only memories remain...
You can see that brass barrels are used for alignment once again.
This is what you get to see afterwards and that doesn’t even include clear part over it. Thank god for photography!
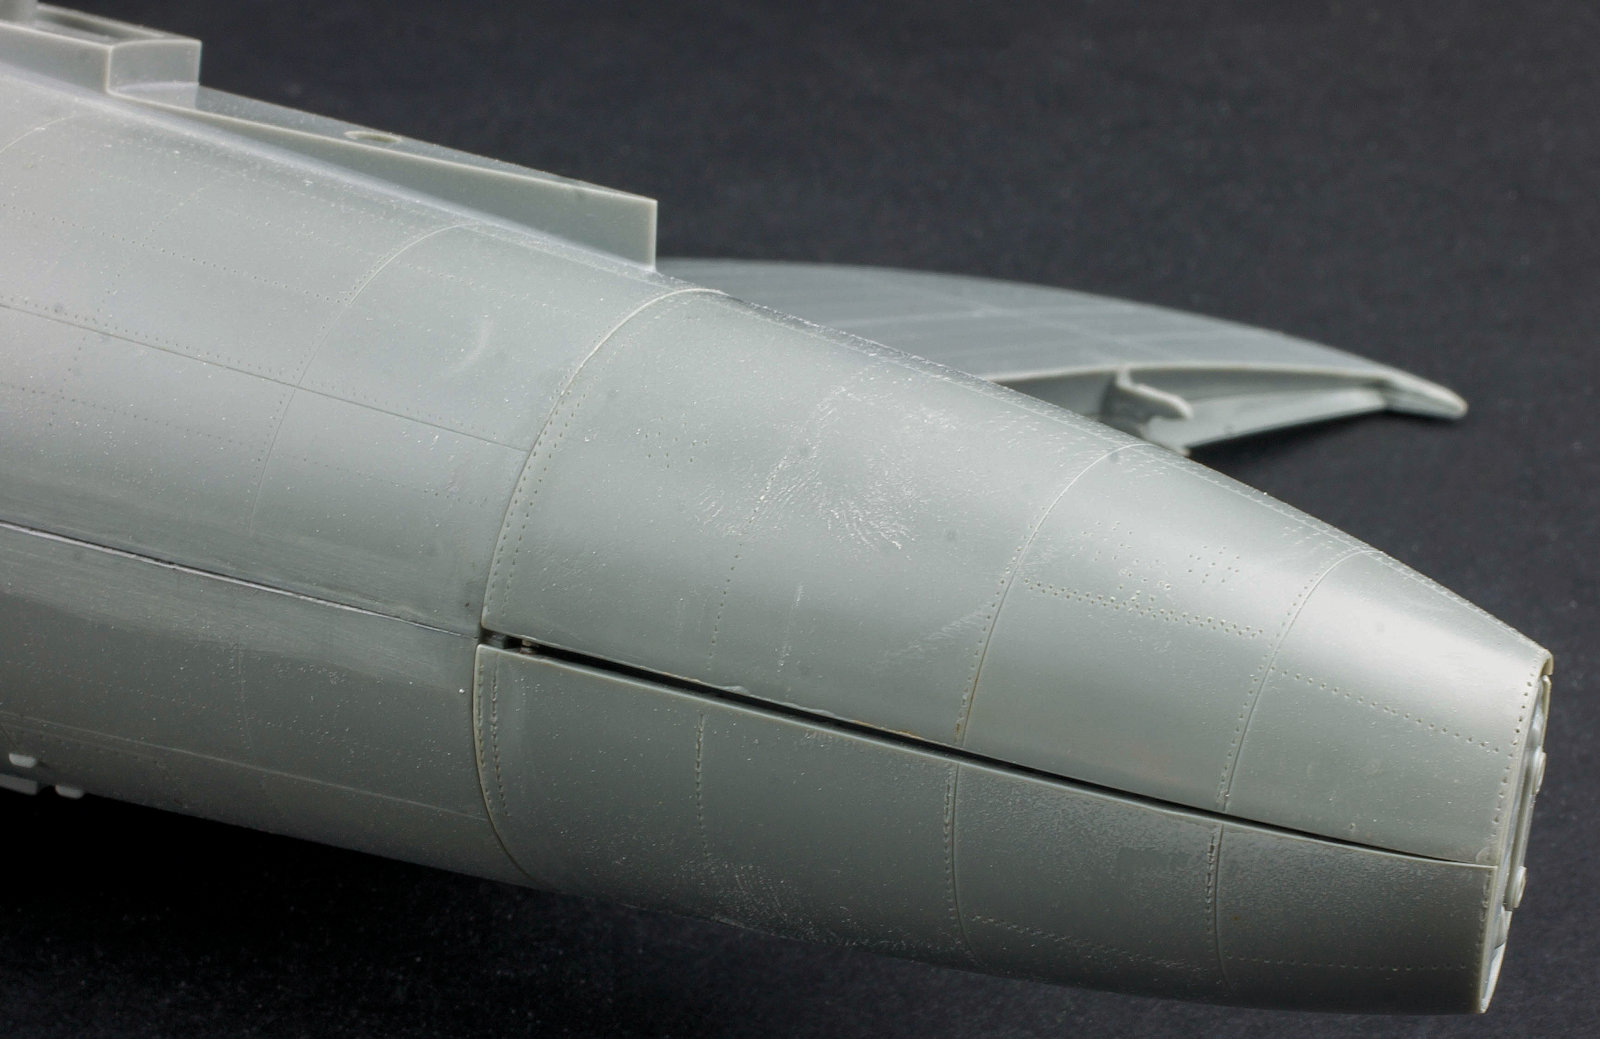
so while you can see on the previous picture that exterior will need some sanding and recovering of some panel lines, rivets and fuselage details you can see here that I didn’t quite manage to close it all of without decent gap.
luckily a little bit of stretched sprue filled the gap…
…and with some sanding and putty done…
it will get ready for redoing panel lines and rivets
The clear part only loosely placed showing that some sanding will be needed on top of the clear part. Luckily the roof for the gunner will be painted with camouflage colour and therefore it will be just easy sanding. Note that clear part will receive a clean and proper polish before masking and being glued to the fuselage.
That’s it for me today. Thank you to all of you who are still following up with this build. Next, I will bring wheel bays with some PE jewellery that won’t be ever seen again and Eduard’s resin engines detail builds. Stay tuned…
Lukas Kasuba
Thanks to HK Models for sending this kit to us to review and build.