

The mighty Abrams tank – still top of the heap on the battlefield and the modern warfare modelling benches. Paul has already made his up, and before he got to painting and weathering it he gave us his thoughts and a handy guide for all of us making our own kit. See how he went in today's story...

Construction review: M1 Abrams MBT
From Pana Models
1/35th scale

Seen by many as the best tank in the world at the moment, the combat record of the Abrams is undeniable, and first came to prominence in Operation Desert Shield in 1991. In this operation, they annihilated the variety of Soviet vehicles in service with Saddam Hussein’s armed forces. However, this was the M1A1, with the 120mm smoothbore gun, while the preceding version was the M1 armed with a 105mm based on the British L7 that armed Nato tanks during the 60’s and 70’s. Interestingly, the initial batch of Abrams that were deployed to Iraq where the M1’s with 105mm guns but were withdrawn with the arrival of the up-gunned version.


While there are plenty of Abrams’ kits in the market, they’re all later versions armed with the 120mm gun and the only release with the 105mm is the ancient Tamiya one so it’s good that Panda has gone back to the Abrams’ roots and released a kit of the original Abrams. I’ve had some previous experience with Panda Hobby kits, first with the 9K330 Tor, and then the Kurganets IFV. Both are reasonable kits but do have their problems, with the Tor having some bad flash issues in awkward spots, and the Kurganets having a badly warped hull. Still being a relatively new player in the market, improvement should be the name of the game for Panda so let’s see how their latest release pans out.
The kit in the box - every sprue is wrapped in pit's own plastic bag.

The instructions - simple and straight forward in black and white paper


The sprues


Construction starts with the roadwheels and sprocket. Each wheel comes with a separate tyre to make painting easier, and a circle mask is provided in PE to assist with this task which is a very welcome addition and a great idea. The wheel hubs are provided separately, but for some reason, they are provided in clear which I’m not sure why. The drive sprocket comes in three parts, and also has the retaining ring which is a major characteristic of the early M1’s and were removed later, although I’ve seen pictures of USMC 120mm armed M1A1’s with the retaining ring still in place.

Construction then moves onto the lower hull where each suspension arm is keyed to go into the hull to help you get the angle right, however, the fit is a bit loose and there is still a good amount of wiggle room so not as helpful as it could have been, but this also means that it gives you some ability to pose the tank on an uneven surface if that is what you want to do. I chose not to follow the instructions to add the wheels yet to help make painting easier.

The next step attaches the upper hull to the lower hull and gives you an option of rear side panels, parts C46 or 47 on the left side, and C26 or 33 on the right, with the difference looking like one is with a long mudflap and the other with a short one.
I chose the long ones because I thought they would look more interesting, but what the instructions don’t tell you is that the choice of those pieces depends on the rear side-skirt plate you choose to use, with the full-sized plate being another feature of early M1’s. I wish I had known about this before gluing the pieces on because I wanted to use the side skirt with the cut-out but the solution was simple enough and I just cut the plate to size.


The tracks are also constructed in this step and are designed to be workable. A guide horn is clipped in between the centre of two track links, and a connector is then inserted over the pins at the end of the links to hold it all in place. While the idea is good in theory, in practice Panda have not quite gotten it right.

It all started out quite well with the fit of the connectors being almost too tight resulting in the section of track being quite hard to flex, but the rest were a combination of not tight enough, or just not tight enough. Gluing them in place would’ve been one solution with some careful measuring of the straight and curved sections. I chose to wrap a bit of tissue over the pins and then slide the connector over them to keep the whole track workable, but was a frustrating process with some of the connectors done earlier falling off and needing the tissue to be folded for a tighter fit resulting in many nights of mind-numbing work, almost reducing me to tears at times. As you can see, there is also a fair amount of clean up involved afterwards, but the tracks are workable. The instructions don’t mention how many links to use, but 80 are provided for each side and I used them all. The fit is slightly loose and maybe one or two links can be removed for a tighter fit, but the side skirt will hide this so you may not even need to make the entire run if you want to save yourself some time.

There are not a huge amount of details that go onto the hull so there is not a great deal to write about. The fit of the upper and lower hull is quite good and only need a small amount of filler at the edges. Some PE grills are also provided which are a nice touch, and clears are provided for the driver periscopes. I also found this interesting picture of a track connector being used to keep a rod behind the front headlight in place which you can replicate with spares from the kit if you wish. The sideskirts come in individual panels so you can pose them open but I won’t attach them until after I have painted the hull and put on the tracks.


The main armament comes in halves so you will have the usual seam to clean up, and the muzzle comes separately and goes over the end of the barrel. There is an option with the protruding part on the top of the mantlet with one being flat and the other like the profile of a striking snake, however, I could only find pictures of the striking snake bit on 120mm armed tanks. I’ve also seen tanks with mantlets that don’t have this feature at all which I believe are the earliest prototype vehicles.


The .5 cal M2 disappointingly came like this which is a result of not having a complete frame going around the sprue which is a bit sloppy. I wasn’t able to bend my one back into shape and ended up snapping the barrel. Luckily I have a spare M2 lying around.

The rest of the turret goes together easily enough with clears provided for the vision devices, and PE for the tow cable holders which I bent into shape with an old airbrush needle. The tow cable are provided with two lengths of copper wire which I won’t attach until after painting.

Like the Tor and Kurganets, Panda continue to use this system of clips to hold the turret in place once you press it onto the hull. While it works, the problem is that you won’t be able to remove the turret once you glue the upper hull plate onto the lower hull which is a real hindrance to painting.

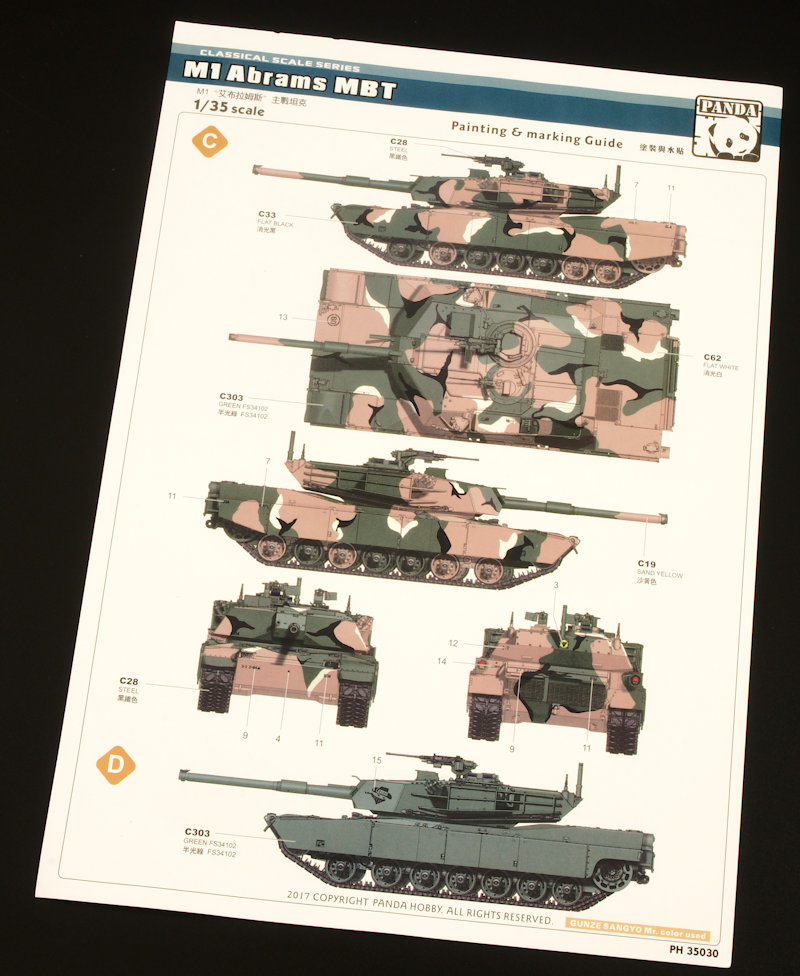
There are four schemes provided for you in the box but three are all green schemes with the last MERDC scheme being the most interesting of the inbox schemes by far. One thing to note is that the illustrations show the tracks on backwards, so the chevrons should look like a V-shape when looking at the tank from the front.

With the exception of a few small bits and pieces, the model is now ready for painting. Panda appears to have captured the features that distinguish the M1 from later variants, and while the kit in general goes together quite easily, the tracks are a real struggle to put together. There are some small flaws - though none of these are fatal (except for the machine gun which could possibly still be glued back together), but I cannot recommend this kit to beginners, although I would say a lot of patience is definitely a prerequisite for anyone.

Paul Lee
Thanks to panda hobby for sending this to paul to build and review
More of this kit in a forthcoming painting and weathering guide...For more on Kittyhawk's kits check out their FB Page. ( which is the also the Kittyhawk page)
