


Eduard Weekend Edition 1/48 Grumman F6F-5 Hellcat
Kit No: 8434
Kit type: Injection Moulded
Parts: 5x coloured sprues, 1x clear parts sprue, 1x decal sheet
Build Review by Brett Reynolds
Available from Eduard Directly at this link
Brett's build of the Eduard Weekend Edition 1/48 Grumman F6F-5 Hellcat - Pt I :construction
The
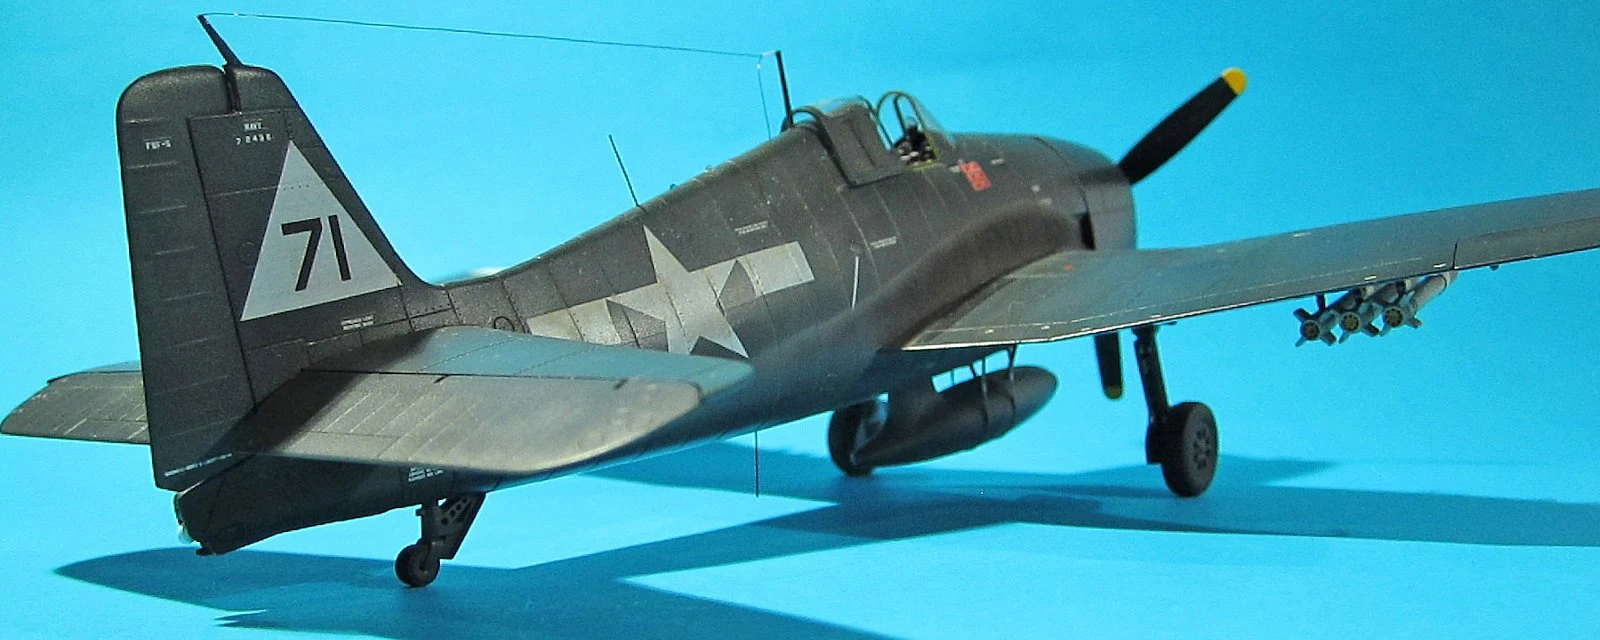
colour scheme chosen for this kite was for the box markings of the Grumman
F6F-5 Hellcat VF-20 White 71 naval air wings badge Lt. Leo Bob McCuddin CV-6
USS Enterprise October 1944

White
71 is the F6F-5 flown by the noted USN pilot Lt. Leo Bob McCuddin. In April
1944 he was assigned to VF-20 "Jokers" onboard the "Big E"
USS Enterprise and was credited with 5 victories while with the
"Jokers". Between October 24th and 25th, 1944 during the Battle of
the Philippine Sea, he participated in the attack on a Japanese battleship and
in the sinking of an escort destroyer.

From
April 1944 all five of his kills were gained during this tour. He participated
in the attack of the 'Fuso' class Ba and the sinking of an escorting destroyer
during the Battle of the Philippine Sea on Oct 24th and 26th 1944.
Painting, Decaling and Weathering
As with all late war Hellcats, the model was finished in an overall Gloss Sea Blue finish, in this case I used Mr Color lacquer paint No.14. The inside of the engine cowling received a coat of Humbrol 81 Matt Pale Yellow for the zinc chromate yellow finish.

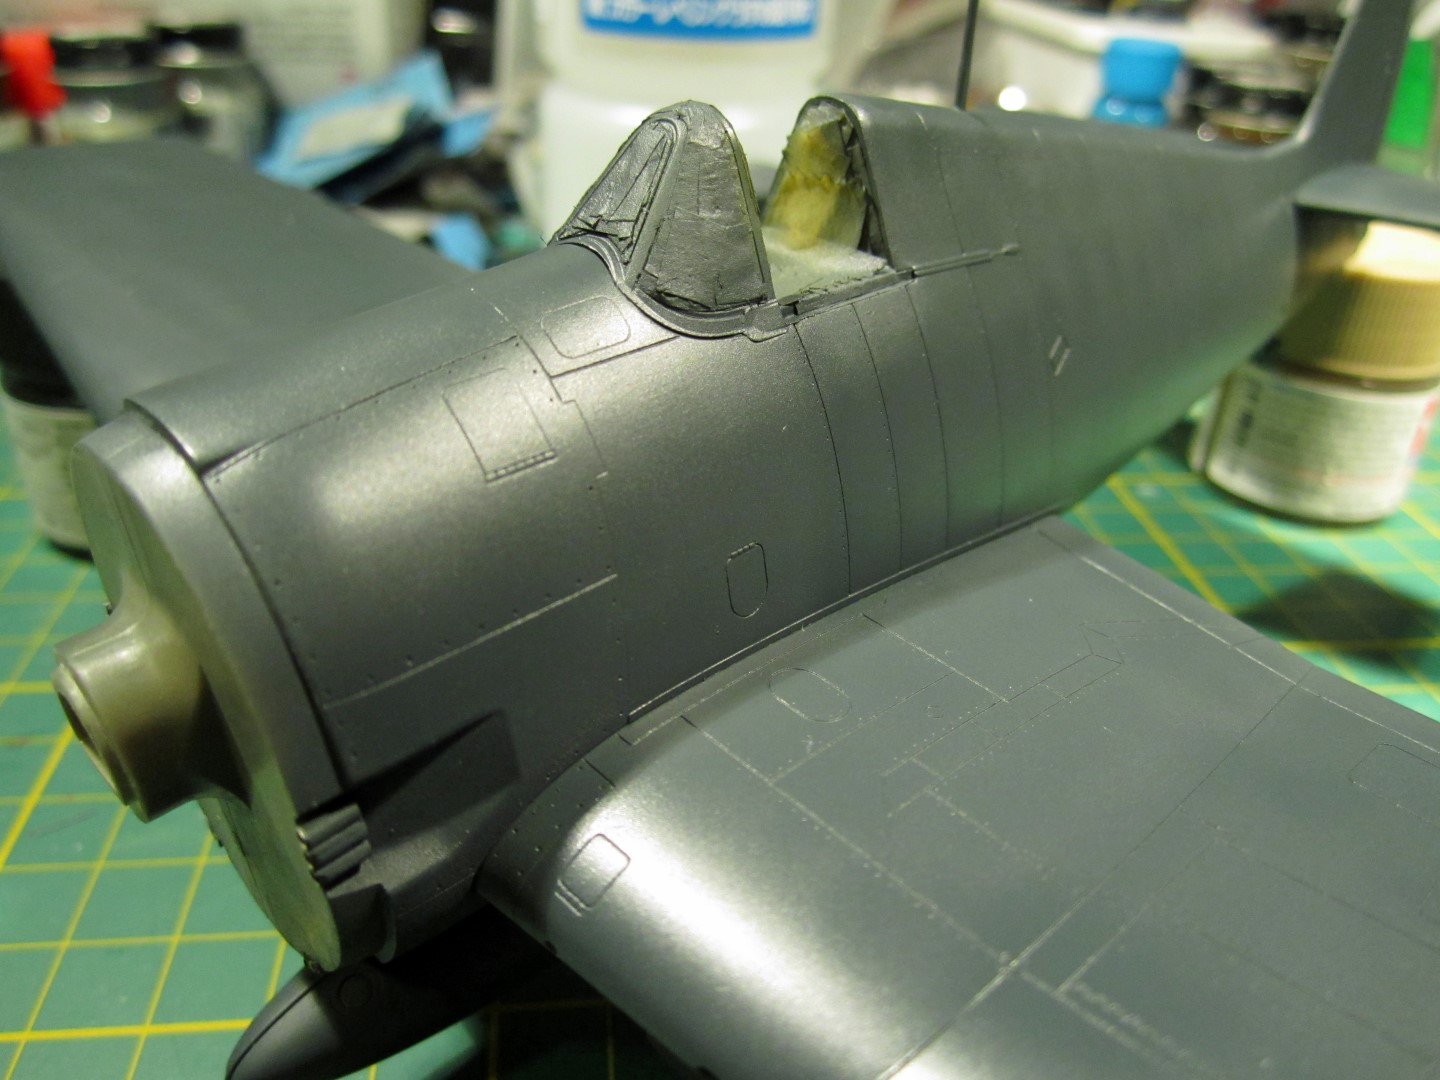
For a fading effect, centres of individual panels were airbrushed lighter shades of the based colour, either free hand or masked. Upper surfaces were more heavily faded as they would have been more exposed to the Pacific sun and heat.


The model received a clear gloss coat (Future) in preparation for decaling.

The print quality of the kit decals is very nice. Detail in the stencilling is sharp.

I started with all the stencil markings, followed by the unit markings and national insignia. The decals performed faultlessly. They’re very thin and settle nicely on the surface. In fact, the modeller needs to be a little cautious when positioning the decal because they’ll start settling down very quickly. The kit decals also responded well to Micro Set and Micro Sol. The model received another gloss clear coat to seal the decals.


Weathering started with a burnt umber oil wash in the panel lines and rivets. I also gave “Air Weathering Set for WWII Pacific US Navy Airplanes” from AMMO/MIG a go using the ‘dust effects’ for a harsher panel line wash and fading effects on the upper surfaces. The whole model received a coat of Model Master Lacquer Semi-Gloss Clear to seal everything in. The semi-gloss gives the right scale effect finish for what would have originally been a gloss finish aircraft battered by the Pacific environment.


The weathering was followed up with the distinctive engine exhaust stain down the side of the fuselage. I initially tried airbrushing this free hand but continued to make a mess of it. Even though I was spraying low pressure, I kept getting overspray where I didn’t want it. I removed the first attempt with some thinner.
I decided to try the blu-tac masking method. The rolled length of blu-tac would give be a feathered edge but I could also pre-shape the exhaust stain to look the way I wanted.

I first lightly airbrushed a heavily thinned mix of Model Master Camouflage Grey, followed by the same grey with a mix of Model Master Burnt Umber. Then I added a little of Burnt Sienna for more of a rust tone, slowly building up the exhaust stain effect, heavier closer to the engine exhaust and fading away as it streaked down the fuselage.


Finally I airbrushed a heavily thinned coat of flat black along the exhaust stain.

At the same time, I free hand airbrushed the same effect on the underside exhausts.

Removing the masking and blu-tac, I was quite happy with the result. The exhaust stain was sealed with coat of Model Master Lacquer Flat Clear rather than the semi-gloss used on the whole aircraft.


Whoops! Removing the masking peeled off the corner of the national insignia. A quick masking job and a little airbrushing cleaned that up.


Final Assembly
With the main painting finished, I now go about assembling the final pieces of the kit. The main landing gear slot securely in the wheel wells at the correct angles.

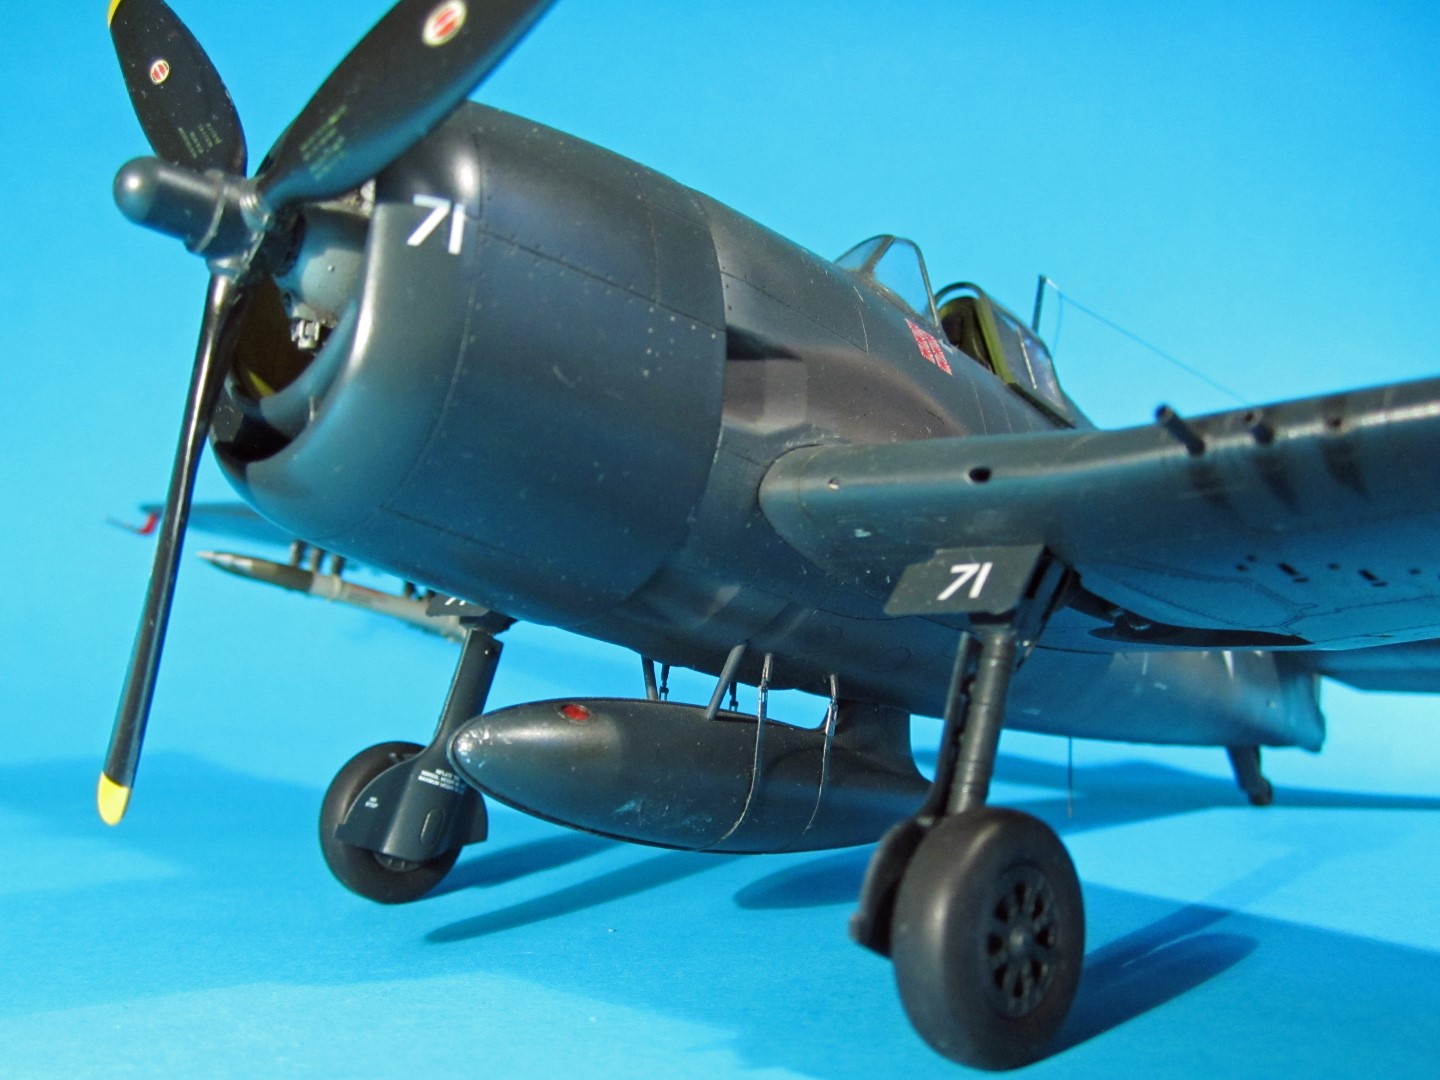
I decided to use the kit’s 5-inch HVAR underwing rockets. The HVARs have the wing hard points moulded to the rocket bodies. One problem with this is the Dash-5 model of the Hellcat had these hard points permanently fitted to the wing during this stage of the war. These hard points are not provided as a separate part. So if the modeller wishes to build their Hellcat in a CAP configuration, it will be necessary to cut the hard points off the HVARs. The HVARs were then pinned to the underside of the wing at the end.

The antenna line between the tail and the antenna mast was replicated with a fine nylon line. A small cut was scribed into the top of each mast with a fine photo-etch saw to provide an anchor point for the line. The IFF and VHF antennas were replicated with 0.25mm diameter brass rod.


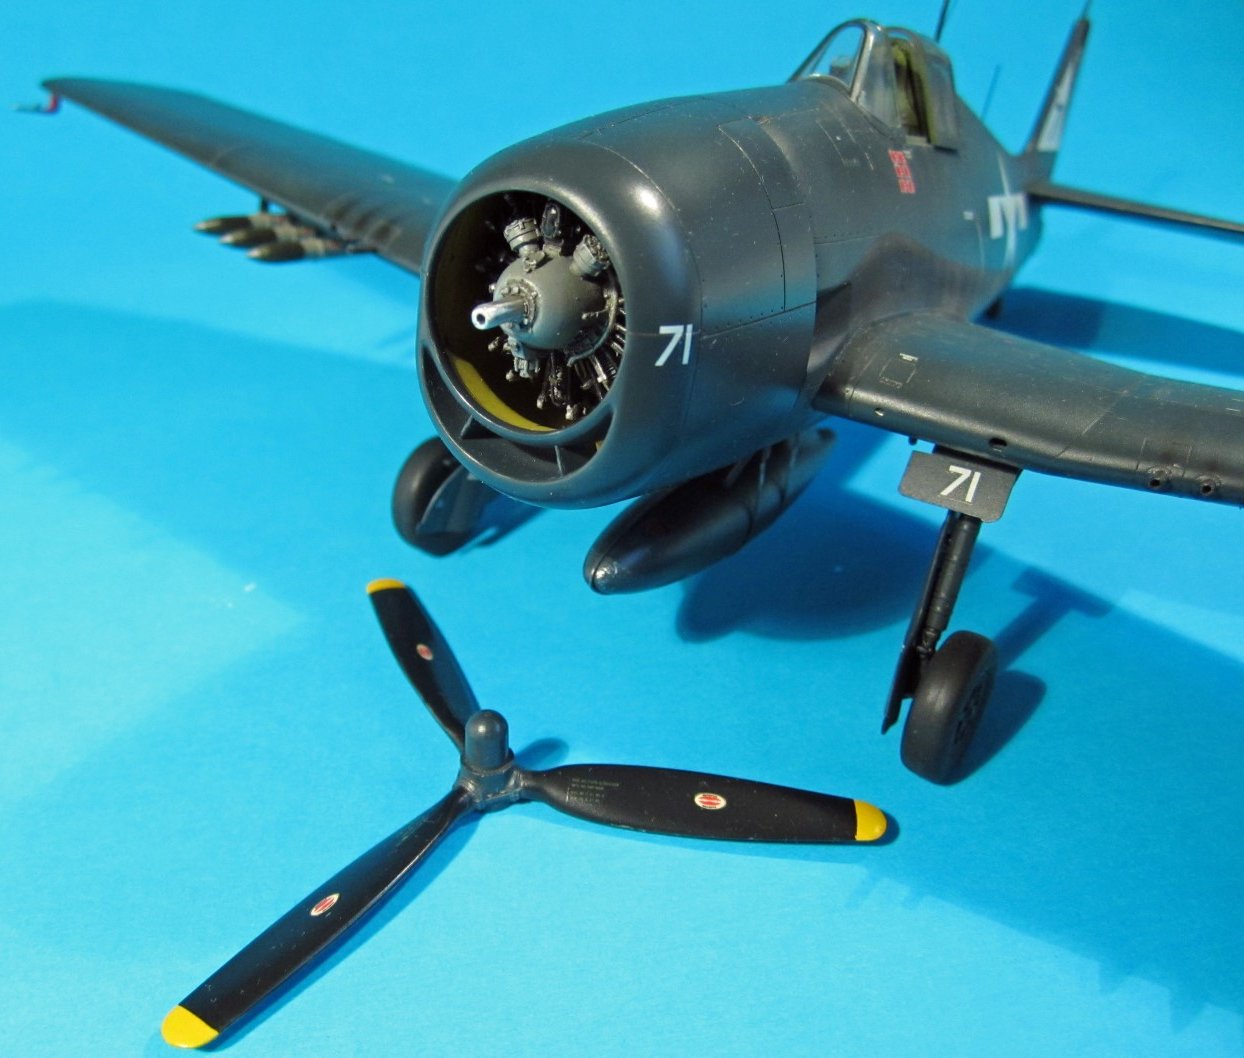
The engine was aligned superglued into position and the 12.7mm machine gun barrels were replicated from 1.2mm brass tube. Three clear lenses, painted clear red, green and amber, are fitted on the underside of the fuselage for the recognition signal lights. Finally the sliding canopy, tail hook and Pitot tube are attached.


Finished
The Eduard Hellcat is well engineered and makes into a very nice kit of the most successful fighter of the Pacific Theatre. The Weekend Edition of the kit provides even the average modeller an enjoyable build, but the foundations are there, along with aftermarket options, if they wish to do more.


Brett Reynolds
Thanks to Eduard for sending us this hellcat kit to build – you can get it at this link from the Eduard Website

References
Aero Detail 17 – Grumman F6F Hellcat (1996)
Dann, Richard S. – Walk Around No.9 – F6F Hellcat (Squadron-Signal Publications 1996).
Kinzy, Bert – F6F Hellcat in Detail & Scale (Squadron-Signal Publications 1996).
Tillman, Barrett – Hellcat Aces of World War 2 (Osprey Publications 1996).