


Construction review: Lanchester Armoured Car 'Russian Service'
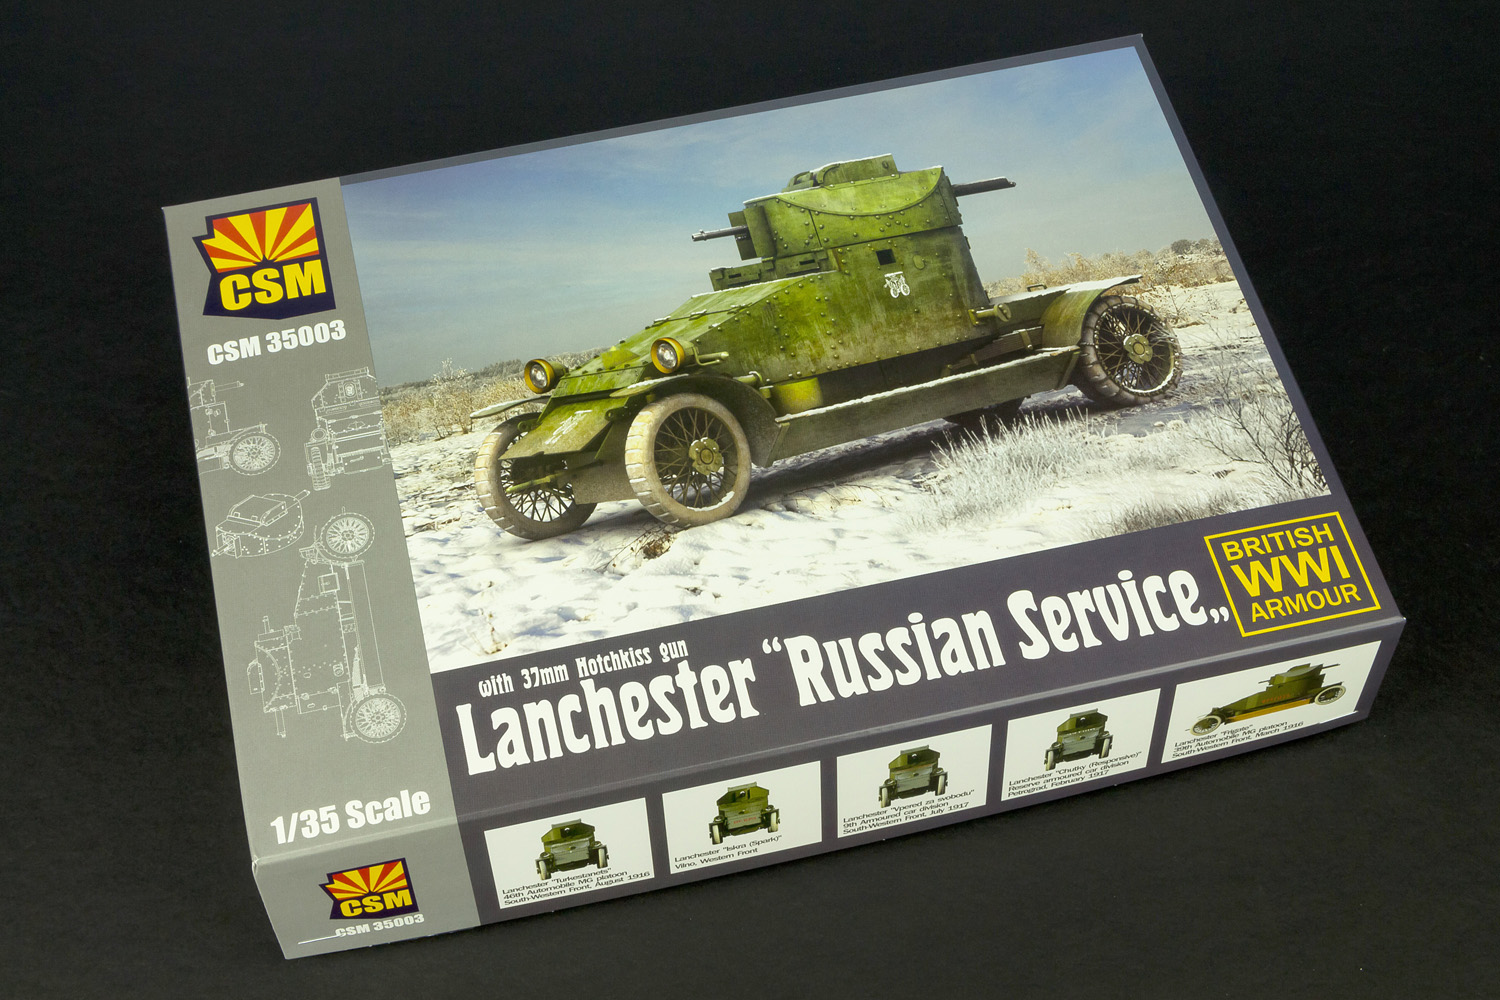
Manufacturer – Copper State Models
Kit Number – CSM 35003
Scale - 1/35th scale
Available on pre-order from the Copper State Models Website Link
Previously in this series on TMN:
Construction Review: 1/35th scale Lanchester Armoured Car 'Russian Service' from Copper State Models
Today: Painting, weathering & finishing 1/35th scale Russian Lanchester Armoured Car 'Russian Service' from Copper State Models
Lanchester Armoured Car 'Russian Service'
A couple of weeks ago I built Copper State Model's new 'Russian Service' version of their 1/35 Lanchester armoured car and, like the original release of the Lanchester, it was a fun and fast build. Time now to get it painted up and finished, and the first step was to clean up the individual components with a quick wipe over with isopropyl alcohol to remove any dust or grease that had accumulated during the build.

CSM list the most likely colour for the Russian Lanchesters as Khaki or Moss Green. Since I had a bottle of AMMO Moss Green to hand, that seemed like the obvious paint to go with. Before getting on to the main base coat though, I laid down a shade coat mixed from Gunze Grass Green and Black. This was applied quite loosely, acting partly as a primer coat and partly as a pre-shade.

With the shade layer dry, I moved on to the main base coat, using the AMMO Moss Green, which comes from their WWI British Colours set (A.MIG 7111). This was applied as a fairly solid coat, but I let some of the previous shade layer show through to add some tonality to the finish. The paint was kept fairly thin, mixed with Gunze Self Levelling thinner to a ratio of about 2 parts thinner to 1 part paint, allowing the colour to build up gradually.

I wanted to show a faded, weather-beaten finish, particularly on the upper surfaces, to give the impression of a vehicle that had seen extensive use while exposed to the elements. TO start with I added some subtle mottling and streaking to the top and sides of the vehicle using Gunze Hay Color mixed with a little gloss clear. Adding the clear makes the paint a little more transparent, which helps keep the effect subtle. It also leaves a smoother, glossier finish for the decals and weathering stages later on.

A further fading layer was then applied, again using the Gunze Hay, but with a little Chromate Yellow added to lighten the colour further. This layer was restricted to just the edges on the upper surfaces. At this point, the model probably looks a little too light, but the subsequent weathering steps will darken the finish again.

Although I'd been mixing some clear gloss into paint during the previous steps, I still added an over-all gloss coat before applying the decals. These went down flawlessly, with no hint of silvering or carrier film showing, which is no real surprise given that they're printed by Cartograf. At this stage, I also started to paint in some of the smaller details. A dark brown was used on the suspension and running gear, while the headlight reflectors were picked out in chrome silver, with the bezels finished in brass.

To add to the faded look I'd represented during the painting steps, I wanted to add some paint chipping, particularly around the rear deck where the crew would enter and exit the vehicle. I started this step with a pale green acrylic, mainly applied with a fine pointed brush, although I used a sponge around some of the panel edges too. When doing this kind of work, you need to keep the paint quite thin, but don't over-thin it or the paint will lose opacity and the chips won't show up. It's often helpful to add a drying retarder to the paint as well, to keep it workable for longer.

Once the pale green was dry, I switched to a dark brown shade and added finer chips within the borders of the previous chips, leaving some of the green showing around the edges. When applying chipping, it's important to think about which areas of a vehicle would be most heavily used and thus show the most wear and tear.

The next step was to bring some more tonal variety to the paint finish. To do this I used various acrylic shades mixed with glaze medium. The glaze medium reduces the opacity of the paint, allowing it to be used to subtly tint underlying colours. This is broadly the same effect that an enamel filter will produce, but I prefer the glaze medium as it can be used with any acrylic colour you want, giving huge scope to the tonal effects you can create – by contrast, most enamel filters tend to be shades of brown.

I used various green and brown shades for the glazing steps, leaving a far more varied tonal finish to the model. It may look a little exaggerated at this stage, but further weathering will tone down the appearance. At this point, I'd also added the front fenders, which I'd left separate until now so I could better access the areas behind them for painting and weathering. The, as yet unpainted, unditching boards were temporarily slid into place to hold the fenders square while the cement dried.

All those previous steps had left the Lanchester with some tonal variation at this point, but the finish was starting to look a little soft and lacking in fine detail. To remedy that, I switched to an enamel wash, AMMO Streaking Grime in this case, thinned it slightly with enamel thinner, then applied it to the body panels with a sponge. This left nice, random dirt patterns over the vehicle which helped to break up the softness in the paint finish. This kind of fine detail weathering can really help to sell the scale effect on a model.

Other washes were used to add stains and discolouration to the bodywork, paying particular attention to those areas where dirt would be likely to accumulate, such as the roof around the turret ring. By thinning the washes and building the effects up in layers, the effects will look far more realistic than one single heavy application.

A little mud splattering was added under the fenders and around the chassis, mixed from earth coloured pigments and enamel washes, with a small amount of plaster of Paris added to give the mixture more body. This was applied by flicking the bristles of a loaded brush against a wooden toothpick.

The same mud mix was thinned and used to weather the wheels. The mixture was painted over the tyres and wheels hubs, then the excess wiped away leaving the mud around the rims and in the tyre tread. More of the mix was splattered over the spokes and sidewalls to soften the effect. The tyres here are painted in a dark rubber shade. The painting guide shows white rubber tyres but, for the most part, carbon rubber had replaced the early natural rubber tyres by the late war period. Either tyre type would be possible though, so it's best to make your choice on aesthetic grounds.

The last few details could be added now. The unditching boards were base coated in a medium brown tone, followed by some dark brown washes to highlight the grain texture I added to the boards during the build.

These were slotted into place between the fenders and secured with PVA. I re-mixed the mud wash and added some splattering to the lower sides of the boards.

I'd left the guns separate during the build to make then easier to paint. They were sprayed with a dark grey, then given a light buff with graphite powder to give them a slight metallic sheen. They could then be easily installed through the bottom of the turret.

One final little detail was added to spice up the build a little. A small stowage bundle was created from PVA-soaked tissue paper and a few short lengths of styrene rod. The rods were glued together, and the tissue wrapped around them. The bundle was then tied up with thin cotton thread.

The bundle was painted and given a few washes to dirty it up a little, after which it was tucked down between the unditching board and the chassis. It's only a small detail, but it helps bring a little extra life to the finished model.

And that wrapped up the build of CSM's Russian Lanchester. The previous version was one of the models I enjoyed the most last year, and I've no doubt I'll feel the same about this one too. It goes together without any real issues and, although it's a relatively simple kit, there's enough detail here to make most modellers happy. For those who want to add an extra level of refinement, CSM, photo-etch set and other accessories and figures will give you that. I'm sure there are probably a few WWI aviation modellers who wish this, and the previous release, were in 1/32, but speaking as an armour modeller, I'm very happy to see these kits in this scale, and I'm looking forward to seeing what CSM come up with next.


A comparison with the earlier
Lanchester kit we looked at here on TMN from CSM

Highly recommended
Andy Moore
This new kit of the Lanchester is available directly from Copper State Models as well as their distributors worldwide.Thanks to them for sending this kit to Andy to review & build.
