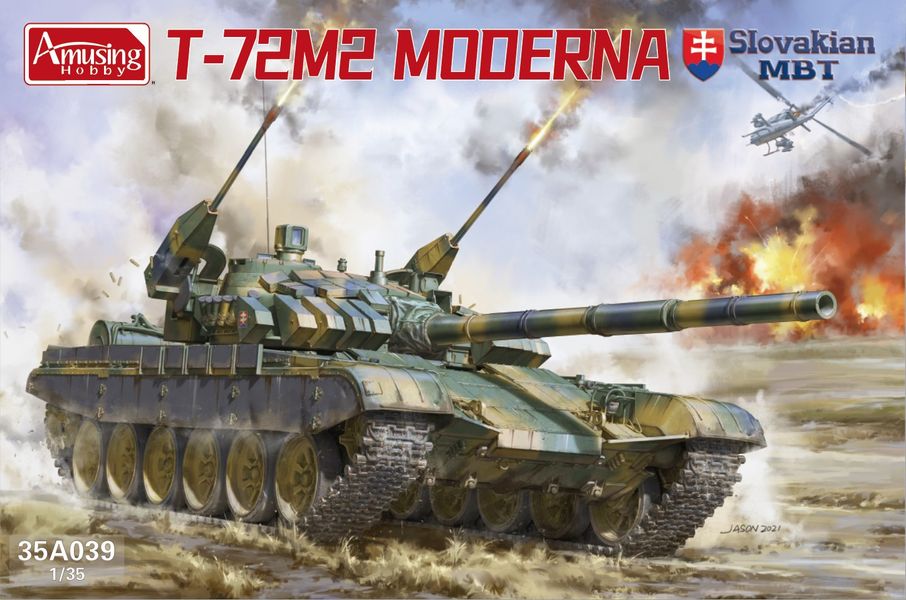
Lukas is a proud man from the Czech Republic, so when he was offered the new Slovakian T-72M2 MBT from Amusing Hobby he immediately set to work - converting it to a Czech M1 version😆. We have seen how the tank goes together, now for the finishing touches, decals paint & weathering in part II of his build review...
Build Review Pt I: T-72M2 Slovak Moderna MBT.
From Amusing Hobby.
1/35th scale.
Kit No #35A039.
Injection moulded plastic kit.
Photo-etch included.
National markings for Slovakian versions are included in the box.
Today Part II: Time to Czech T-72 Out…
It has been some time since I finished the tank itself so let’s sum it up what has become rather pleasant built and for me a perfect subject to trial some new techniques here and there…
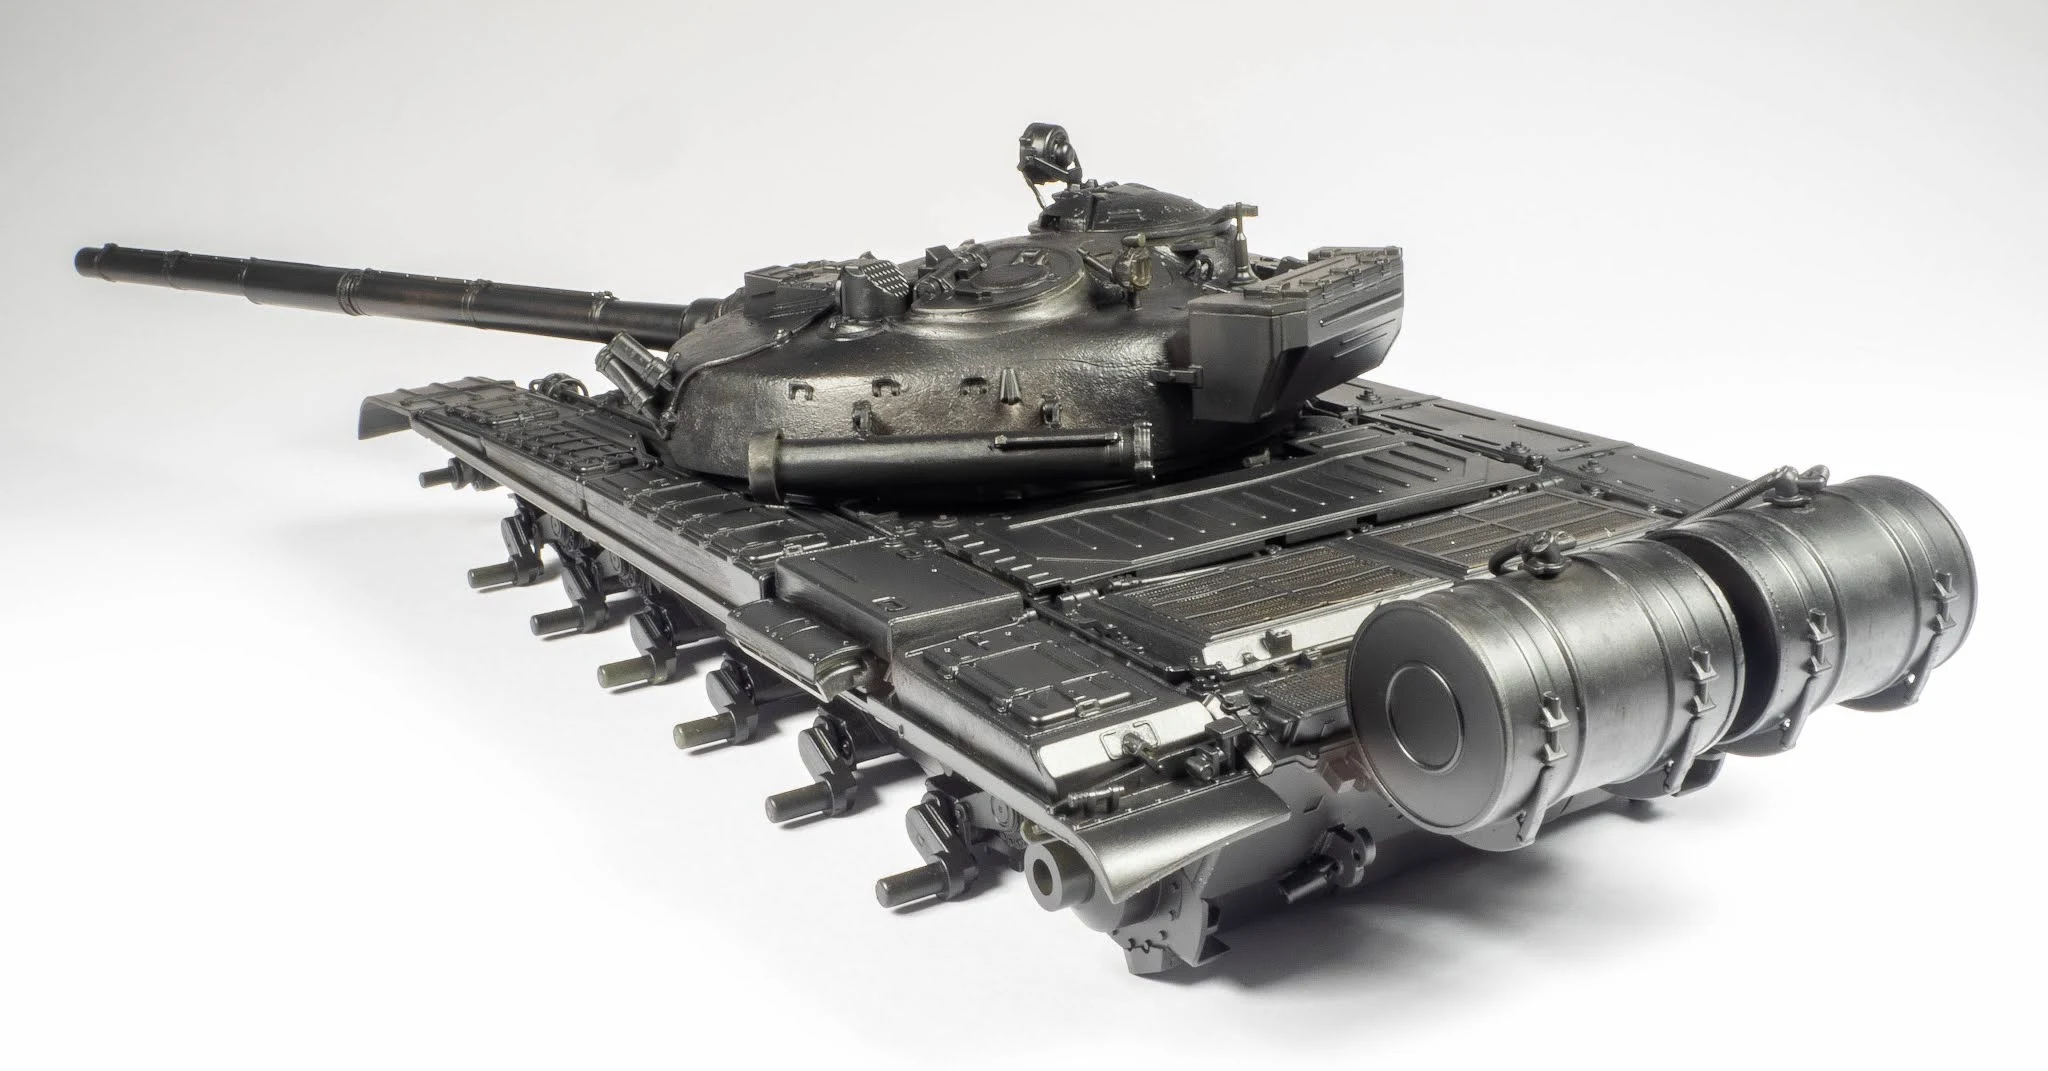
I used black primer to equalize the surface...
First of all was to apply black surfacer, something that I have now added to my regular way of things to do prior camouflage colours.
This brings to the surface any irregularities in the putty and paintwork.
The even surface also shows me a little of where I need to lighten and darken later on in the paintwork...
It looks pretty good to me, I can move on to the rest of the job...
The wheels and undersides were painted separately before adding the mudguards and then masked. Probably didn’t need to do this given the amount of mud and dust added in later stages.
For good feeling I guess!
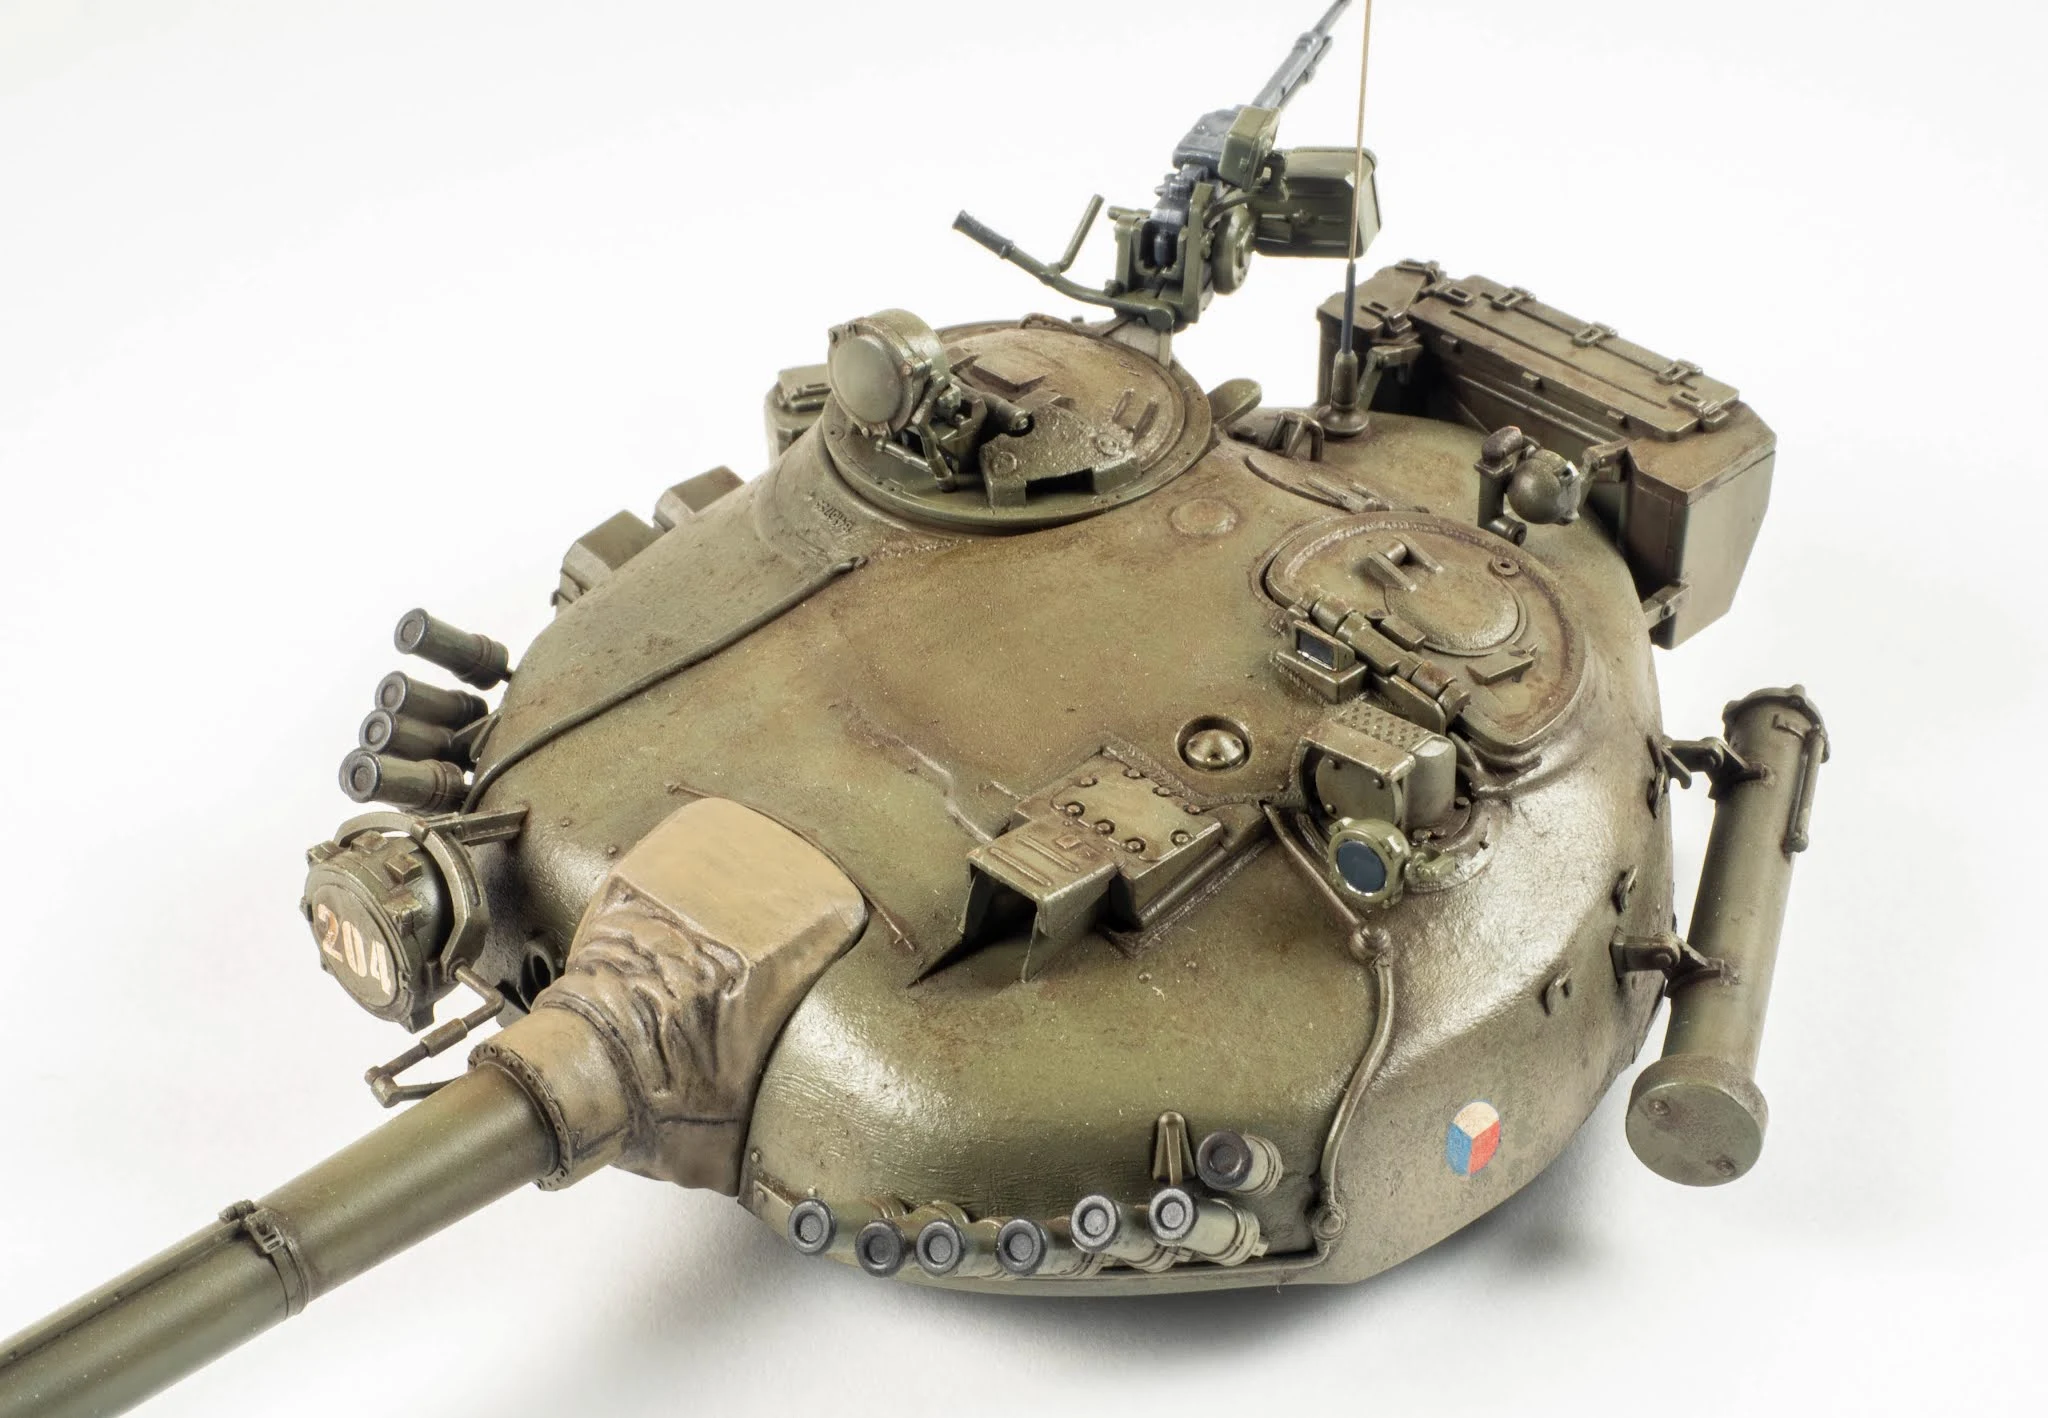
Choice of colour landed on MRP. Specifically on Khaki CSN 5450 which will probably unify my future collection of Czechoslovak armour that will join this T-72. First layer is ideal for further lighter shades of Khaki.
Shading in progress and rubber skirts still waiting for paint.
The general "look" of the T-72 is all there already in this view...
The rear gas tank sets it all off too...
When I was happy with the amount/level of shades on the model I used lighten the base colour to add some chipping. Many of which will disappear later anyways…
In the meantime decals were applied and side skirts painted using Vallejo dark grey and hand brush. And first layer of oils applied to imitate the grime and dirt.
Some extreme grease trials in comparison to surface prior oils application
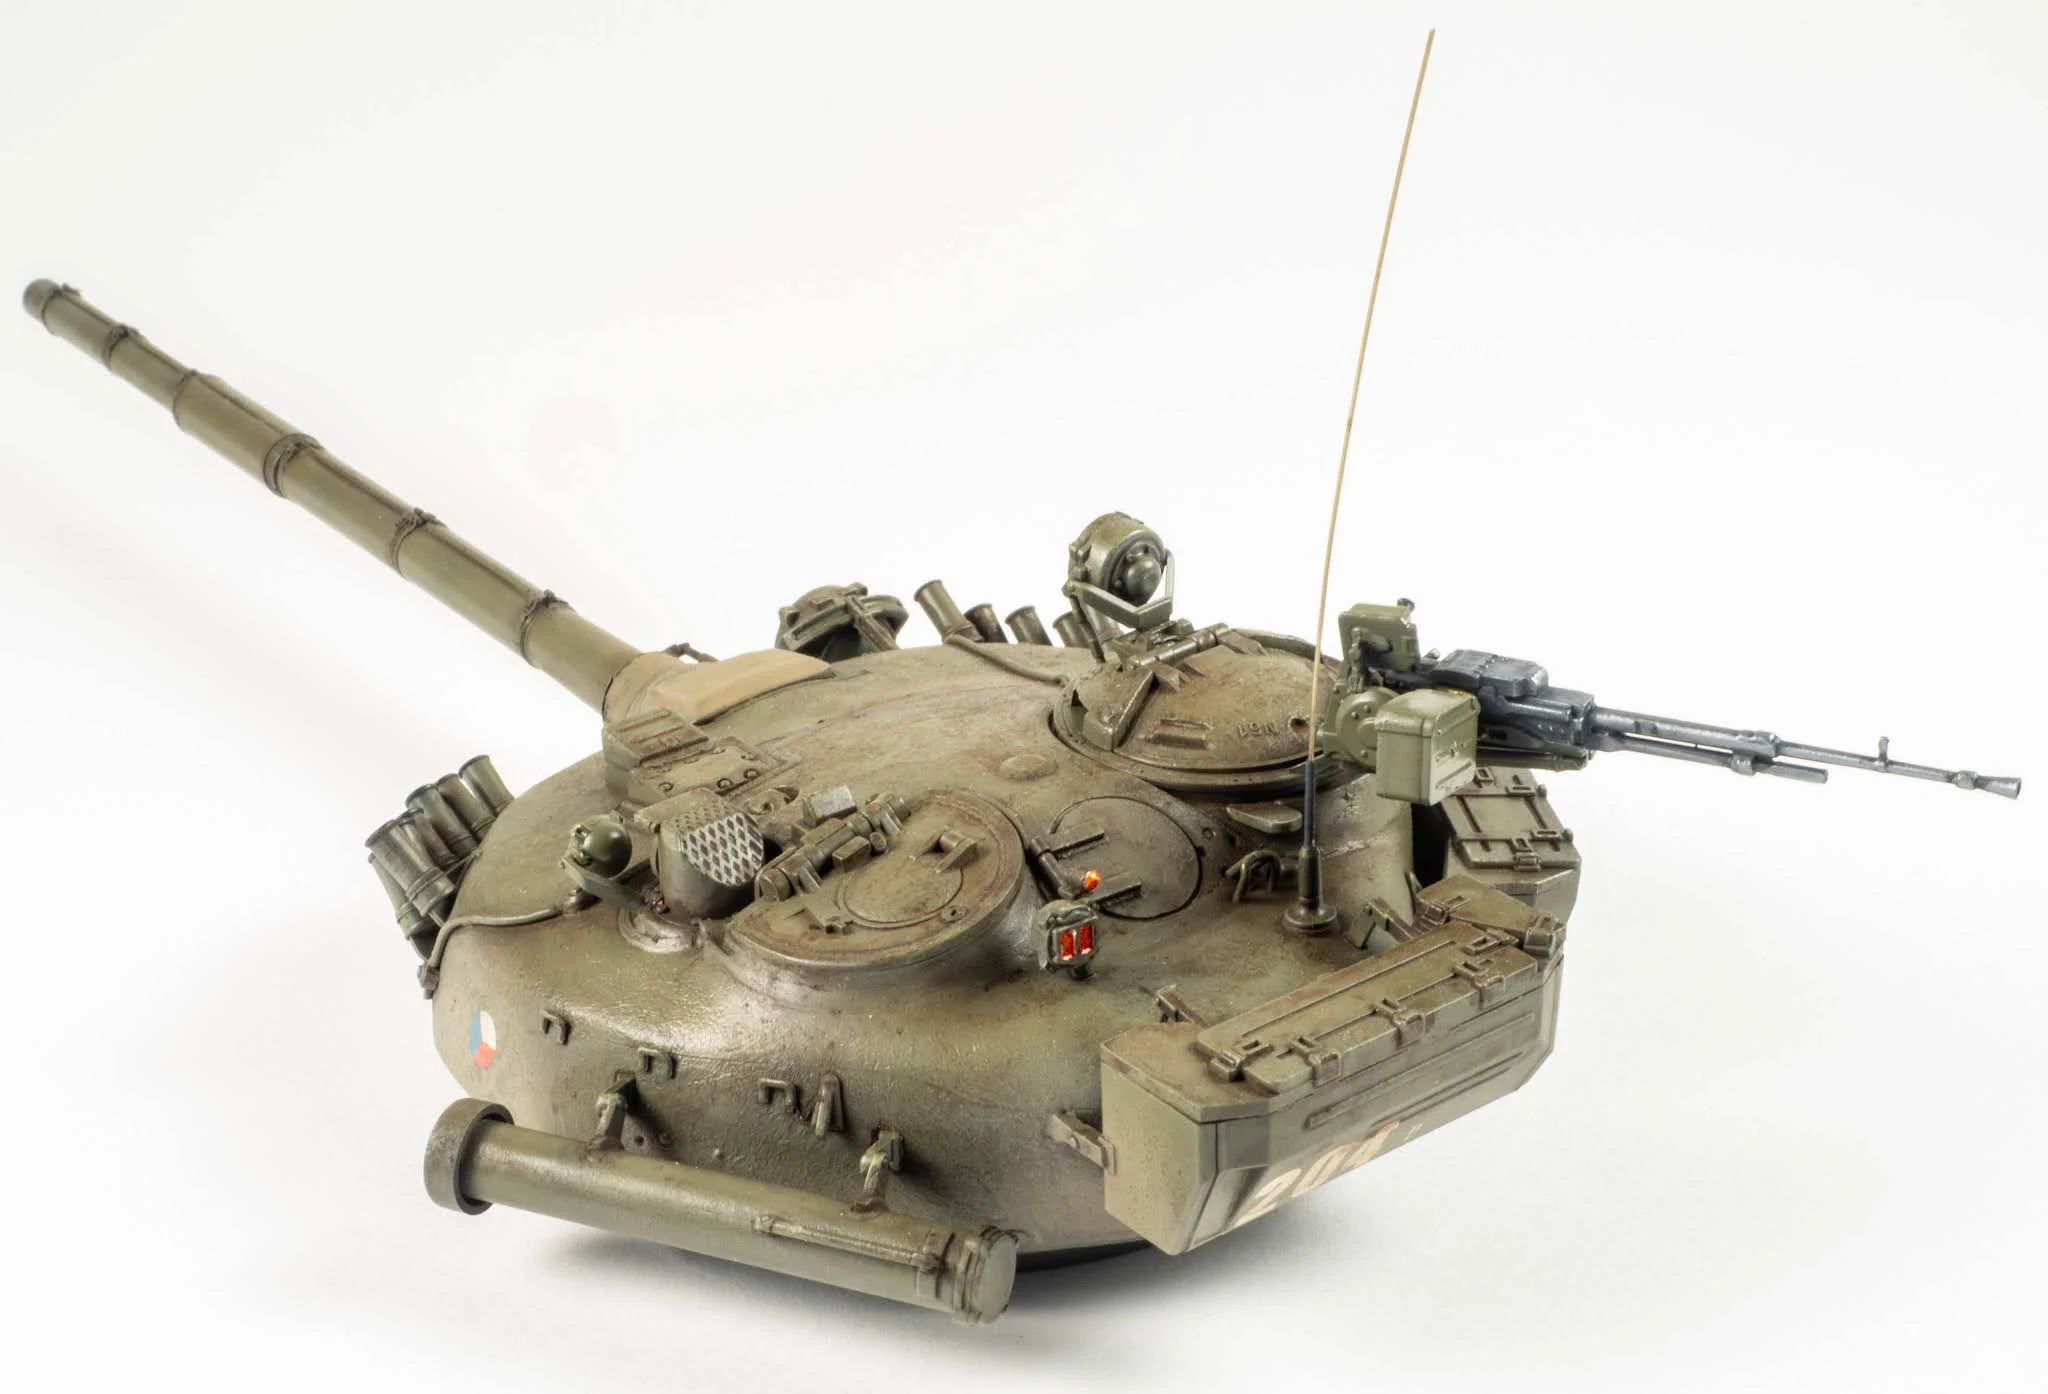
All details were hand brushed using Vallejo paints. Rather an easy task on this tank I reckon.
At this point, I decided to try this so called pre-weathering and I am rater happy with my earlier not so focused paint job on the wheels and anything else behind the mudguards.
When I had all the mud on next move was to try terrain. Quick mock up gave me the first impression of how it will sit in the end.
Dusting achieved light coat of Tamiya’s buff over chipping fluid and then some splattering was added using thinned enamel paint flicked from a paintbrush.
The only aftermarket item used on this built is the gun barrel. Well worth the investment. Mantlet cover was once again painted Vallejo and then wash was applied in crevasses. Dry brushed the raised bits and at that point, I was quite happy with results.As it was rather spontaneous decision to try some kind of terrain, various kind of materials, mainly available at home at the time, were used and one new tool purchased - static grass applicator. I always thought about giving go but it wasn’t until I found a great tutorial on the internet, particularly Youtube and Nightshift channel, I found enough courage in me to actually proceed.Many learnings still remain for the next build. But creating mud paste using (actual) very fine dirt and sand mixed together and peppering small pieces to imitate rocks and stones definitely brings a lot of satisfaction as the painting process goes.
The log was enhanced with mix of putty and extra thin glue from Tamiya to add more “wooden” texture. Mud and dust are applied using a paint brush loaded with paint and flicked through with tweezers.
Conclusion
Great kit. If you are looking for something straight out of the box It has everything you need.
By no means do I call myself a T-72 specialist so I won’t say how accurate it is, but I can see T-72 when I am looking at the pictures of creation.
Final pictures.
Most important of all is that I enjoyed the built.
Lukas Kasuba