


Build review Pt II: V-1 Flying Bomb w/ Interior from Takom
From Takom
1/35th scale
Kit #2151
Designed in collaboration with Snowman Studio.
4 marking choices are included in the kit
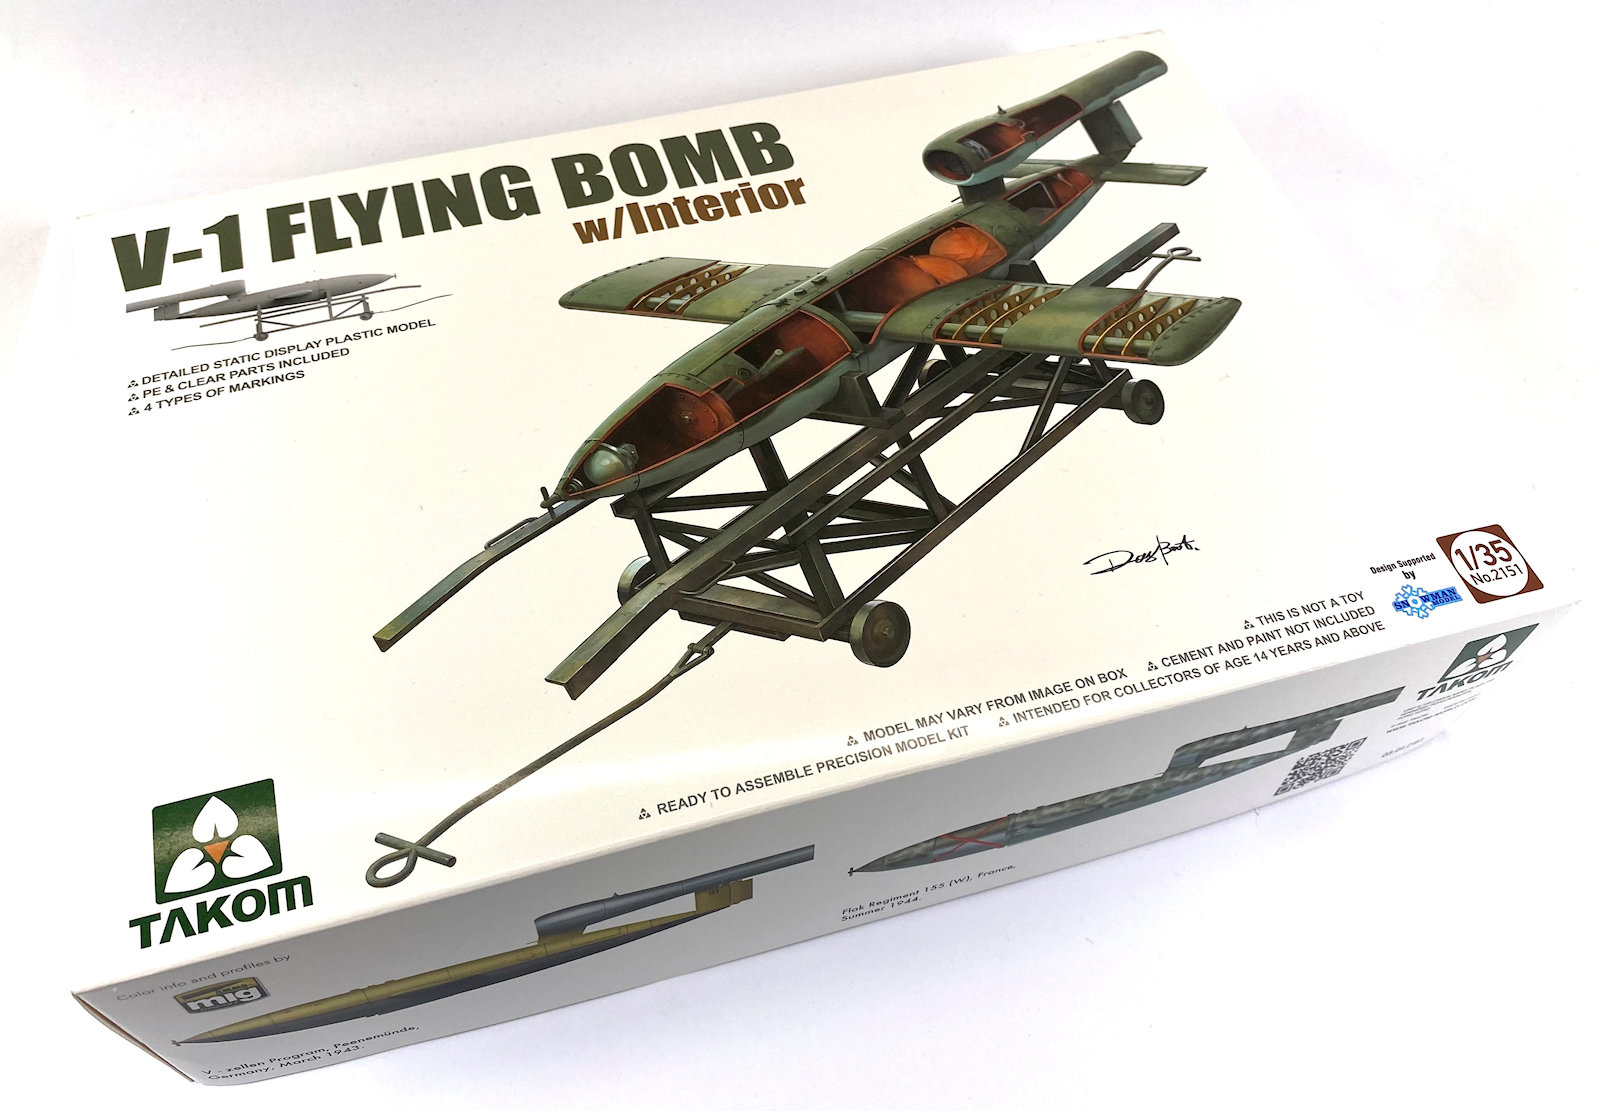
In-boxed: 1/35th scale V-1 Flying Bomb w/ Interior from Takom
Today:
Build review Pt II: 1/35th scale V-1 Flying Bomb w/ Interior from Takom
I did an in-box review of this kit a few weeks ago. As mentioned, the kit looked reasonably straight forward so I was hoping for a trouble free experience with the view to possibly posing it sitting on the trolley in a small vignette.
 You may recall I was critical of the lack of interior detail and had made the decision early on that I wouldn’t be posing the model showing any of the interior. I will however, for the sake of the review, build the interior sections so you can at least see what is on offer.
 The interior pieces were prepared. As you can see, detail is very light on and is barely acceptable if you were planning on showing the innards of this model.
 The mesh intake for the rocket section would benefit with an etch grill. Given it will be quite dark in this area once the pieces are assembled I was hoping the kit supplied piece would be acceptable once painted and weathered.
 The large rod is the pole that sits perpendicular to the body of the missile and will hold the wings in place. The disc sections are the walls of the fuel compartment.
 The interior sections of the rocket were painted using a burnt exhaust colour – a brown-black custom mixed from lacquers. Painting at this stage is a quick and easy process. Trying to get coverage in this section once the parts are assembled would be just about impossible.
 The interior pieces are now fitted in the body of the missile. One of my criticisms of the kit was the lack of interior detail and seeing the pieces now fitted it justifies my fears. Of course, you could improve the look with some lead wire and some scratch building…but to get an accurate representation of the interior would take a serious amount of research and work.
 As an example of the level of detail in the auto-pilot mechanism can be seen in this image. When you compare that against the assembly in the model, I think you would agree that it just doesn’t stack up.
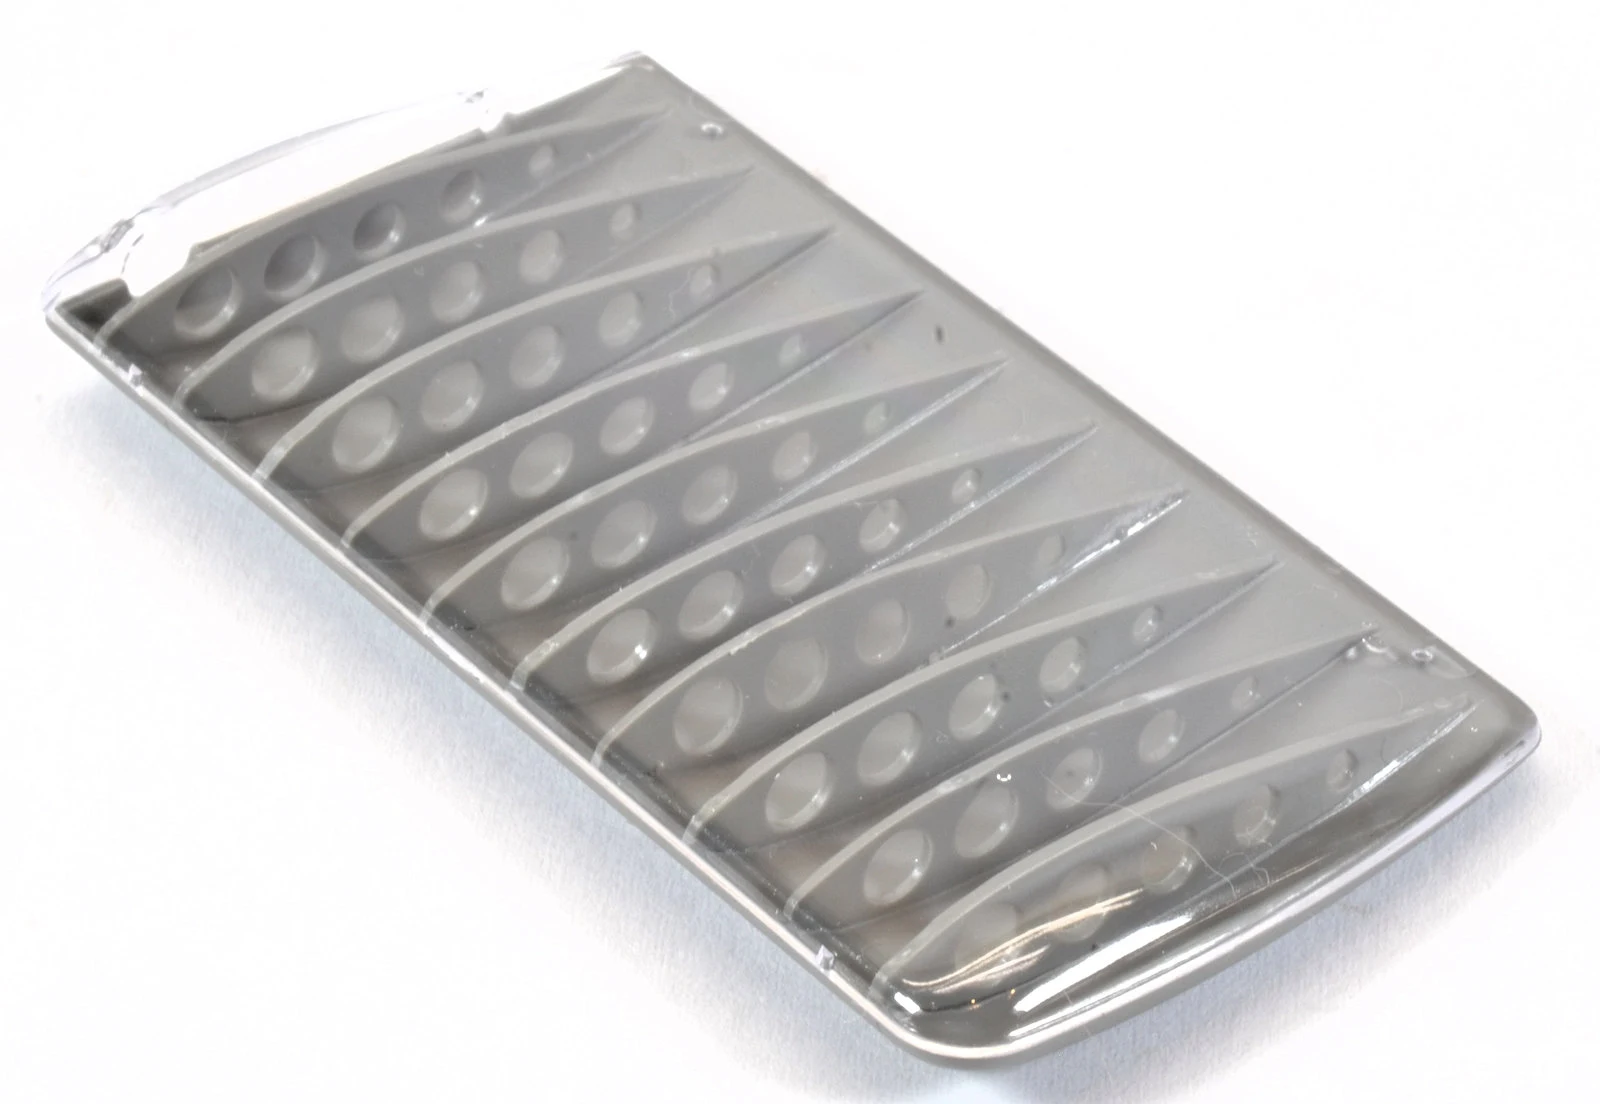
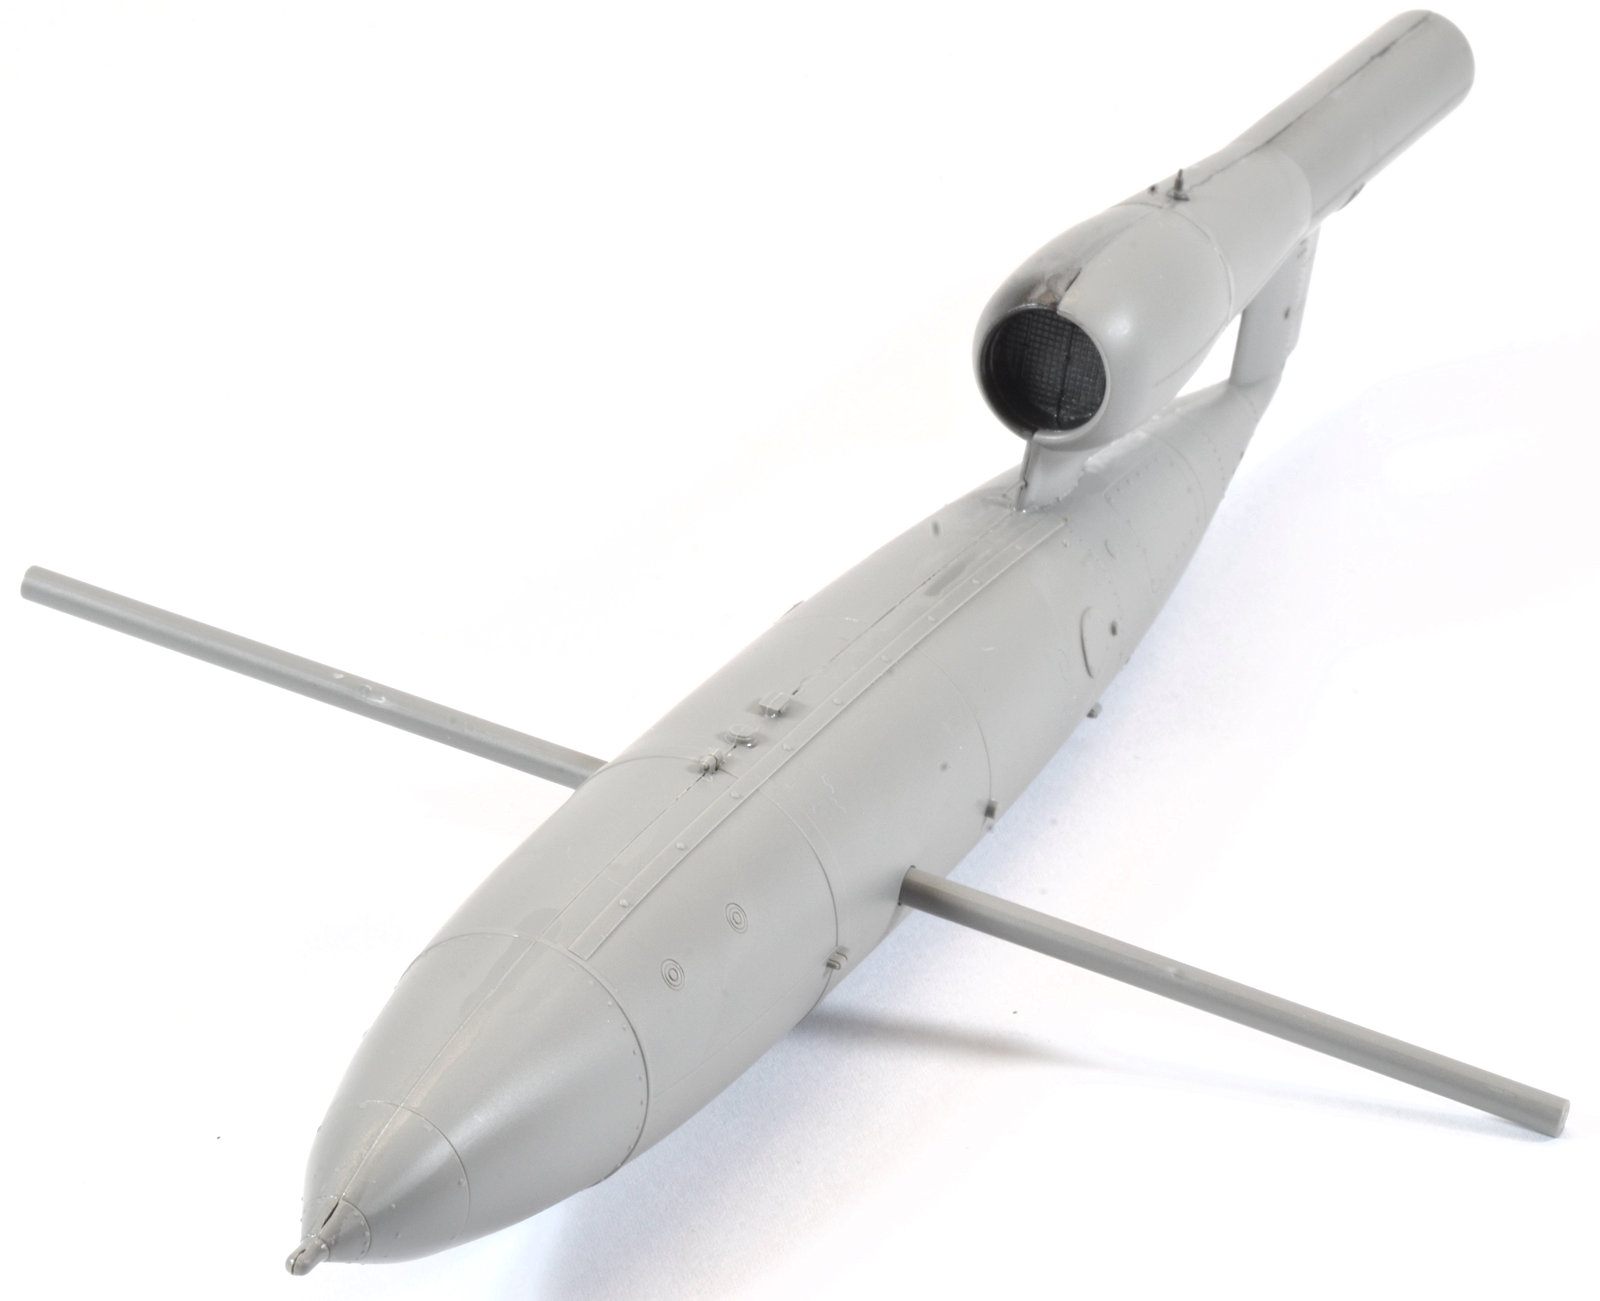
 The kit comes with the top halves of the wings and the left-hand side of the body as a clear section as an option should you wish to build the model that way. The clear pieces have no panel or rivet detail. I have dry fitted the part for the sake of the review. The clear parts are some of the clearest I have ever seen.
 Like most aircraft kits, the main assembly had a seam line running through the centre line of the body. The gap was filled, sanded and painted with a coat of primer to check the finish.
 A small maintenance hatch for the rear of the missile is provided. It is a shame it just sticks over the top of the part and it isn’t a section that could be posed open. In saying that there is nothing inside to see anyway, but the controls for the elevators and the rudder would be in this area, so it seems like a bit of a missed opportunity.

 Fine rivet detail was also lost during the filling and sanding process. This was replaced using a punch and die set and lead foil.
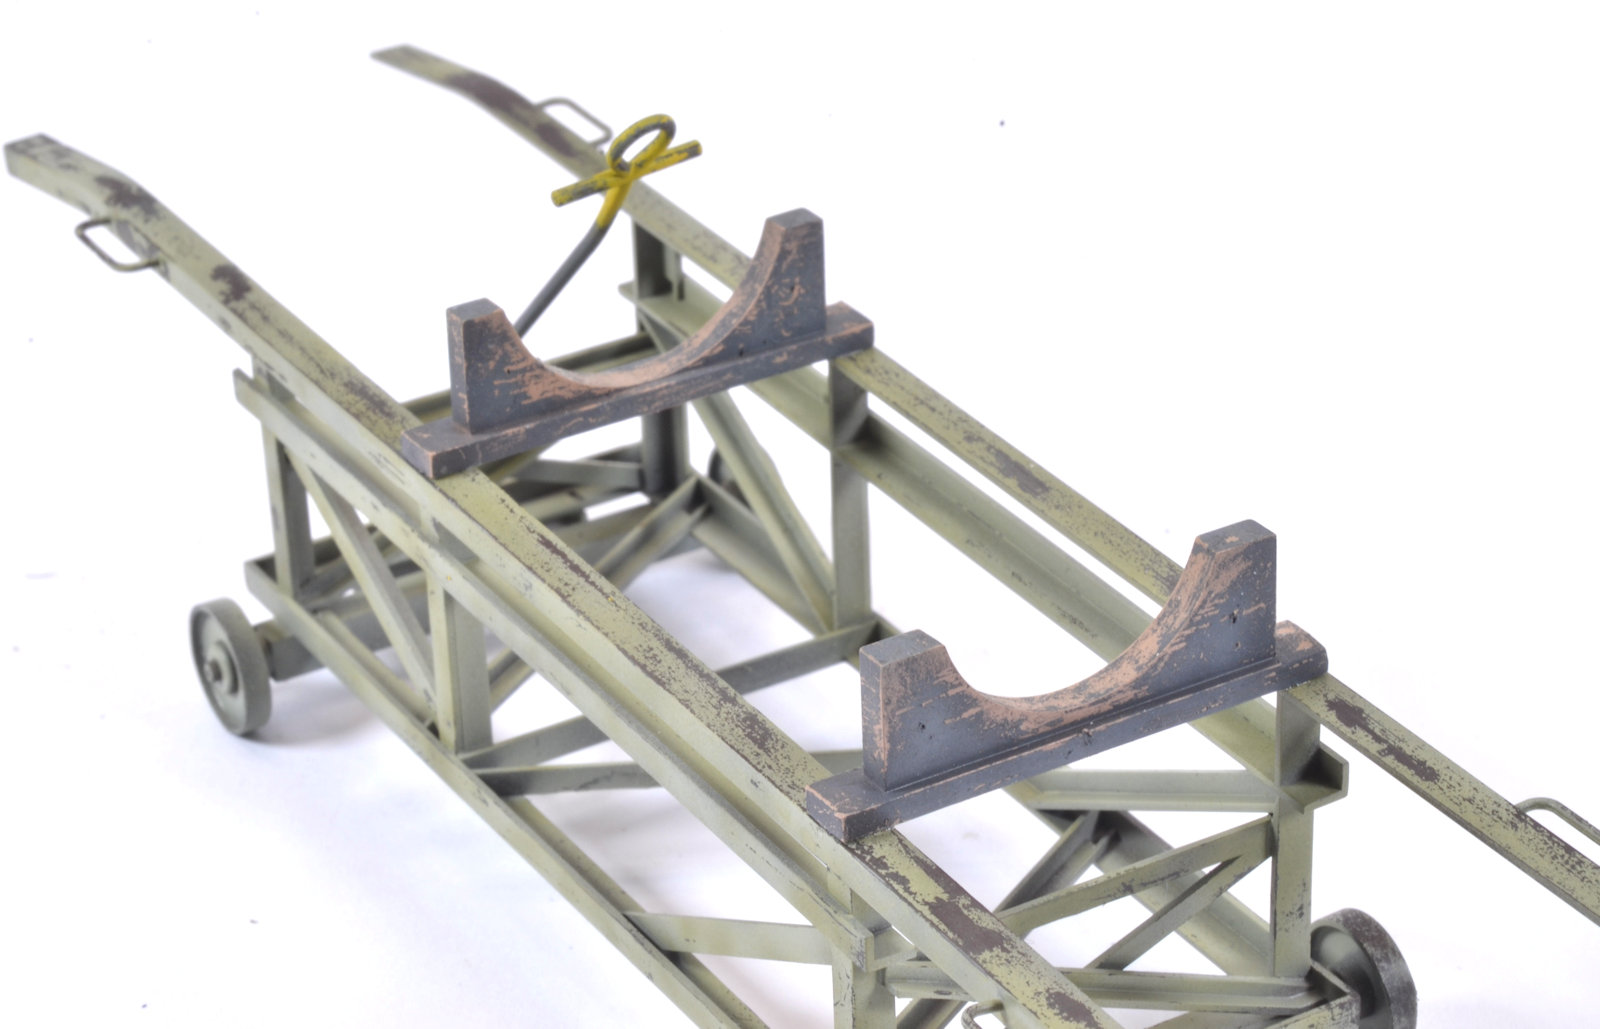
At the risk of spoiling the surprise…you can see the finished trolley in the picture, so I’d better back track a little and cover the construction of this little gem.
 So to back track a little, construction for the framework of the trolley is simple and goes together in a matter of minutes.
 The wheels and grab handles are attached and glued in place. The wooden arc supports are dry fitted to test fit. These pieces will soon be removed for painting.
 I wanted to present the trolley in a well-used and beaten-up condition. The chipping colour was created using a mix of Alclad and SMS Lacquers.
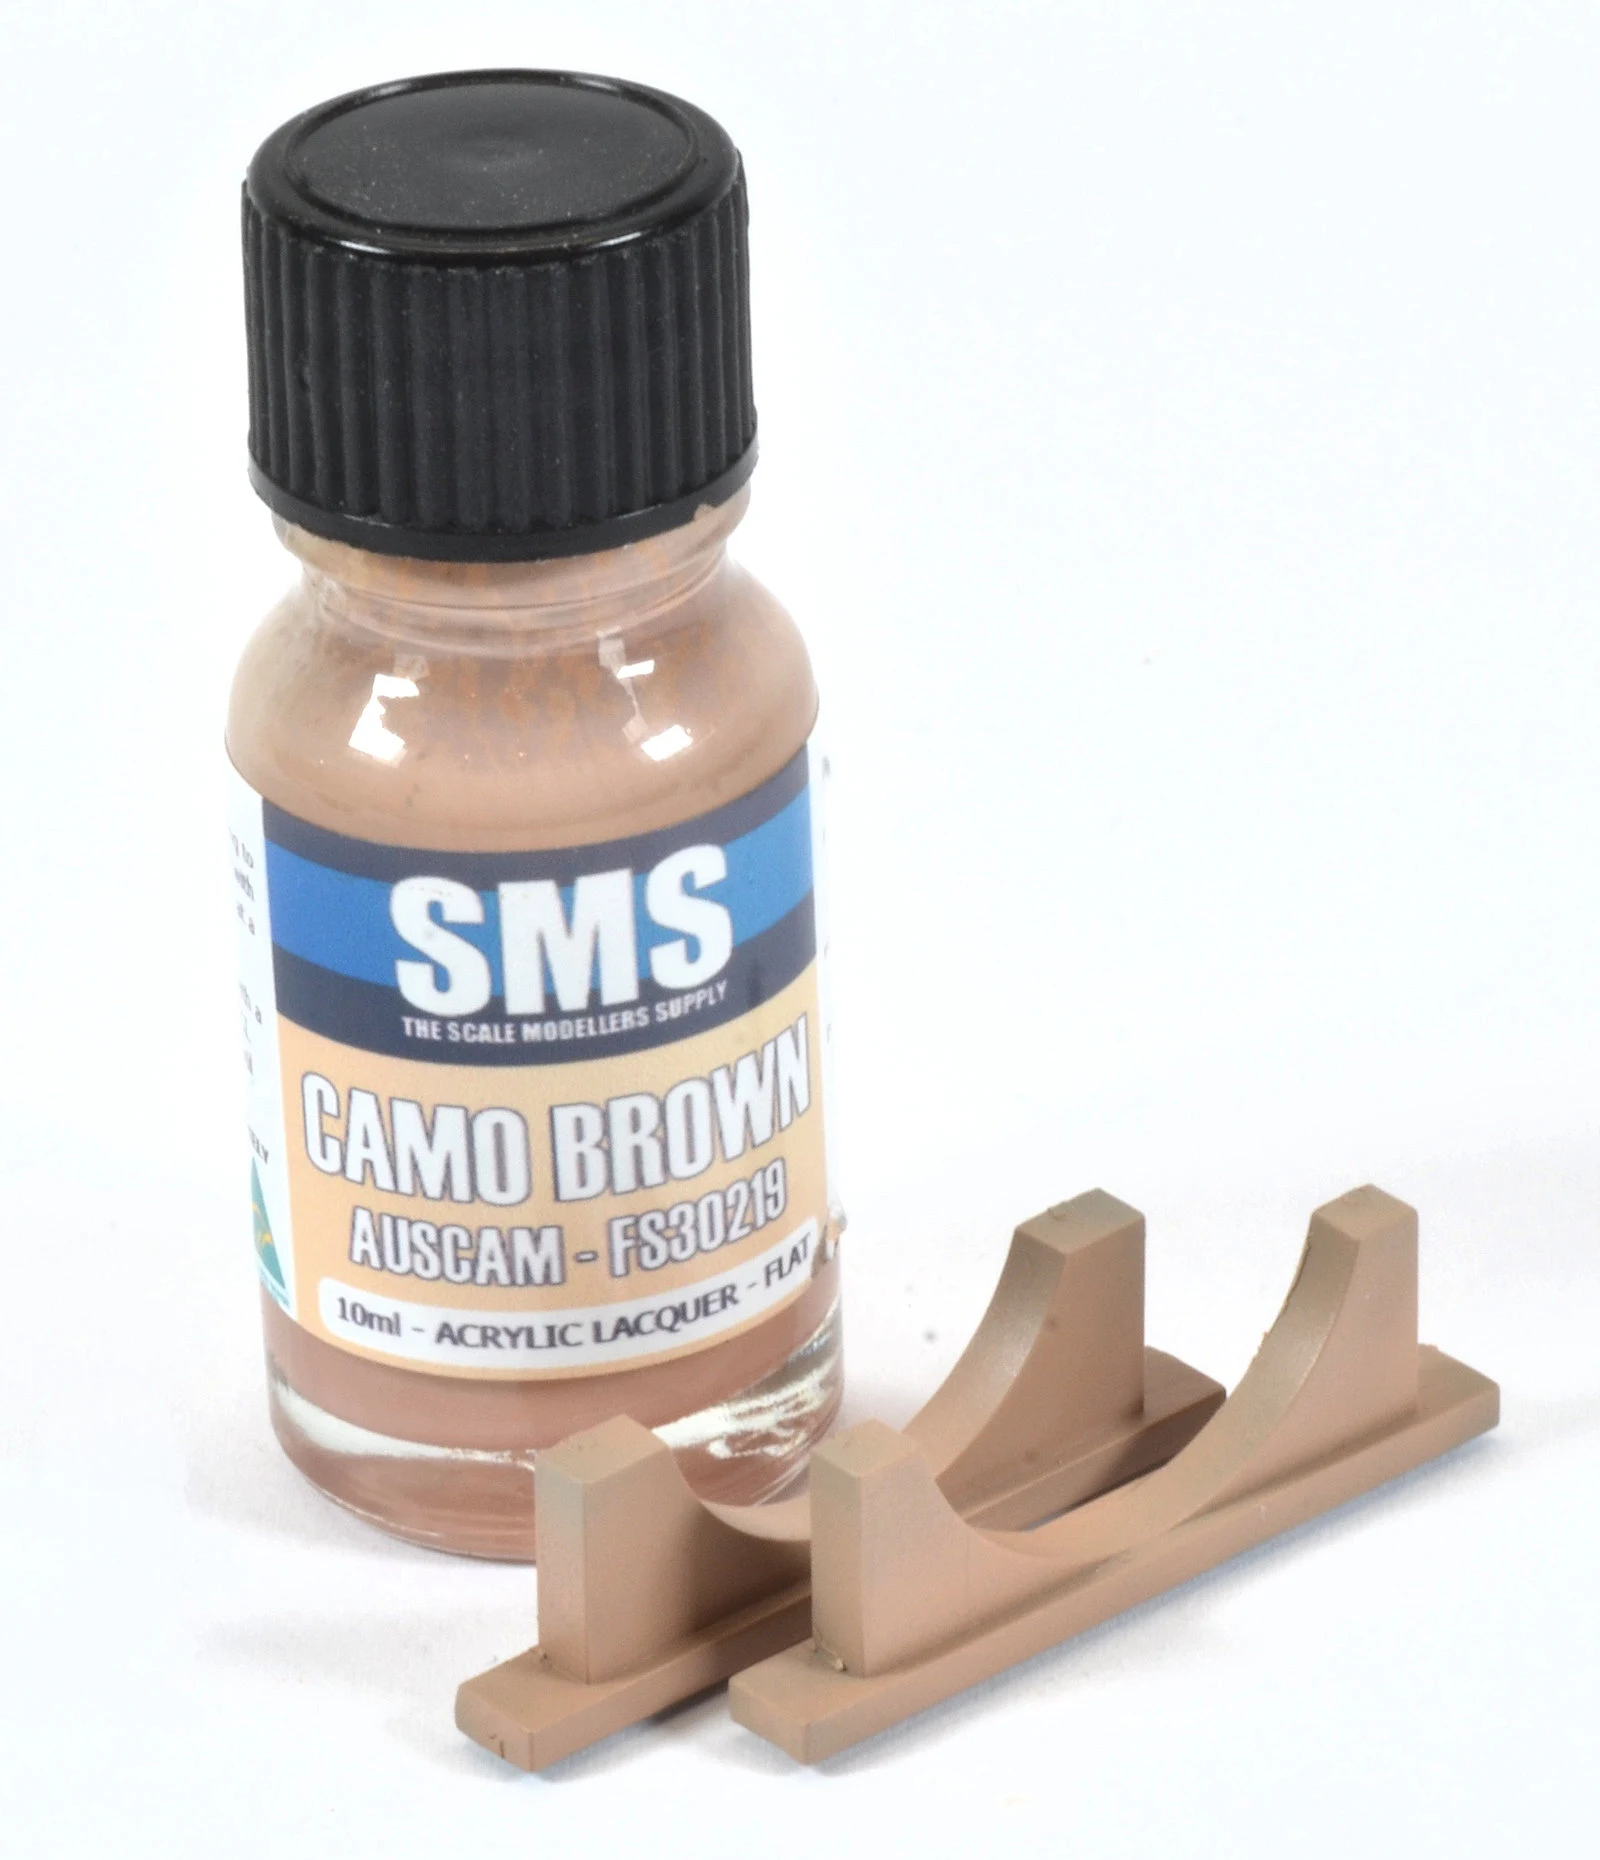
 The wooden supports were base coated in Camo Brown from SMS. This would represent the colour of chipped wood.
 Once dry, the assemblies received two coats of hairspray and were painted in the appropriate colours. Even though the instructions called for the trolley to be painted grey, I wanted to do something a little more interesting and used a desaturated green colour. Almost immediately after the top coat was applied, an old brush moistened in tap water was used to start removing the top layer of paint to reveal the chipping colour.
 The timber sections received the same treatment. However, I was mindful if trying to simulate the grain in the timber and how paint may chip from that.
The handle was subject to the same techniques. I painted the handle section yellow just for a little bit of a colour pop. I have no indication that it was actually a thing.
 The trolley was finished off with the addition of a sculpted tarp added to the underside frame. The edges of the wheels that would contact the ground were painted in Lead belcher from Citadel and shipping was added to the edges of those sections using a sponge and German Black Brown from Vallejo.

 Back to the V1! The model received an all over coat of Mr Surfacer and then pre-shaded using Tamiya flat black. Pre-shading is a technique I had drifted away from of late, but there is something meditative about the technique, so I think I’ll be employing it more often moving forward.
 A light coat of SMS Hellblau is applied, being careful not to lose the subtle pre-shading from the previous step.
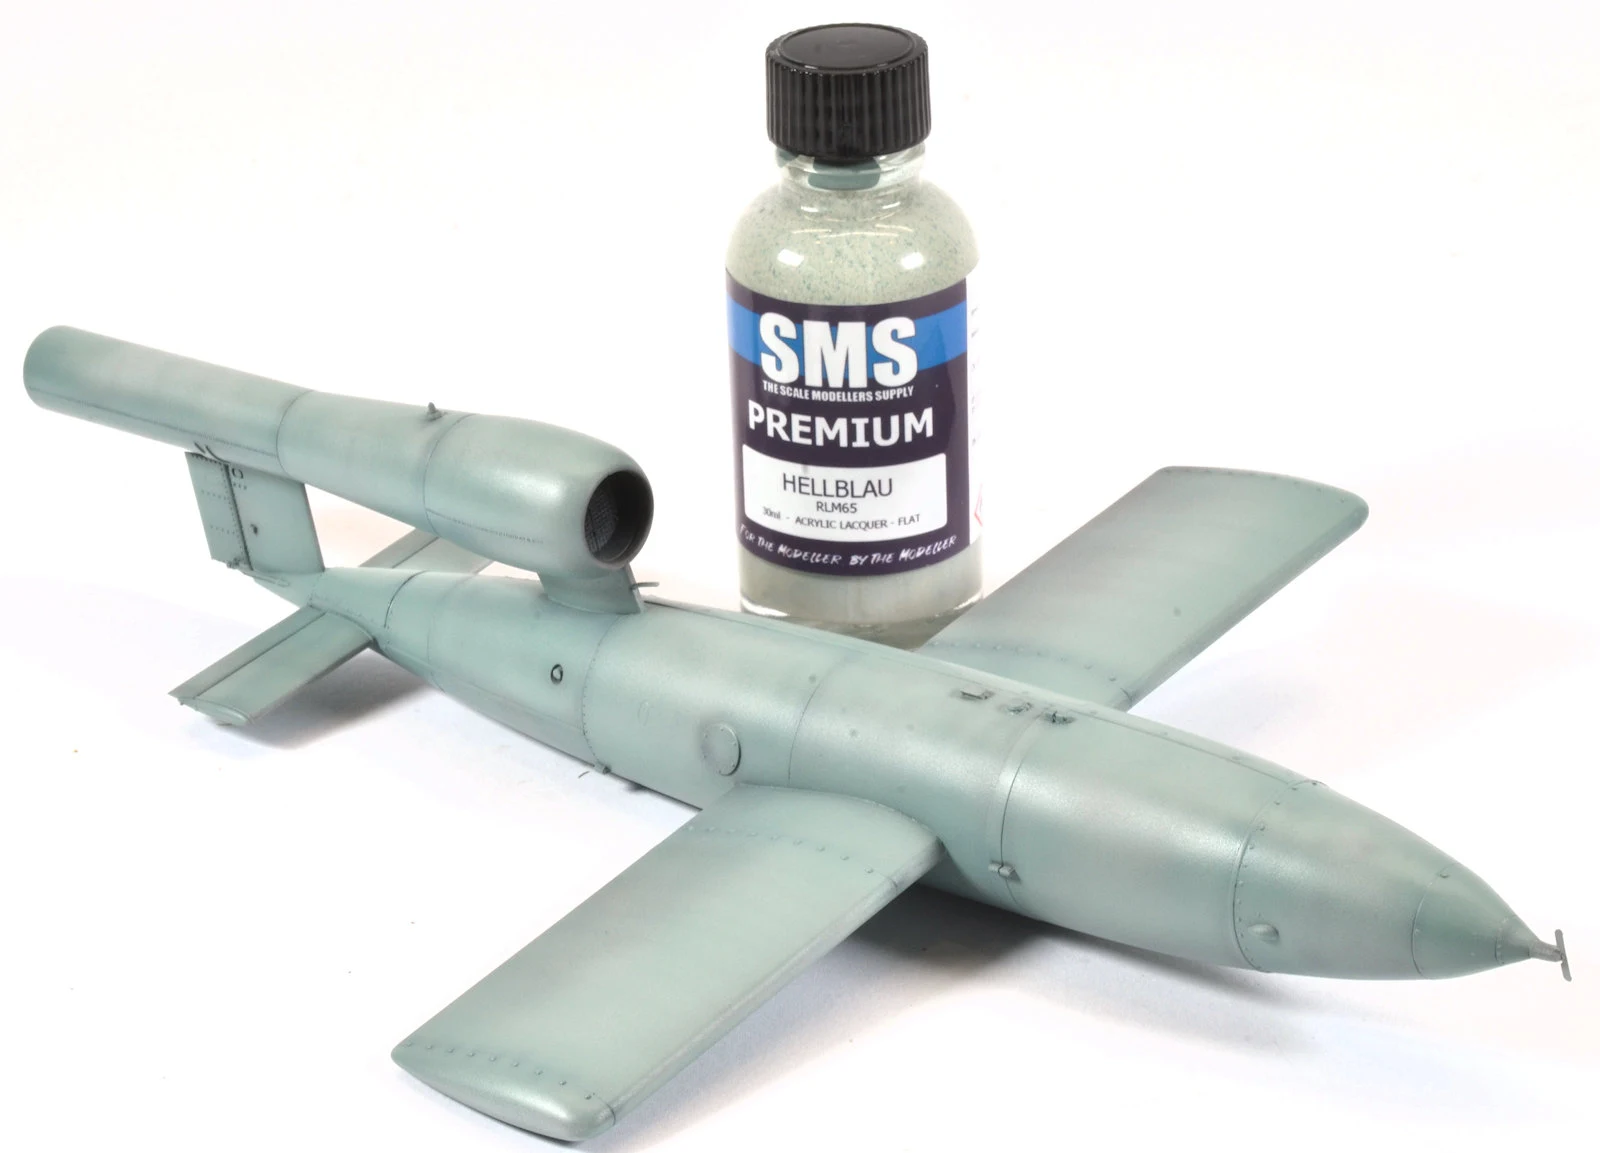

Today:
Build review Pt II: 1/35th scale V-1 Flying Bomb w/ Interior from Takom
I did an in-box review of this kit a few weeks ago. As mentioned, the kit looked reasonably straight forward so I was hoping for a trouble free experience with the view to possibly posing it sitting on the trolley in a small vignette.
The parts inside the box.

The build begins...
Construction begins with the timber bracing in the wing sections. The stem that will run through the body of the missile relies on the holes in these supports to help align the wings …so the bare minimum was used for the right-hand wing, and the full complement was added to the left wing.


The two halves of the model are now attached and glued in place.


Panel lines lost during the filling and sanding were re-scribed.


Overall, I think the result was quite convincing.


The mix this then lightened with white from AK Interactive to highlight some of the horizontal areas.

The fuel tank section is masked off and painted in Schwartzgrun.

The colour is then varied with a mix of Yellow Green and Dark yellow.


Conclusion
Overall, I was quite happy with how the model finished up. Whilst it would have been nice to show some of the interior and the workings of the rocket, realistically I was never going to use the clear sections. I would have possibly posed it with a few maintenance hatches open or something…but given the sparse interior it all got a little too daunting to try bring it up to a level I’d be happy with.
The completed model close up in detail...
.jpeg)
.JPG)
.jpeg)
.JPG)
.jpeg)
.JPG)
.jpeg)
.JPG)
.JPG)
.JPG)
A wider walk around of the whole thing...
.jpeg)
.JPG)
.jpeg)
.JPG)
.jpeg)
.JPG)
.jpeg)
.JPG)
.JPG)
.jpeg)
.JPG)
.jpeg)
.JPG)
.jpeg)
.jpeg)
.JPG)
.JPG)
.jpeg)
.JPG)
.JPG)
.JPG)
.JPG)
Clayton Ockerby
Thanks to Takom for sending this kit to Clayton to build and review
See more of Clayton's amazing works on his modelling website "Workbench Hobbies" or his FB page
