Clayton loves Ma.K kits, and he isn't alone. We thought we should show you his build of Wave's recent 1/20th scale Panzer Kampf Anzug Ausf M Melusine. See how he puts it all together, ready for paint & finish in Part I of his story...
Build Guide Pt, I/2: Panzer Kampf Anzug Ausf M Melusine
by Wave
1/20th scale
Kit No #WAVMK-027
Injection moulded kit
To this day I still recall the morning, nearly 40 years ago, walking into a hobby shop with my father and being drawn to a beige/sandy coloured box sitting on the shelf. All the other boxes had prints and more or less looked the same, but this one, in the recycled looking card stock just looked different. It prompted me to look at it and there, on the front of the box was something I’d never see before. It was the A.F.S. or Armoured Fighting Suit from NITTO and part of the SF3D universe (Later to become known as Maschinen Krieger or Ma.K, due to licencing issues and the like).
Things only got better once I got home and opened the box. There was a mesh screen, springs and wires. It was my first experience with a multi-media kit and I have been hooked on the franchise ever since.
A brief history of the Ma.K Universe:
I have no doubt most of you will be familiar with the line and the basic premise around the machinery and look of the franchise, but to briefly recap; The Ma.K universe is the brainchild of Japanese artist and sculptor Kow Yokoyama and began in the early 1980s. The universe is set after a nuclear war in 2807, where the majority of the Earth’s population is wiped out. Fifty-two years after the war, a research team from an interstellar union called the Galactic Federation is sent to Earth and discovers that the planet's natural environment has restored itself. The Federation decides to repopulate the planet and sends over colonists to the surface. Cities and towns are eventually reformed over the next 20 years, but this growth attracts the attention of criminals, military deserters, and other lawless elements who wanted to hide on Earth-away from the authorities. A few militias protect the colonists, but the new interlopers often defeat them.
So, with the basics covered off, its time to take a look at the latest release from the Maschinen Krieger range – the Ma.K Melusine by Wave Corporation.
I have a lot of these Ma.K kits in my stash, but for some reason, I rarely build them. I think that may stem from the high value I put on the kit I had as a kid. Almost like it was too precious to build? I am sure some of you understand what I mean.
As luck would have it, I have been lucky enough to get my hands on a Melusine and have been asked to build it… so all excuses aside now. I have to build it!
The familiarity of the brown card style box is now gone, and the Melusine comes boxed in something a little more ‘traditional’. The box art is beautiful, and it looks as though the kit is a 40th Anniversary edition.
It’s also worth mentioning the model is manufactured by Wave Corporation.
A good look at the possibilities on the side of the kit.
I hadn’t realised at first, but as soon as I began the assembly, I found out it was a snap together kit. I’m not sure how long these kits have been produced in that way, but it came as a bit of a surprise. I am not generally a fan of the snap tight kit, however; I do see the marketing appeal for someone who wouldn’t be regarded as a traditional modeller and was looking for something quick and easy to build without having to worry about glue. I however, will be using glue on mine where appropriate.
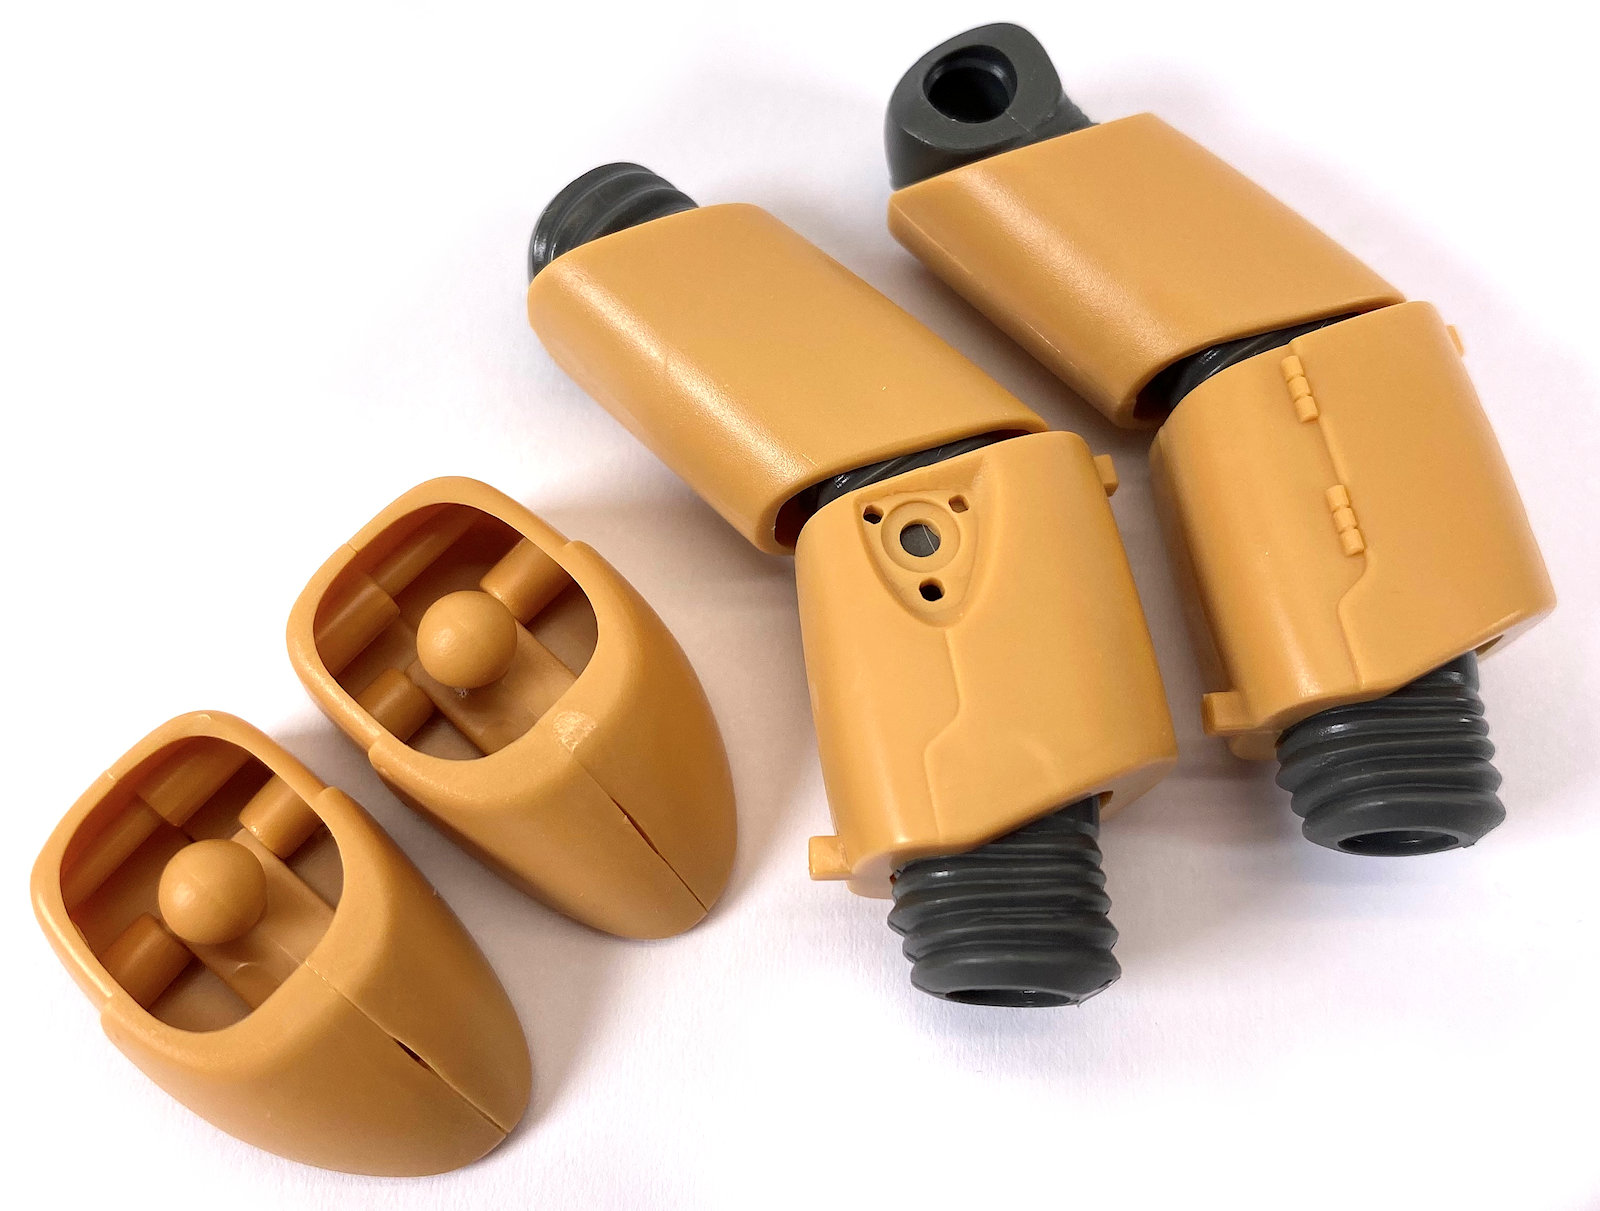
The right-hand side of the body is assembled. The old SF3D kits used to have these pipes as springs, however this kit has a moulded piece of tube. These kits are also articulated so you can achieve interesting poses. Polycaps ensure a tight fit but still allow movement.
The sections for the cockpit are tidied up using a sharp scalpel. These parts will require painting prior to joining the two body halves.
The front section of the body armour houses the ball joints for the arm section that will follow. The instructions are in Japanese, but it’s not so difficult to understand a number of small holes were required in this piece.
The inner section of the cockpit and chest armour are assembled. The snap fit is very tight and quite true. It did take a little pressure, so carefully press until you hear the ‘click’.
The cockpit was first painted using AK Rear colours to get the green tones and the details were then brush painted using AK Gen 3 Acrylics. I raided the decal spares box and found some dials and safety plaques that helped add some interest around the space. Fine chipping was mainly added using a sponge and acrylic paints.
The two halves of the body section and the cooling fan at the back are now clicked in place. It was here that the downside of the Snap fit kit started to become a problem for the modeller in me. No matter how hard to try to snap the gaps closed - I couldn’t. Rather than trying to break it apart, I added glue and figured I’d make a feature of the detail in the following steps.
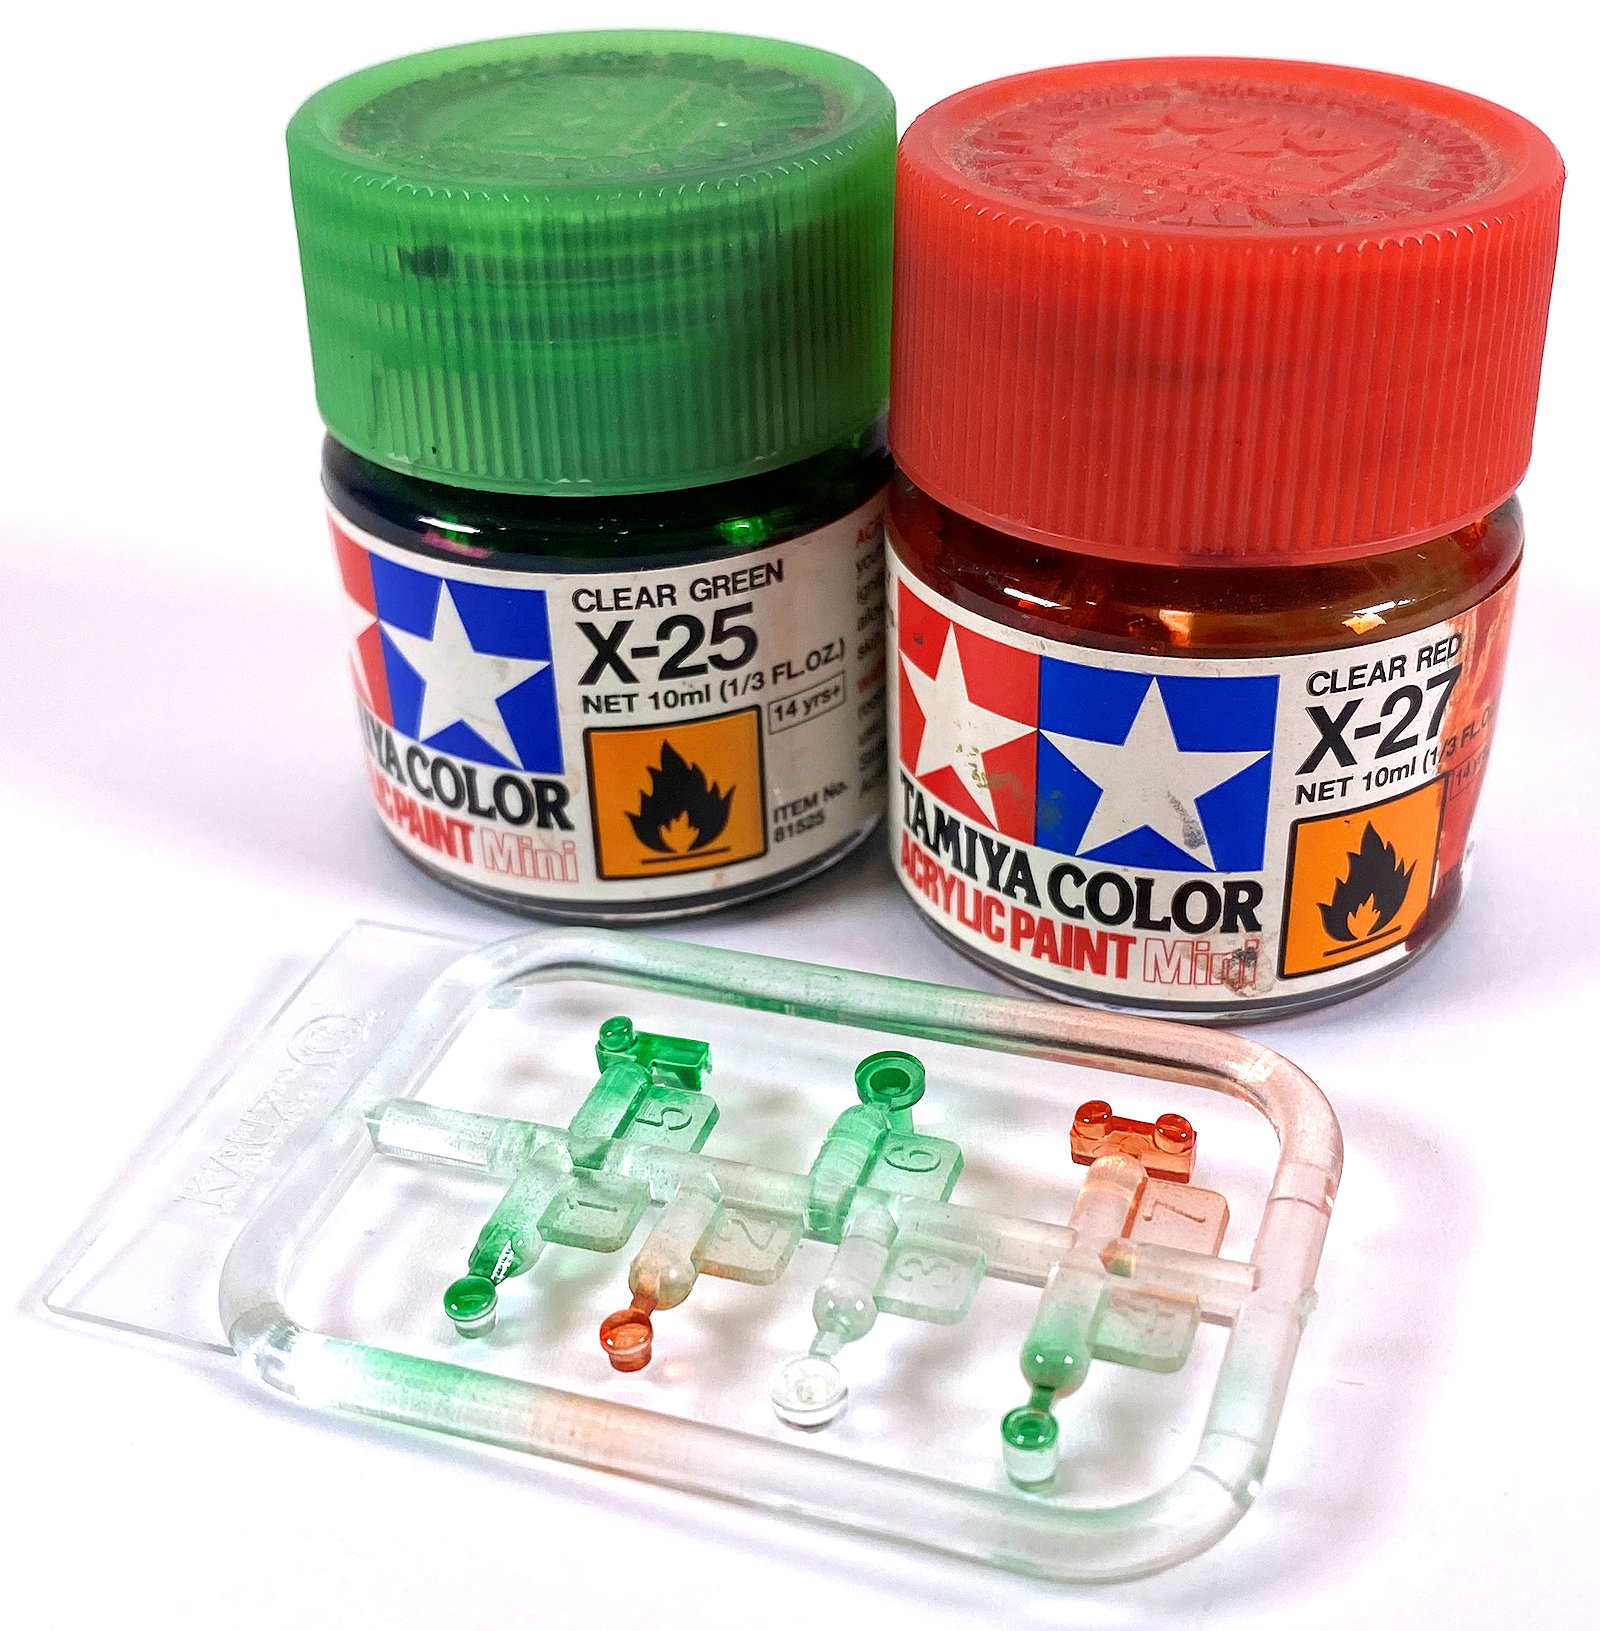
The kit comes with a small clear sprue. These parts are for the laser, the cameras and lights around the model. I sprayed them with clear Red and Green and left one of them unpainted.
The back assembly of the body and the chest armour and hatch are all now assembled. Closing the cockpit up.
The hatch in on a moveable hinge so it can be posed in the open or closed position.
In order to address the gaps in and around the rear section, I decided to make a stylised weld bead using Plastic Putty. Because the Ma.K universe is fiction, who’s to say what a weld bead looks like, so using the tip of the applicator I followed the gaps around the part. Every so often I’d push the nozzle back on itself to create the look of a weld bead.
The gaps were addressed, no sanding was required, and I have created an interesting detail on the model.
Moving back to the limbs now and the legs and boots were assembled. Again the down side of the snap kit is apparent with the gaps in the parts. Filler will be required. The ankles and hip sections use ball and socket joints to offer a great range of articulation.
On to the arms and I assume this means the hose coming from the left arm is an optional thing, and if you want to include it you need to drill a small section out of the piece ? Made sense to me…
The arm and laser sections are complete. There is an option to have the hand posed a number of ways. I have chosen for the hand to be griping a weapon that will soon follow.
It's worth noting you get a choice of two weapons in the kit.
All of the limb sections required filling and sanding to try to disguise the gaps left in the parts. VMS Flexy 5K Superglue was used for that purpose. It dries quickly so the sanding could begin soon after.
The hatch is closed and sealed with a bead of Blue Tac and the part are all sprayed with Mr Surfacer 1200. Because I’d used the clear superglue to fill some of the parts, this step was vital to highlight any flaws and correct them before moving on to the paintwork.
A very basic pre-shade was applied using a thinned mix of Tamiya Flat Black. Most of this will be lost when the subsequent layers are applied, however it is a quick step and worth the small investment in time.
I flop flopped with the scheme I wanted to paint. I initially wanted to do something lineal..like a dazzle camouflage or a complex web scheme, but the prospect on masking such an odd shape was a little daunting. Choosing the scheme was actually the part of the build that kept holding me back. You would think the freedom to paint whatever you like would be easy, but I found coming up with something interesting, cohesive and unique was actually quite difficult.
I found the indecision holding me back, so I decided to just leap in and start in the hope that the scheme would appear for me. A base colour of RLM76 was applied and lightened with white. The coverage was kept light so the pre-shade would show through.
John Clayton in Part II of this story at this link, when he paints, weathers & creates a nice base for this great kit... You can see more of Clayton's work on his Facebook page - Workbench Hobbies Also, his YouTube page which has heaps of videos on this and other subjects. Check it out - it is a great resource...